
Being the small team that we are, we’ll be the first to admit that the Darling office hasn’t always been the most…organized. When you’re trying to produce 30 photoshoots a quarter, welcome in teams of interns and coordinate daily magazine shipments, well, it’s easy to lose the label gun. So we asked Darling friend and professional organizer (also former online contributor!) Cathleen Simmons, who owns LA-based Assembly, to come in and help a team out. Below is a look at the before and after of how she seriously transformed our clutter into clean!
From Cathleen:
When the Darling team first asked me to come take a look at their office, I was so excited; I nearly began tidying up the day I walked in. They let me know there were a few specific areas that needed attention, most important being the storage and prop area, but the kitchen and Sarah’s desk came in a close second.
STORAGE BEFORE:
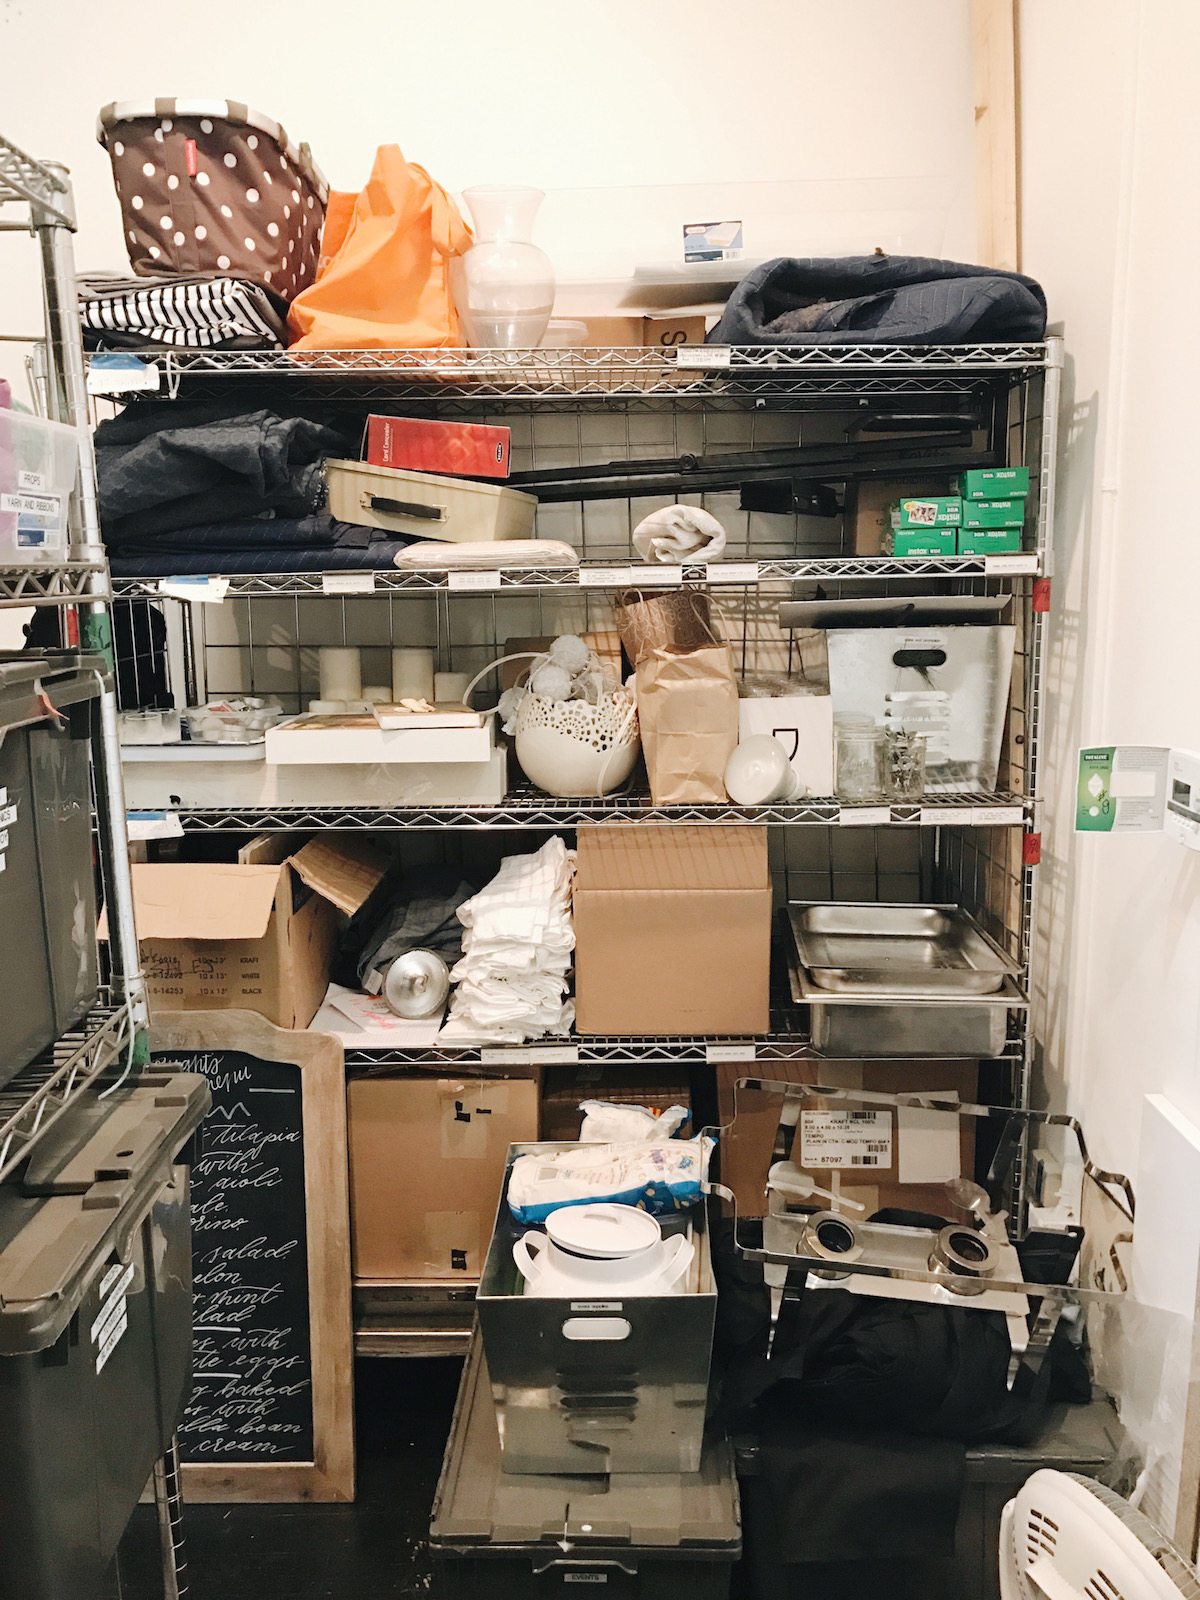
It was clear that they hadn’t had time to put organizational systems in place when they moved in, so the daily routine of the staff was often either avoiding these cluttered areas, or just pushing misplaced items aside so they could move on with their day. While stepping into this workplace of creativity and movement, I really wanted to make sure my focus was on efficiency and productivity, allowing the team to truly enjoy their time there, all the while making the magic happen that is Darling Magazine.
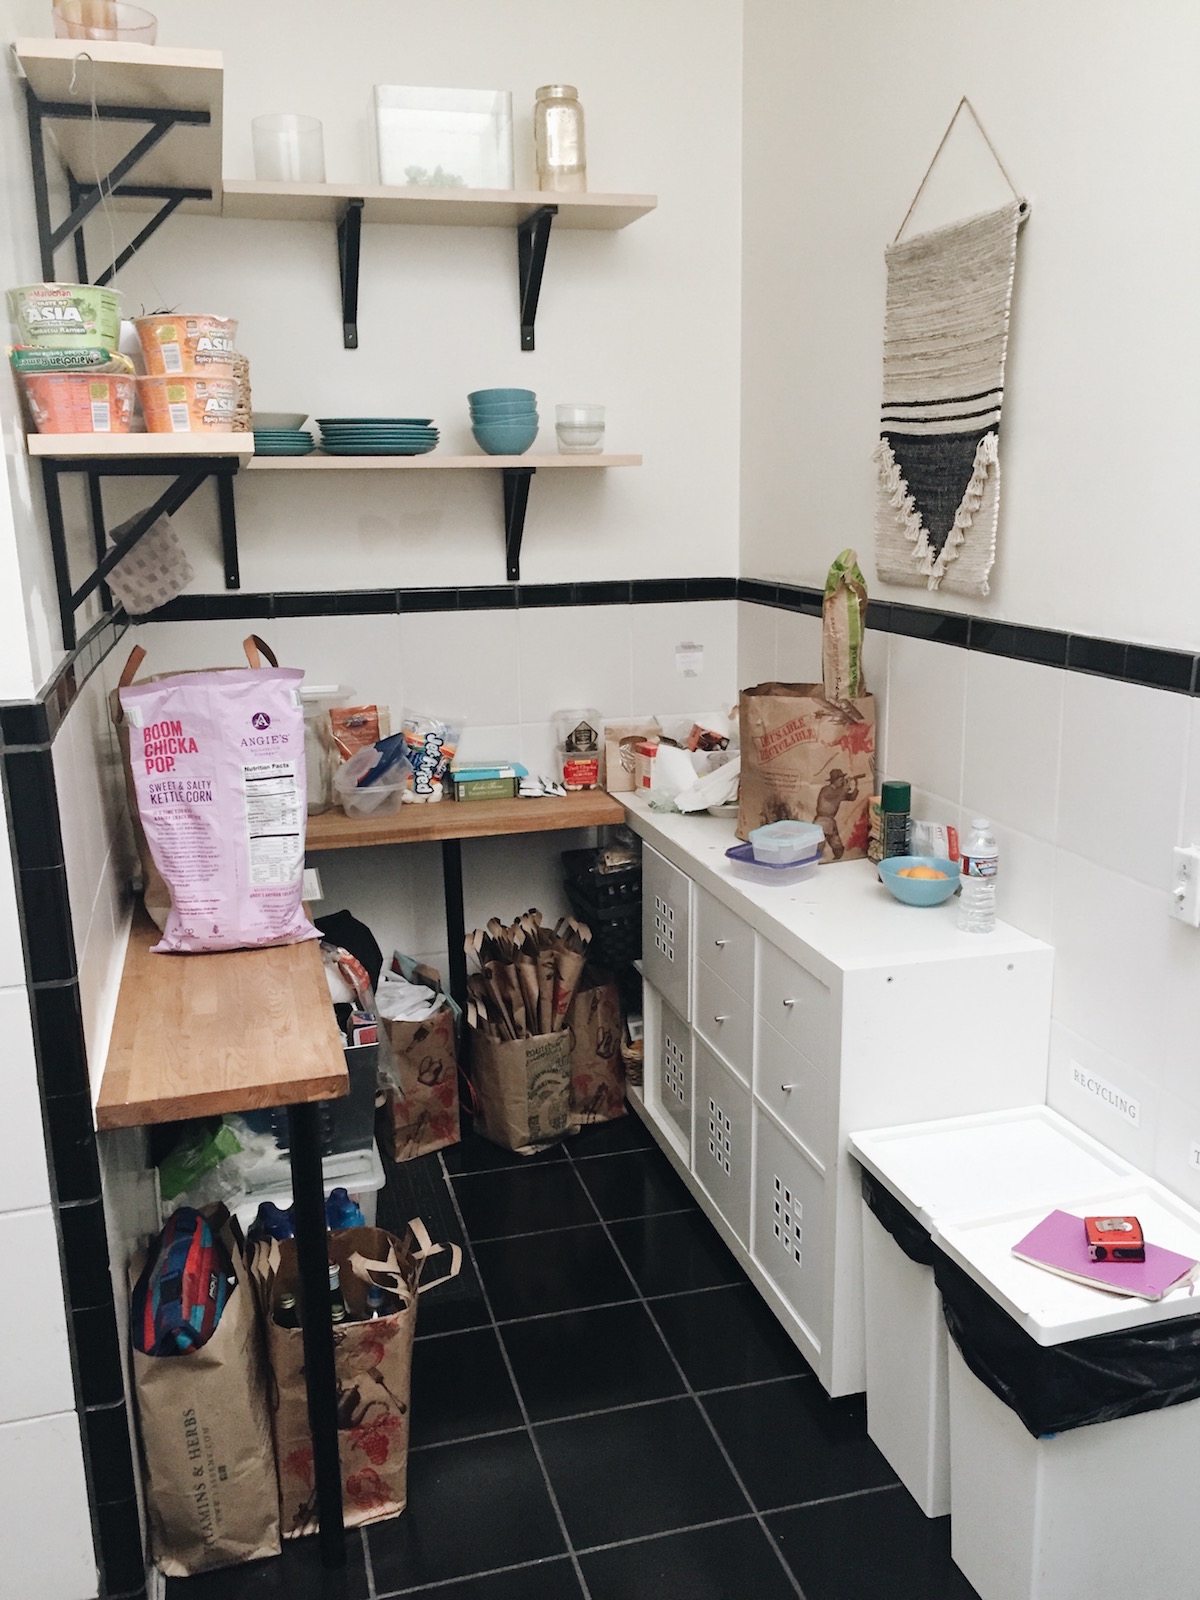
The storage and prop area really needed an overhaul since it had been packed with items from old photoshoots, events and DIY projects. Once the area was gutted and gone through, we found that a lot of space was being taken up by half-empty boxes and props from shoots never to be used again.
STORAGE AFTER:
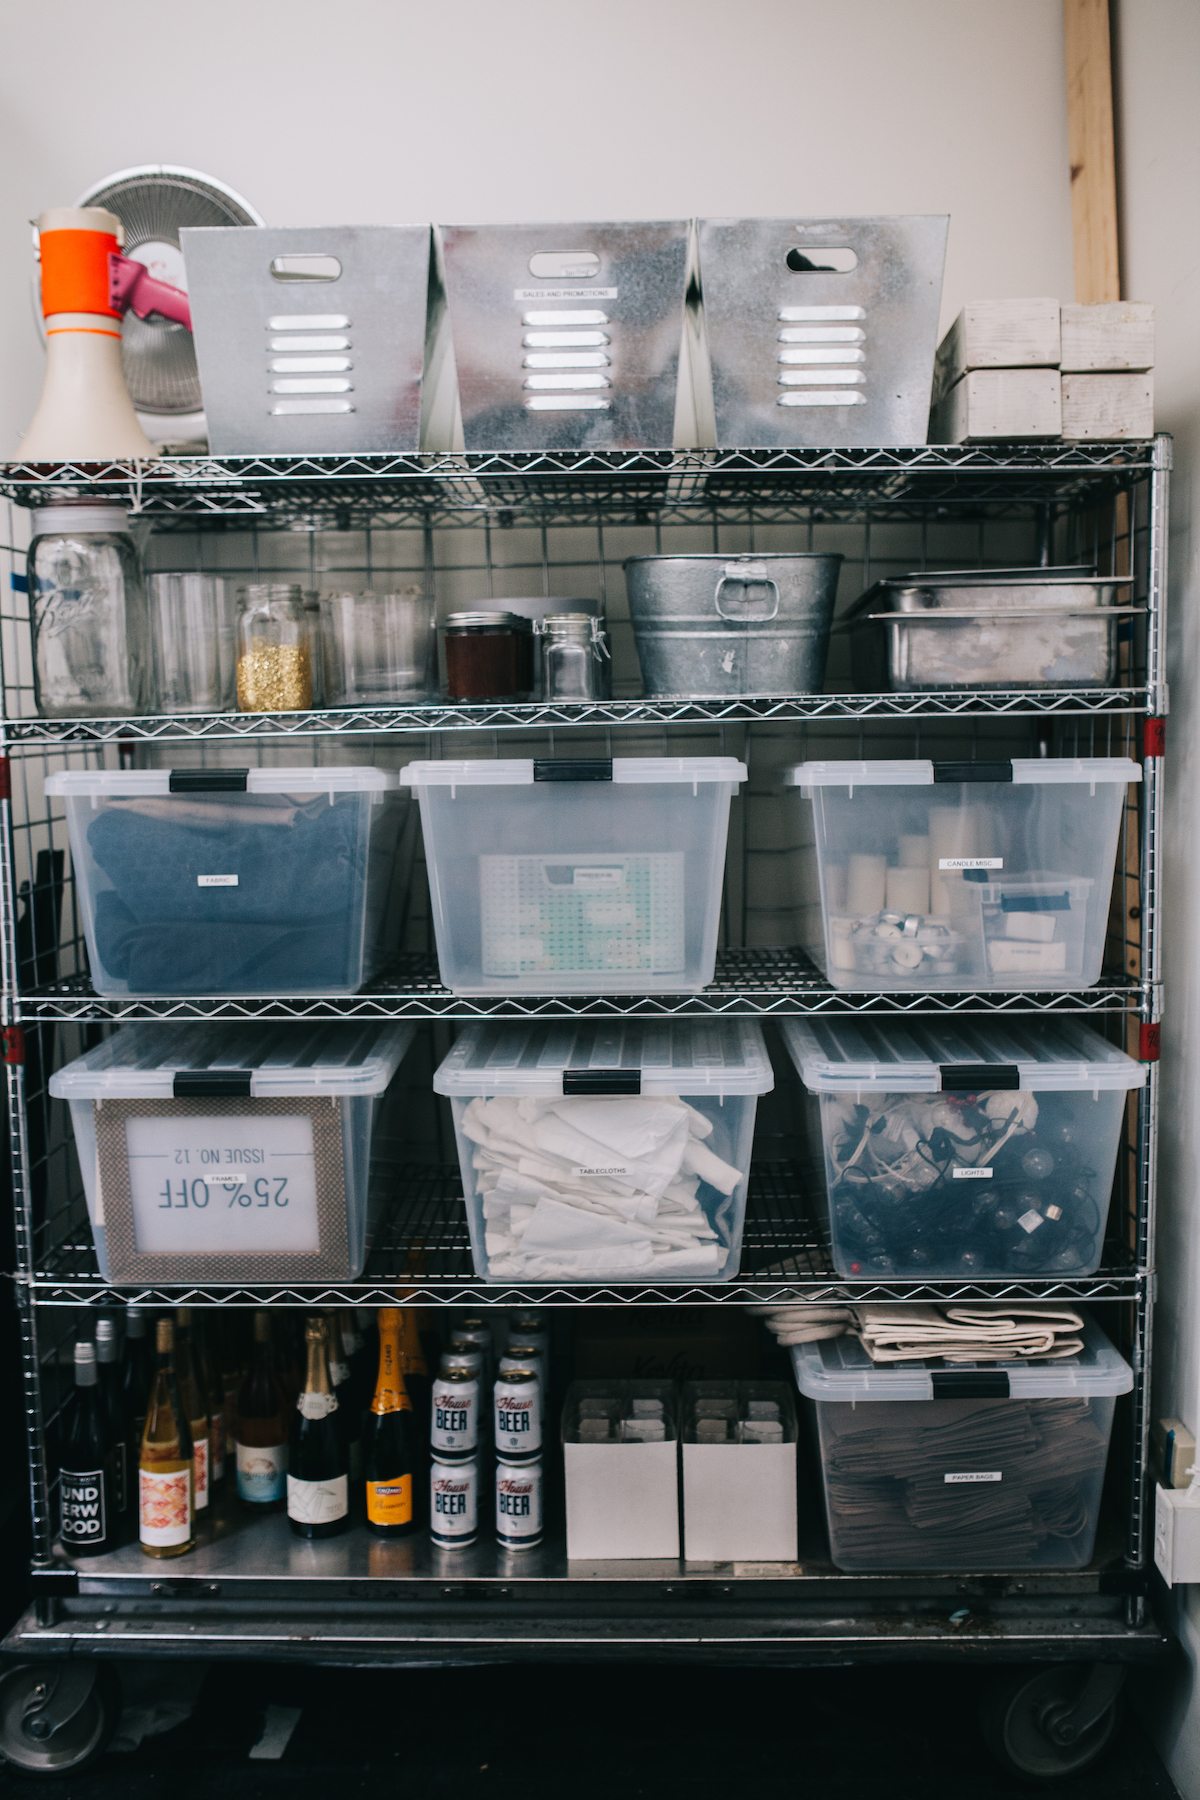
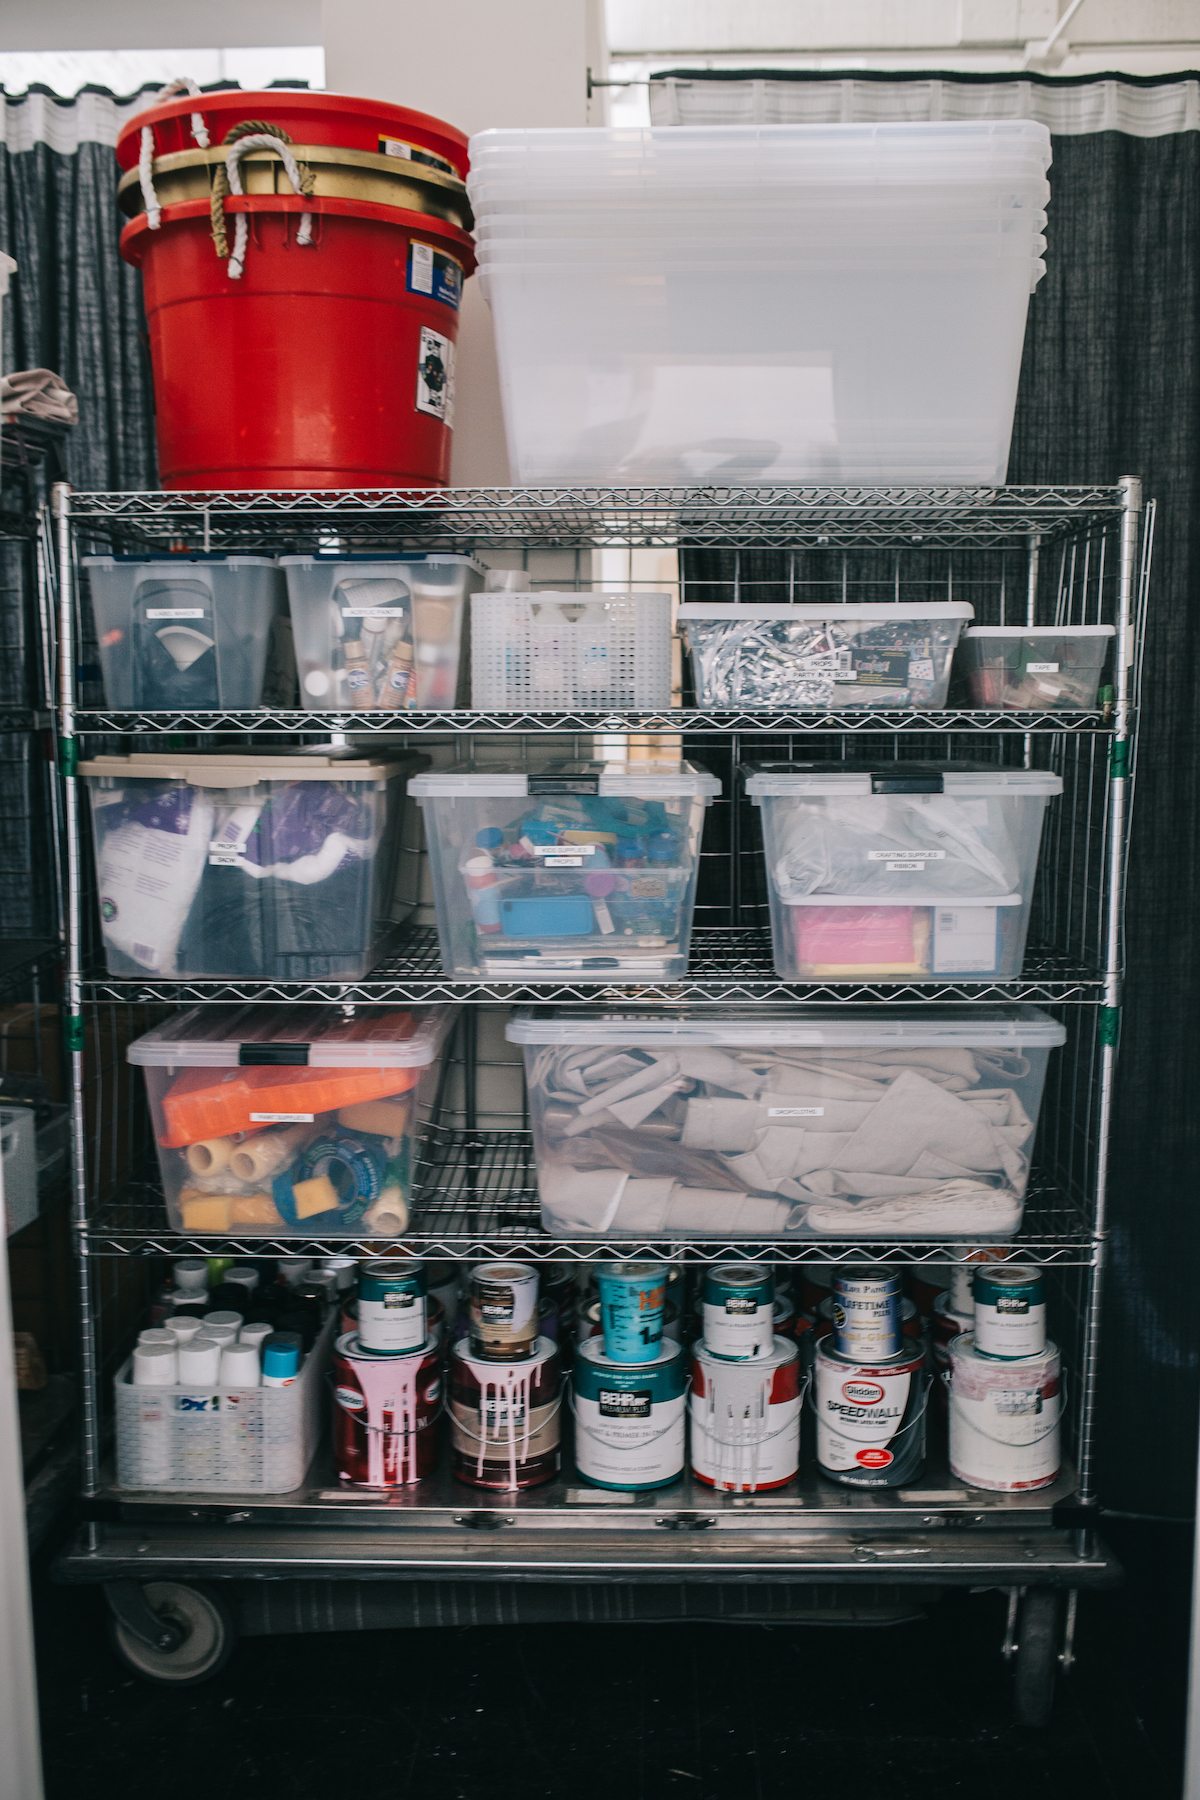
Just reorganizing the paint and craft supplies by placing them all together in clear storage bins from The Container Store and on the same shelf made a huge difference. Keeping additional empty containers at the top of the fixture for when a little more organizing is needed helps to maintain the space, just by knowing where new storage bins are.
Unfortunately, we don’t have an image of what Sarah’s desk looked like before, but here’s an idea: scattered papers, piles of magazines and books, sticky notes randomly placed on things, and no real place for items, even though she would tell me she knew exactly where things were (for the most part).
SARAH’S DESK AFTER:

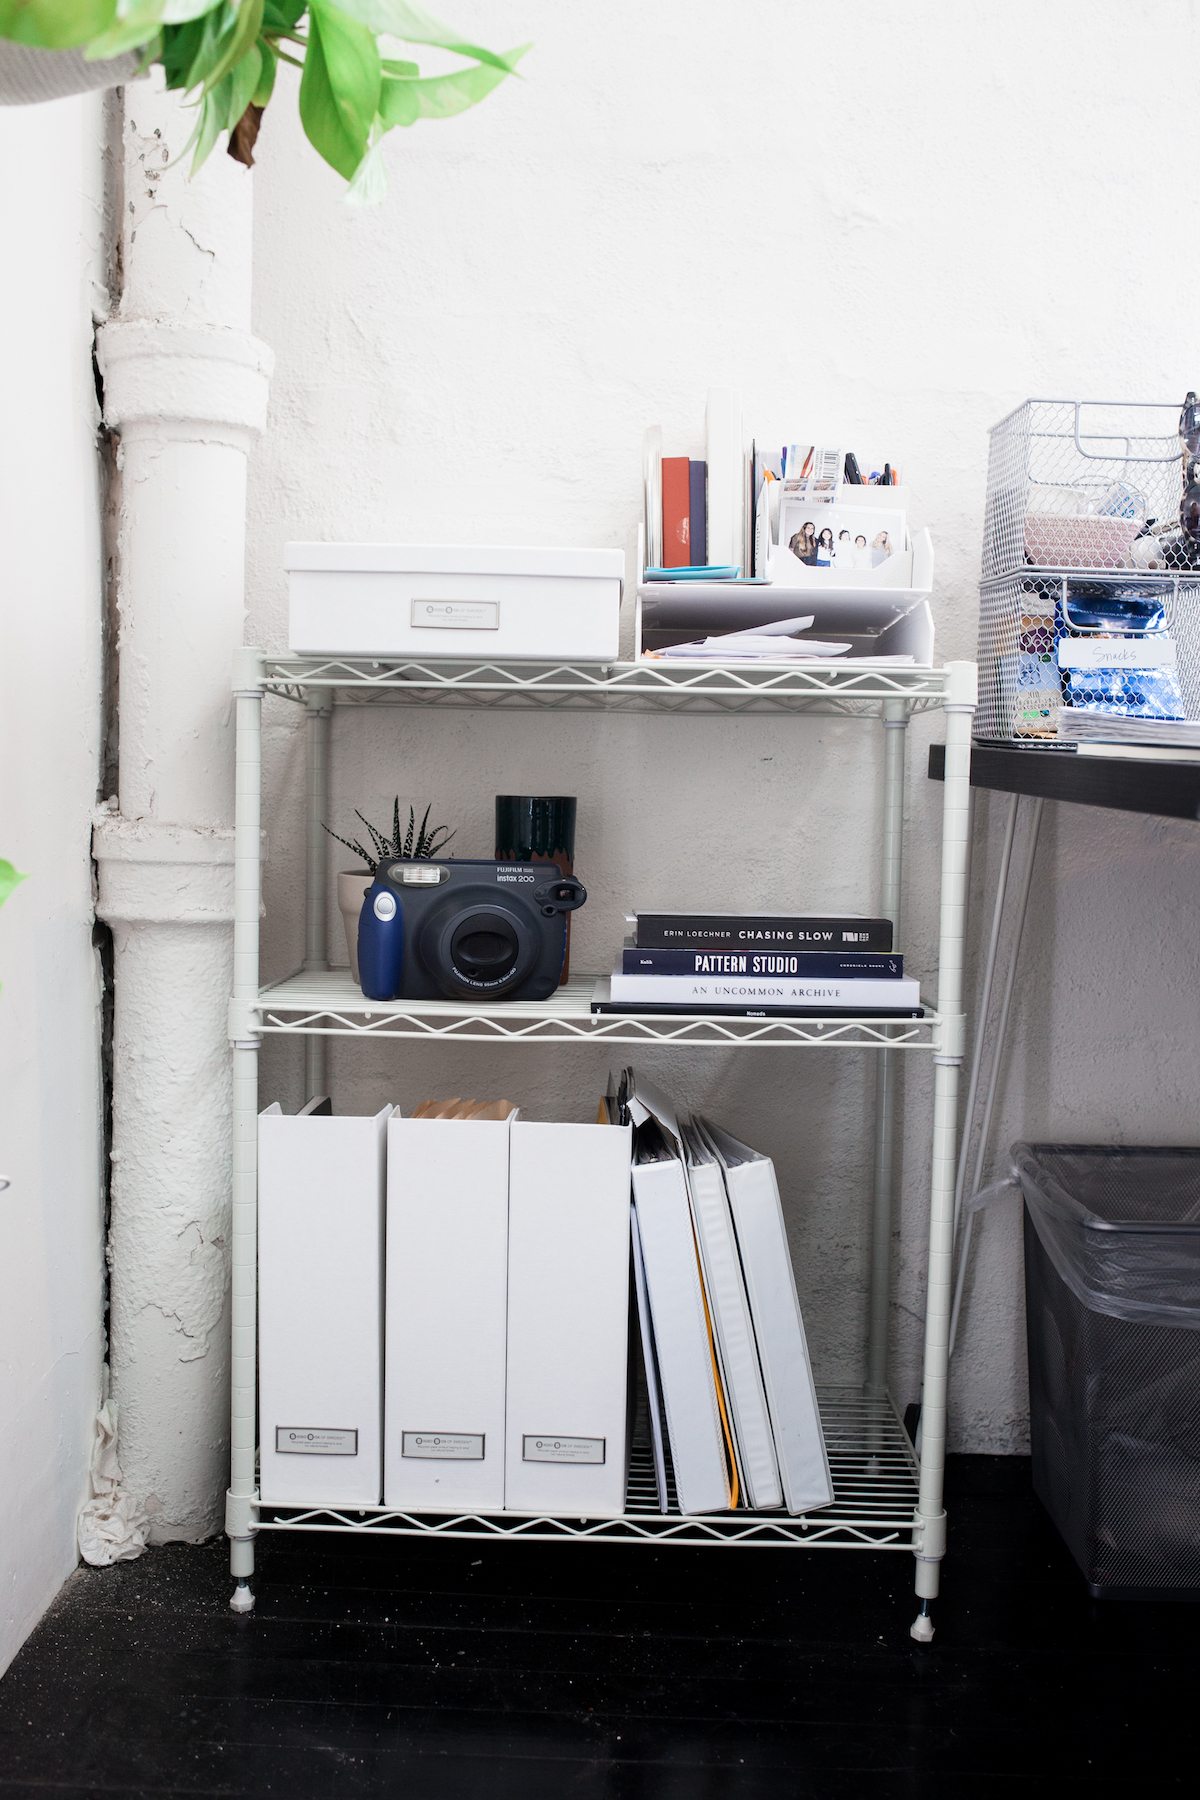
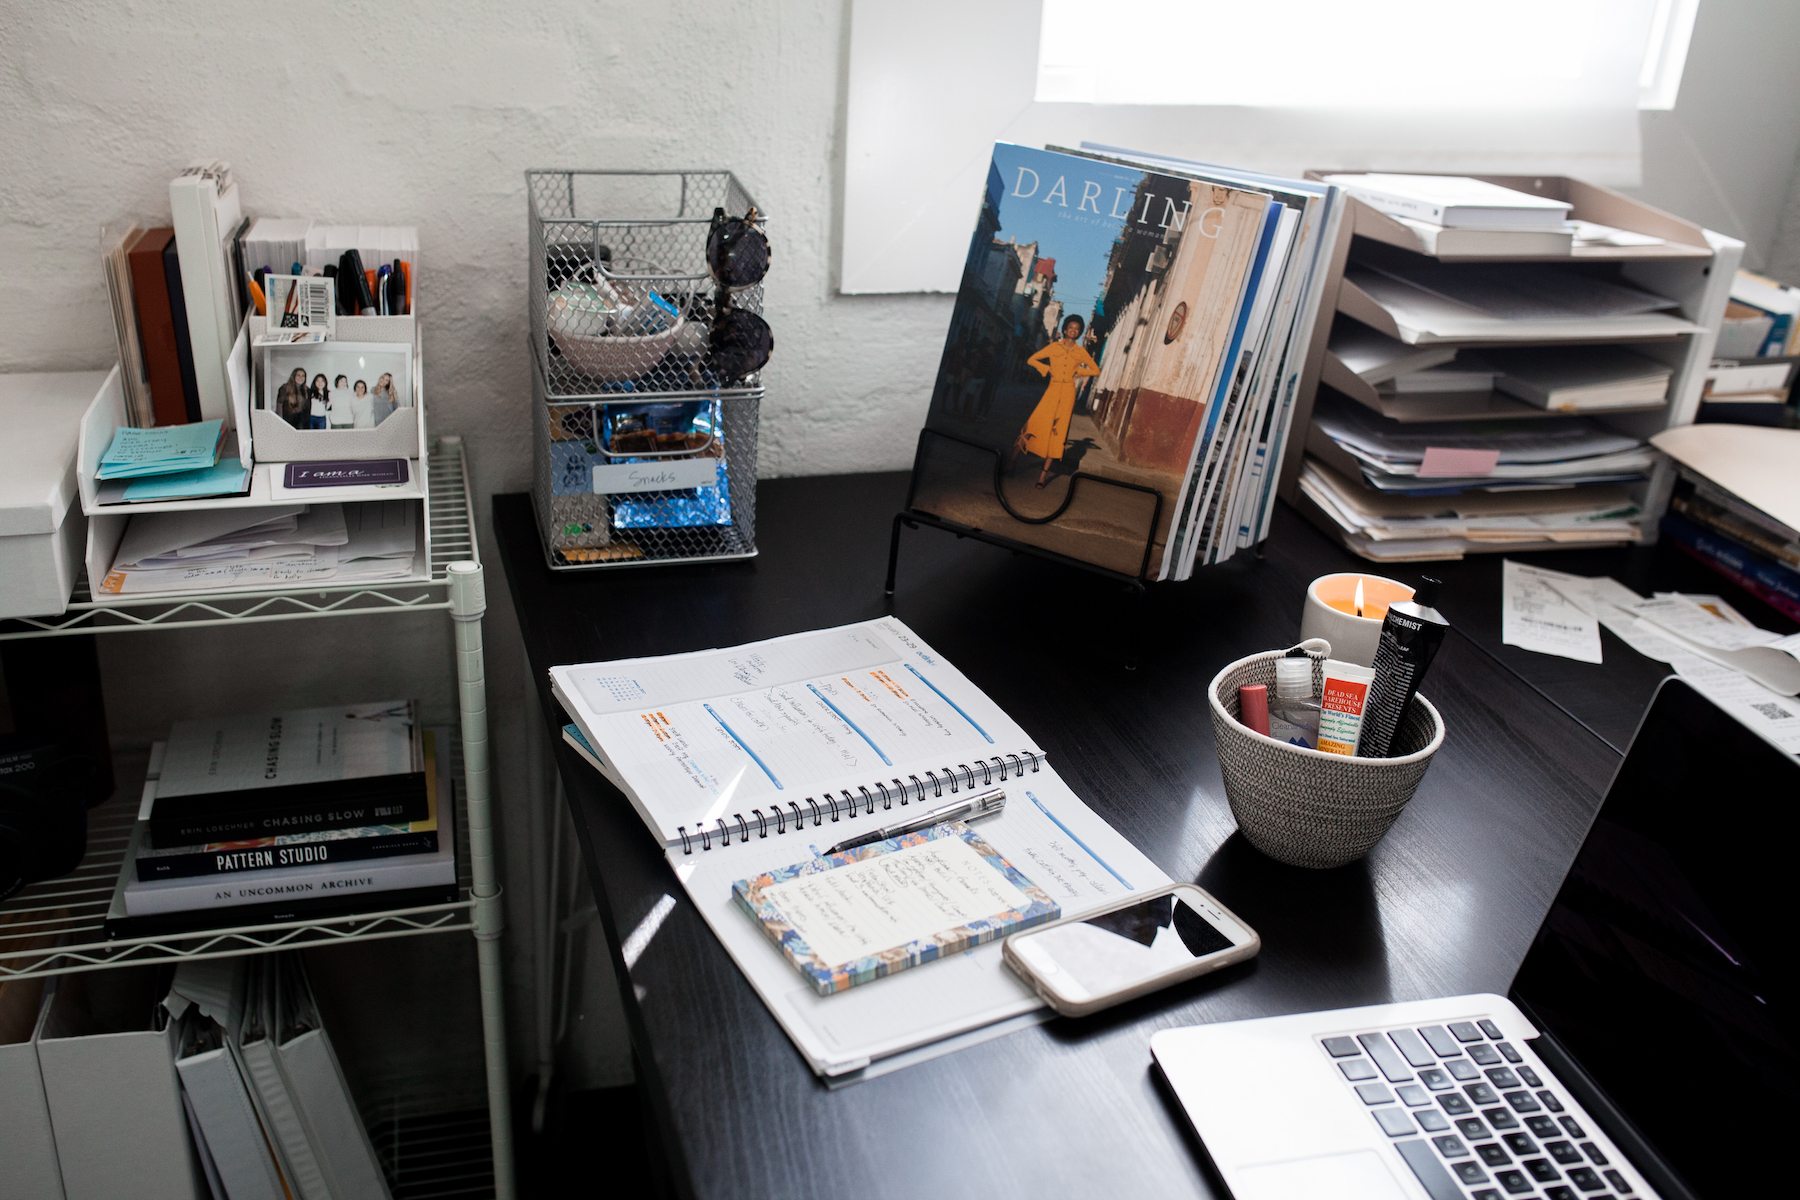
The biggest changes were that lots of unwanted papers were thrown away, and the rest of the items were categorized with the Bigso Stockholm collection (including these storage boxes and these letter trays) from The Container Store and placed in areas that were easy for Sarah to get to by order of how often she needed them.
The kitchen was a larger project, but way more fun because of the amount of options and freedom I had with how to make it more beneficial for everyone. The biggest issues that I saw immediately were that there was a working microwave on the top of the refrigerator (and a step ladder close by in case you wanted to use it), and there was no system for the production team to get in and grab what they need for photoshoots without it looking like a disaster.
KITCHEN BEFORE:
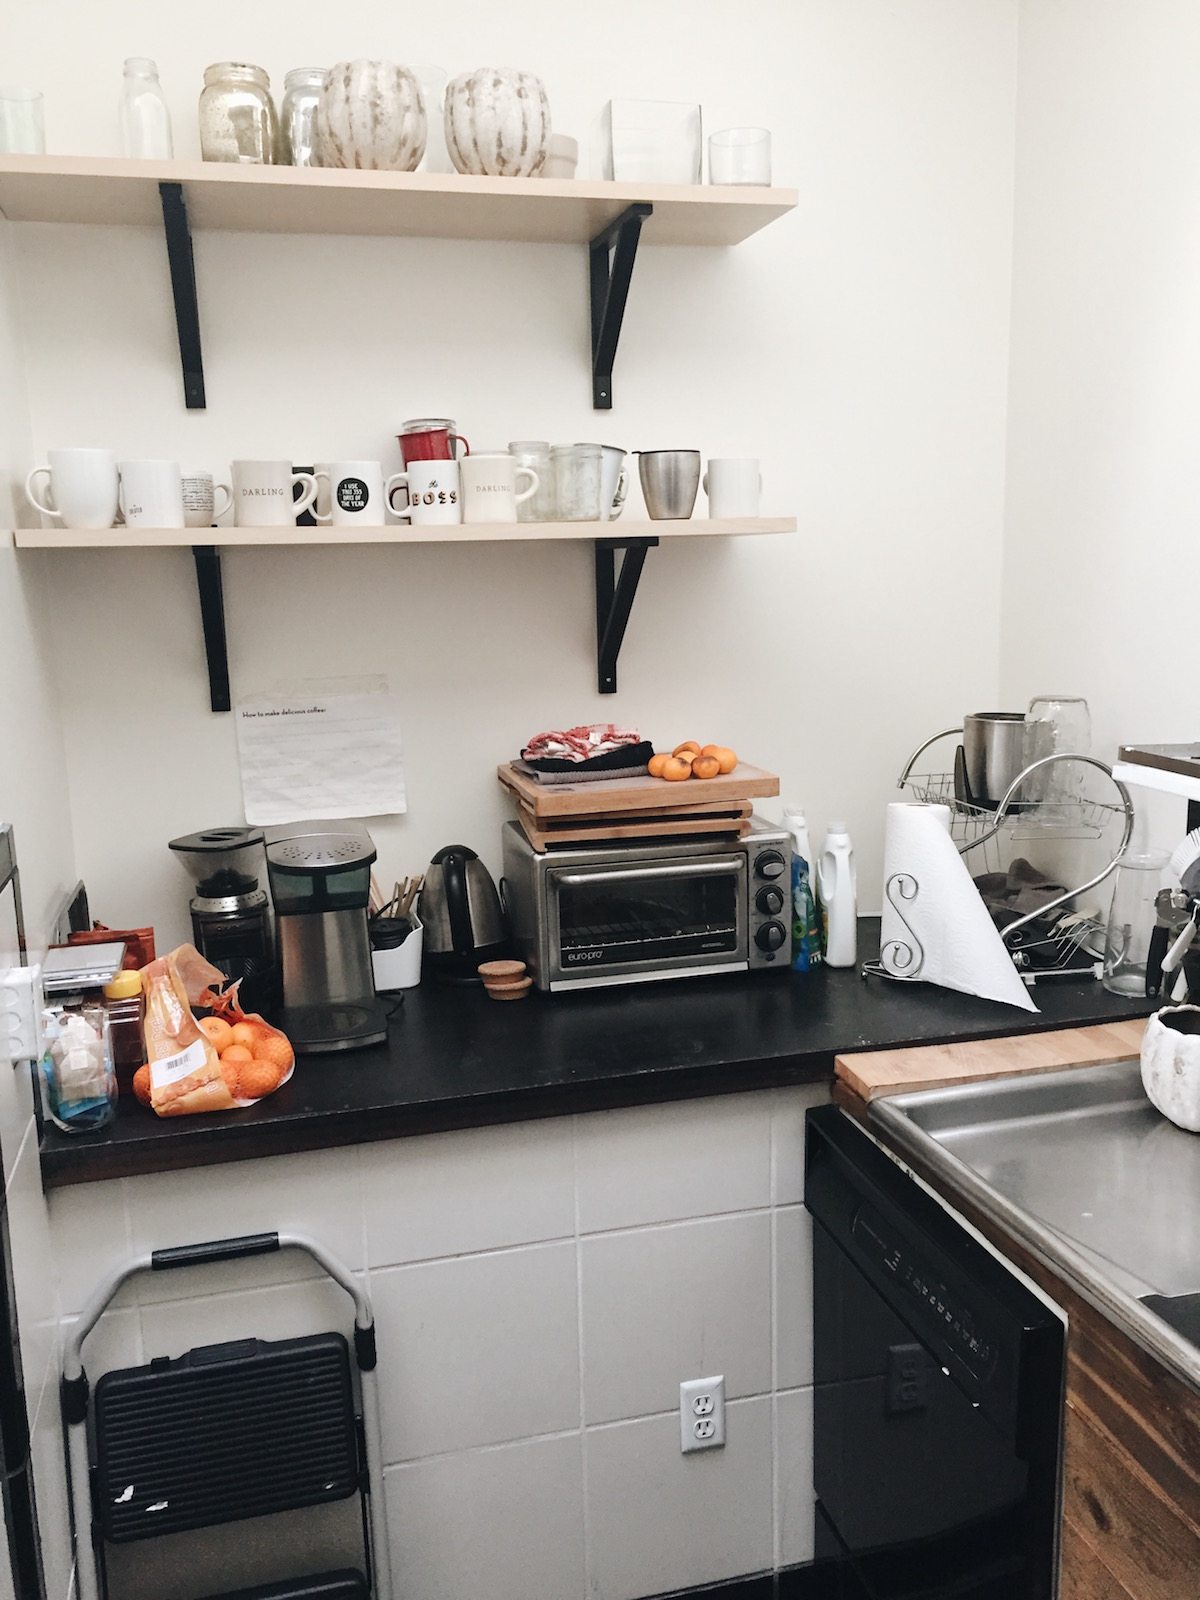

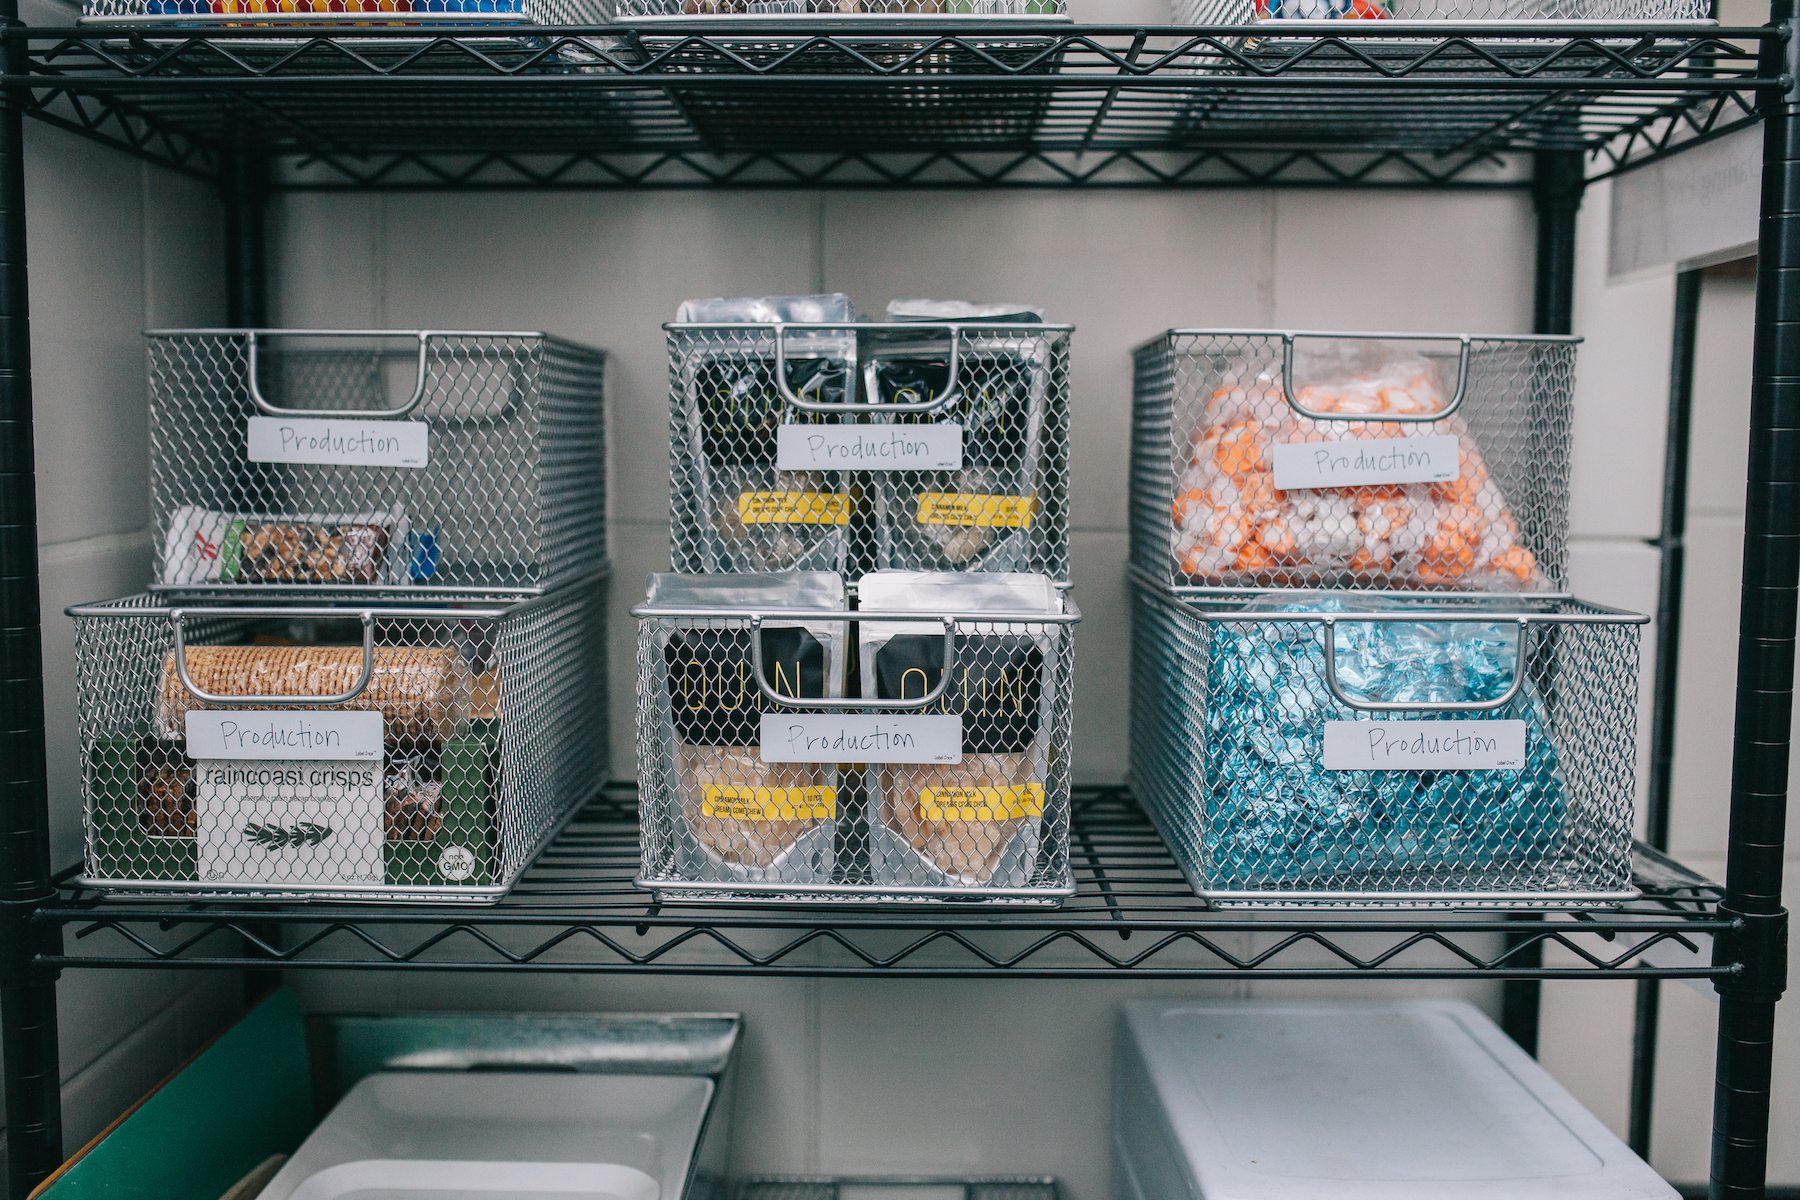
First things first, the kitchen was emptied of old tupperware (from past employees and even current ones), paper grocery bags, old food, anything mismatched or broken and trash of any kind. From there I made sure that everything that was appropriate to a work kitchen had a home and that it was labeled. Stackable baskets underneath the counter and metal baskets (similar to these) against the wall were all labeled so that anyone coming and going could find anything or put things back.
KITCHEN AFTER:
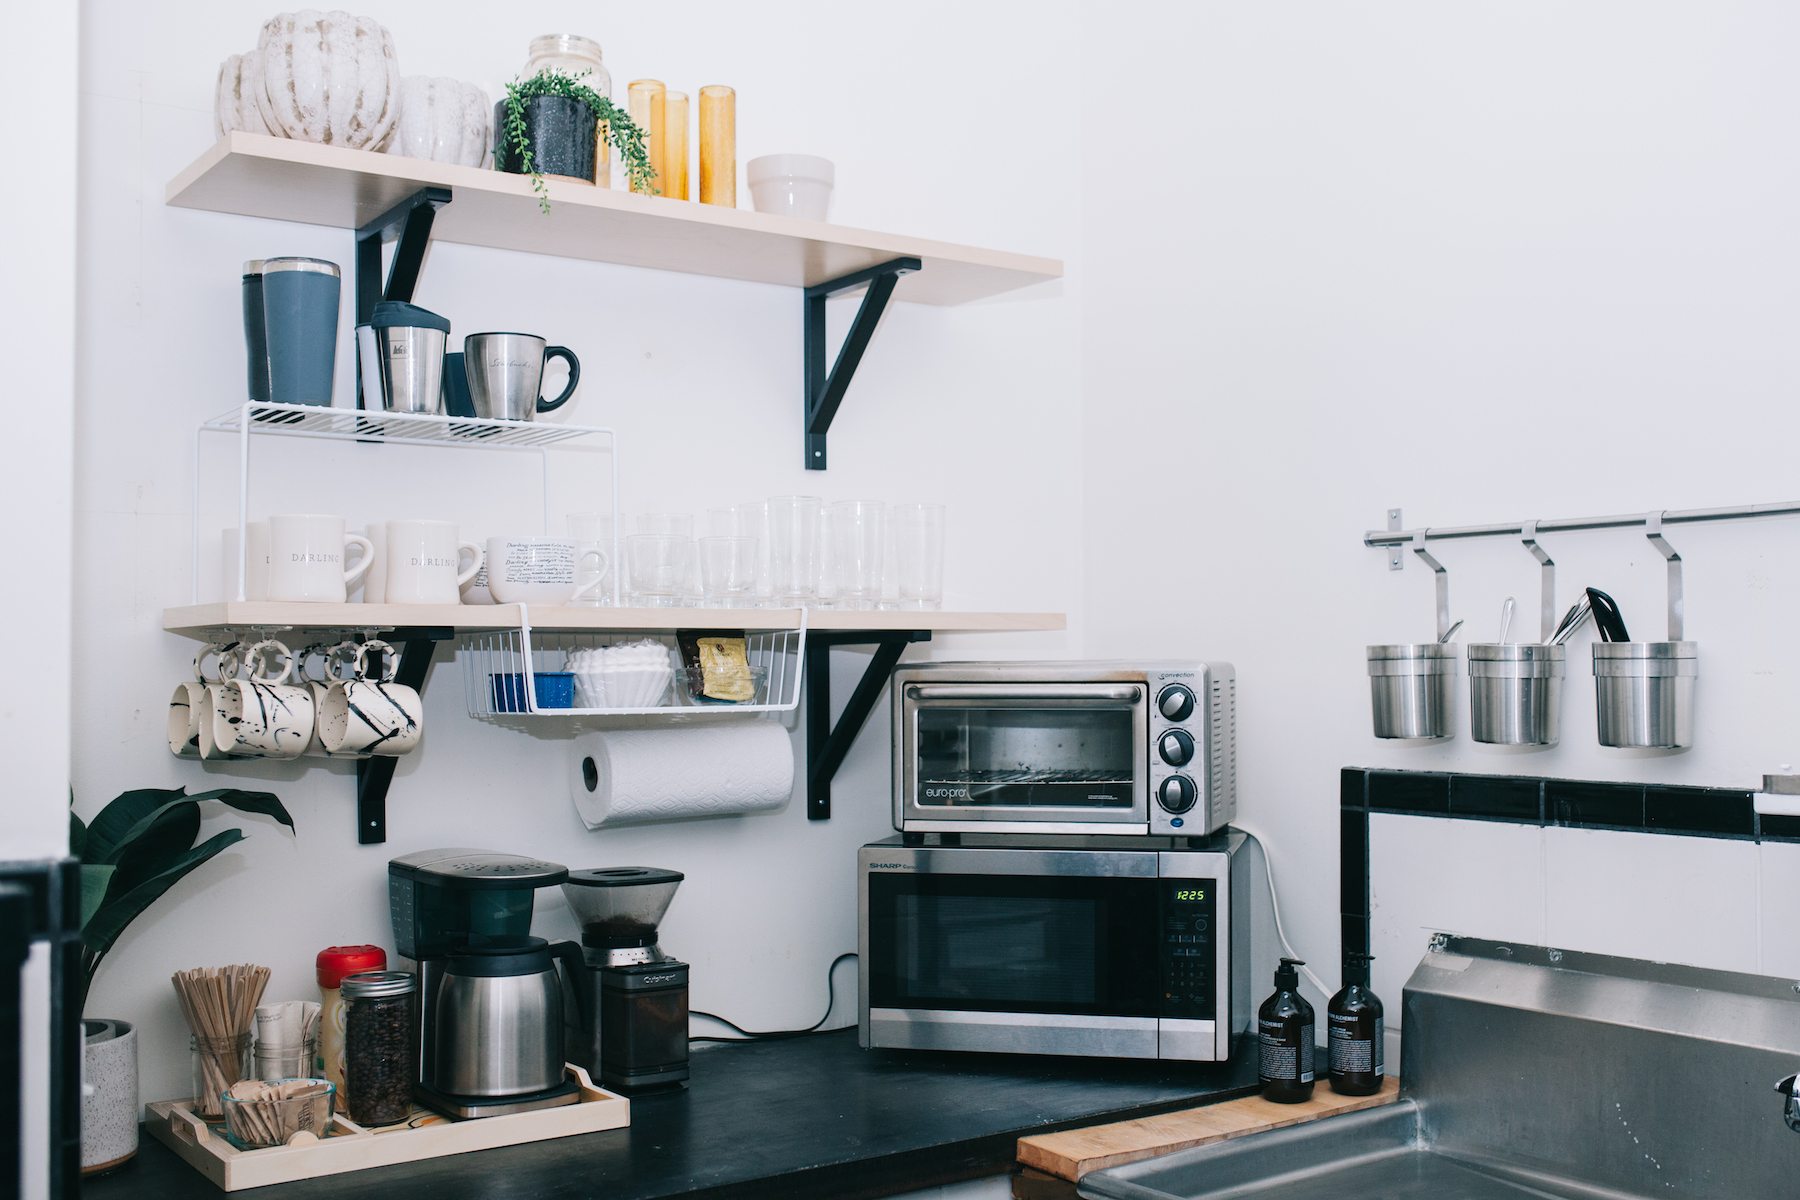
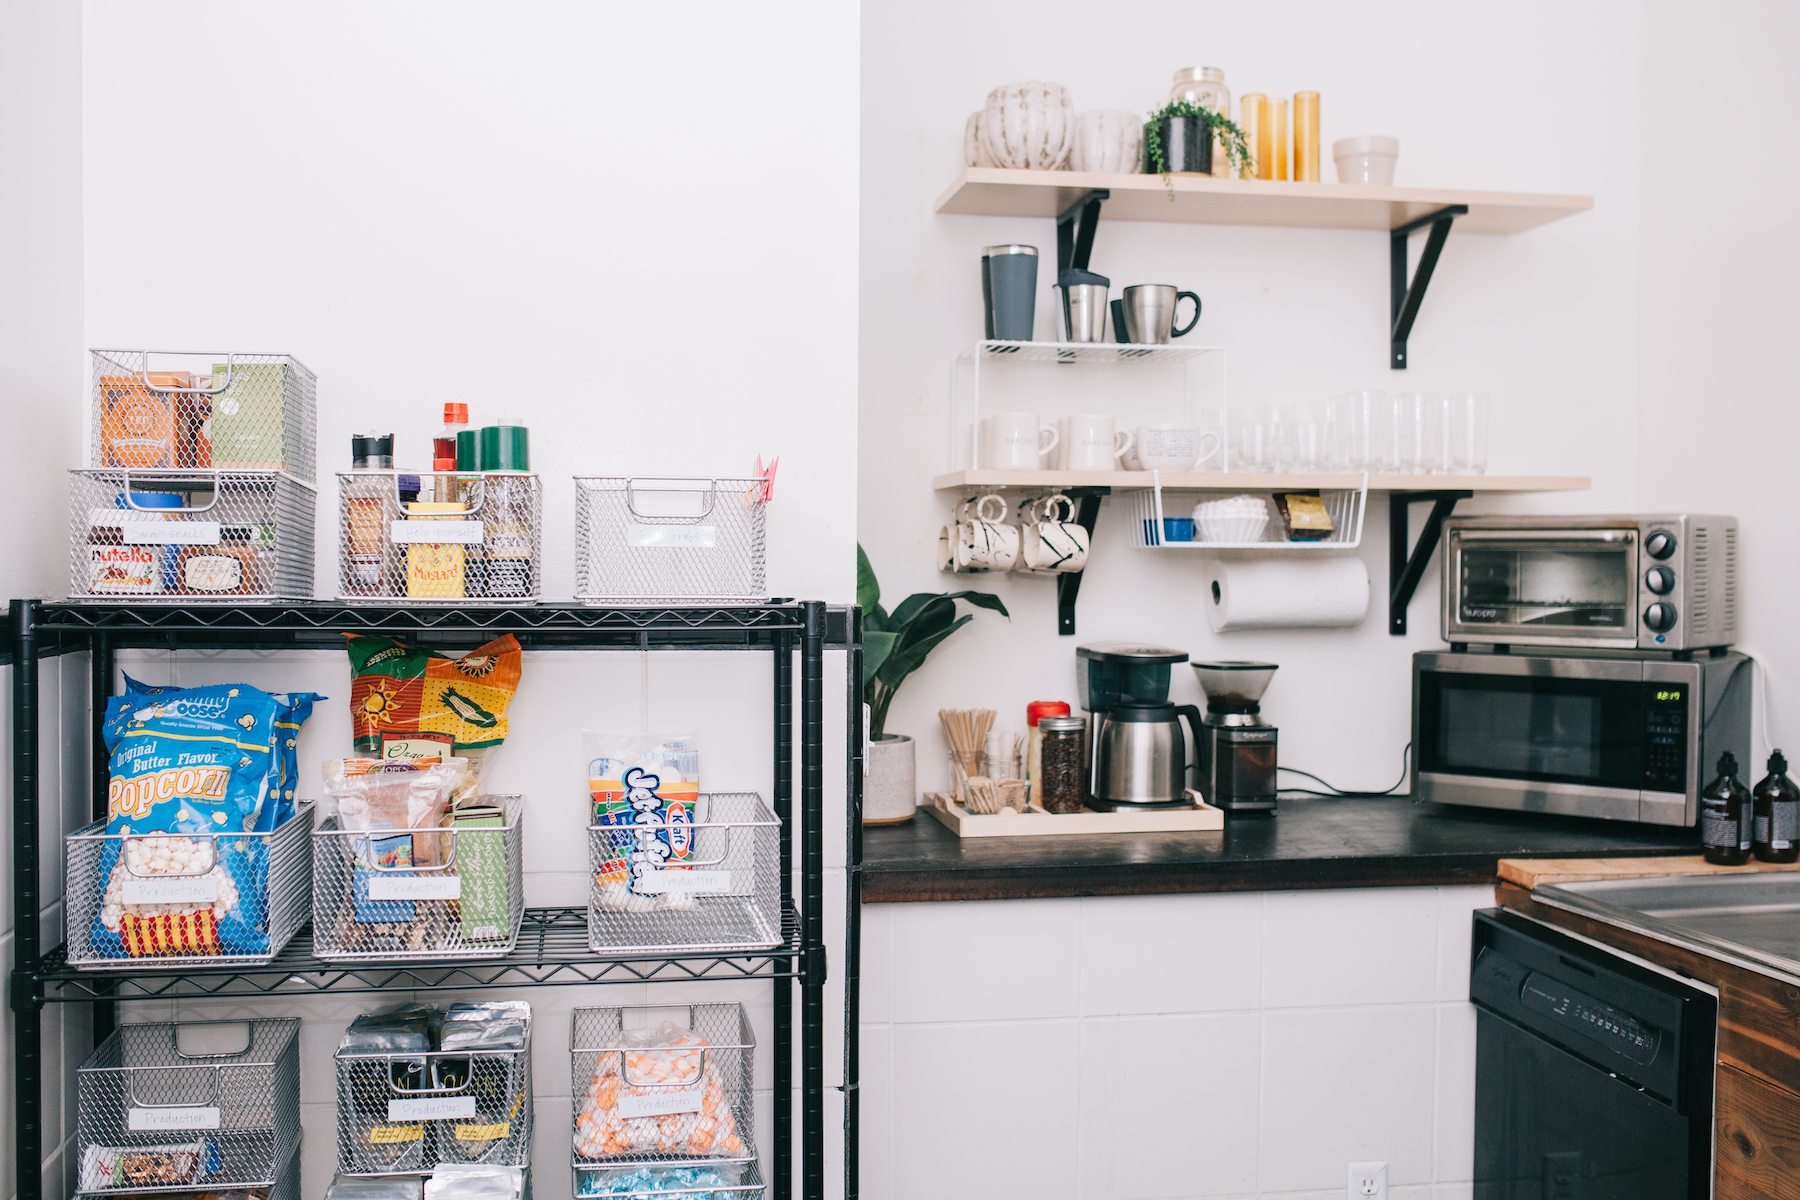
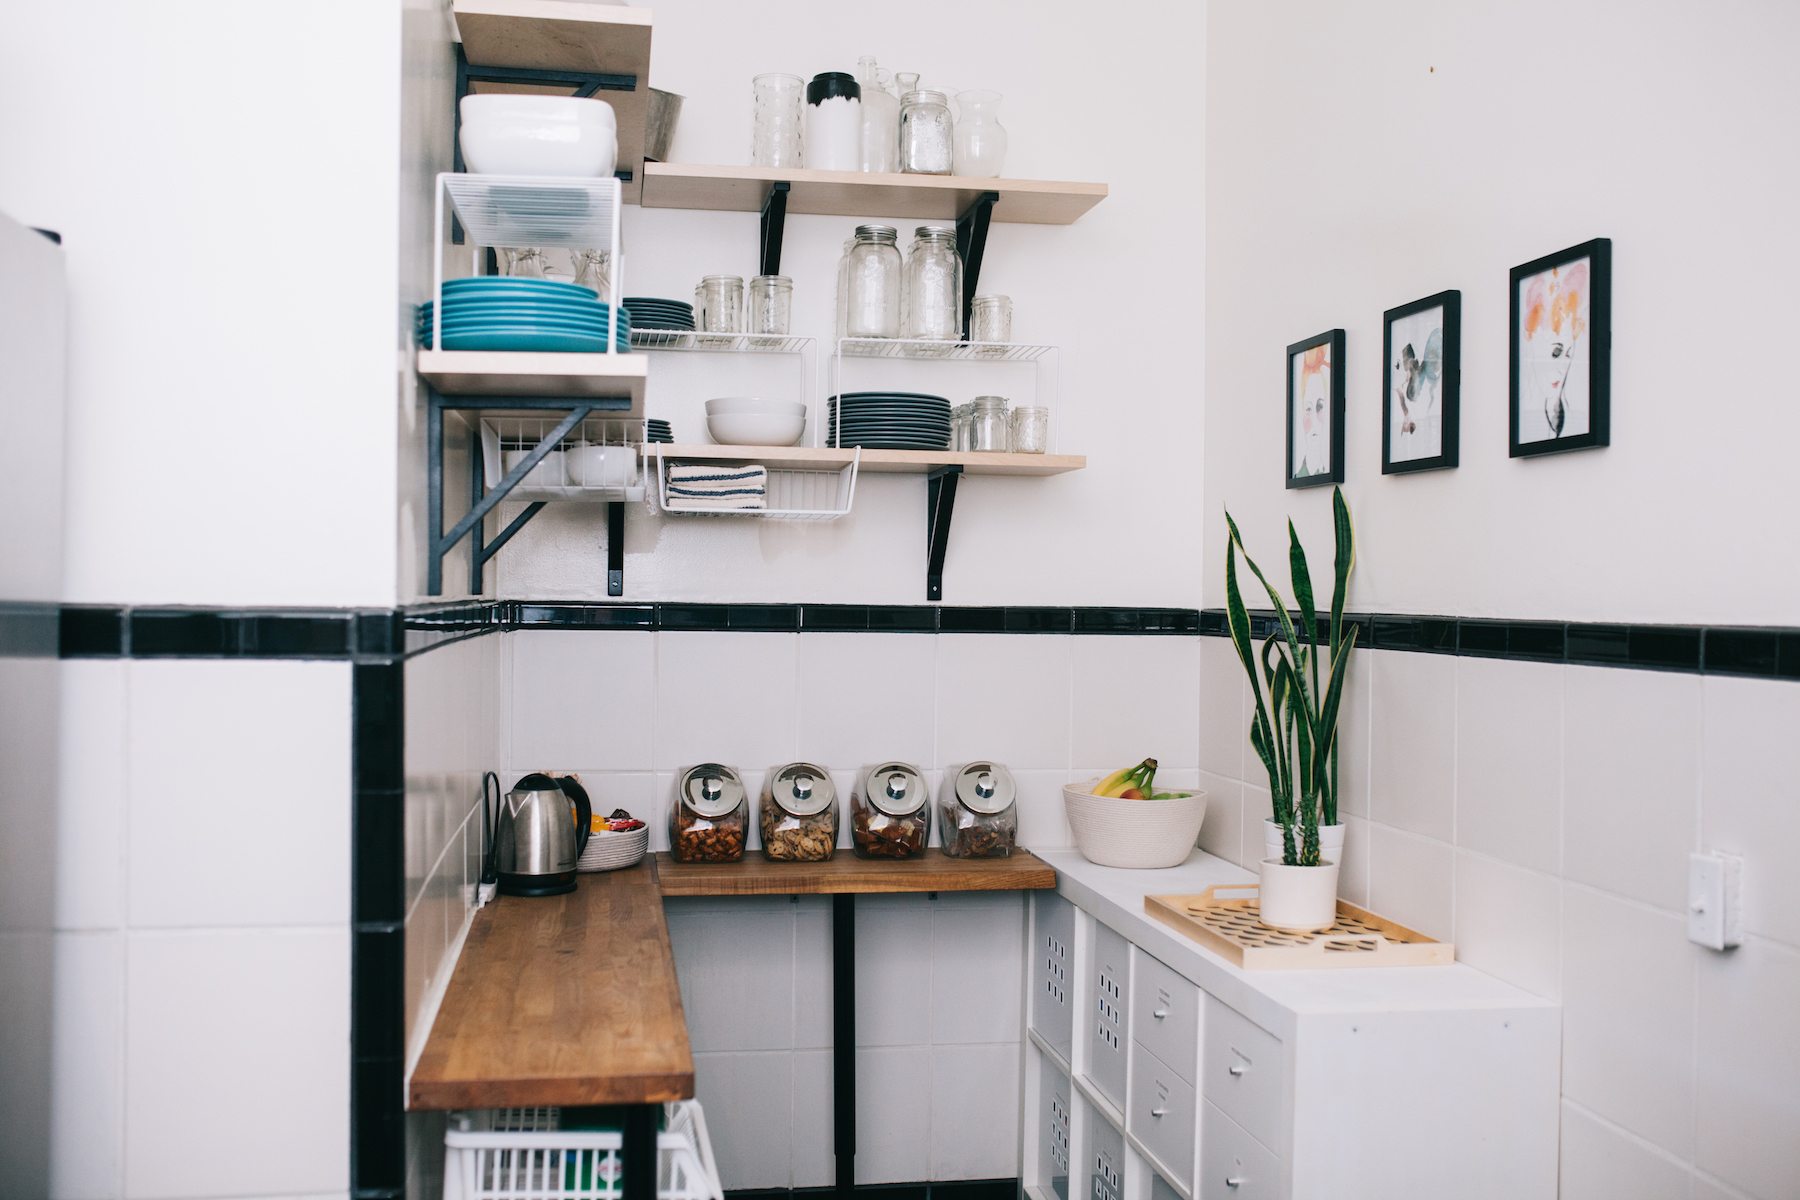
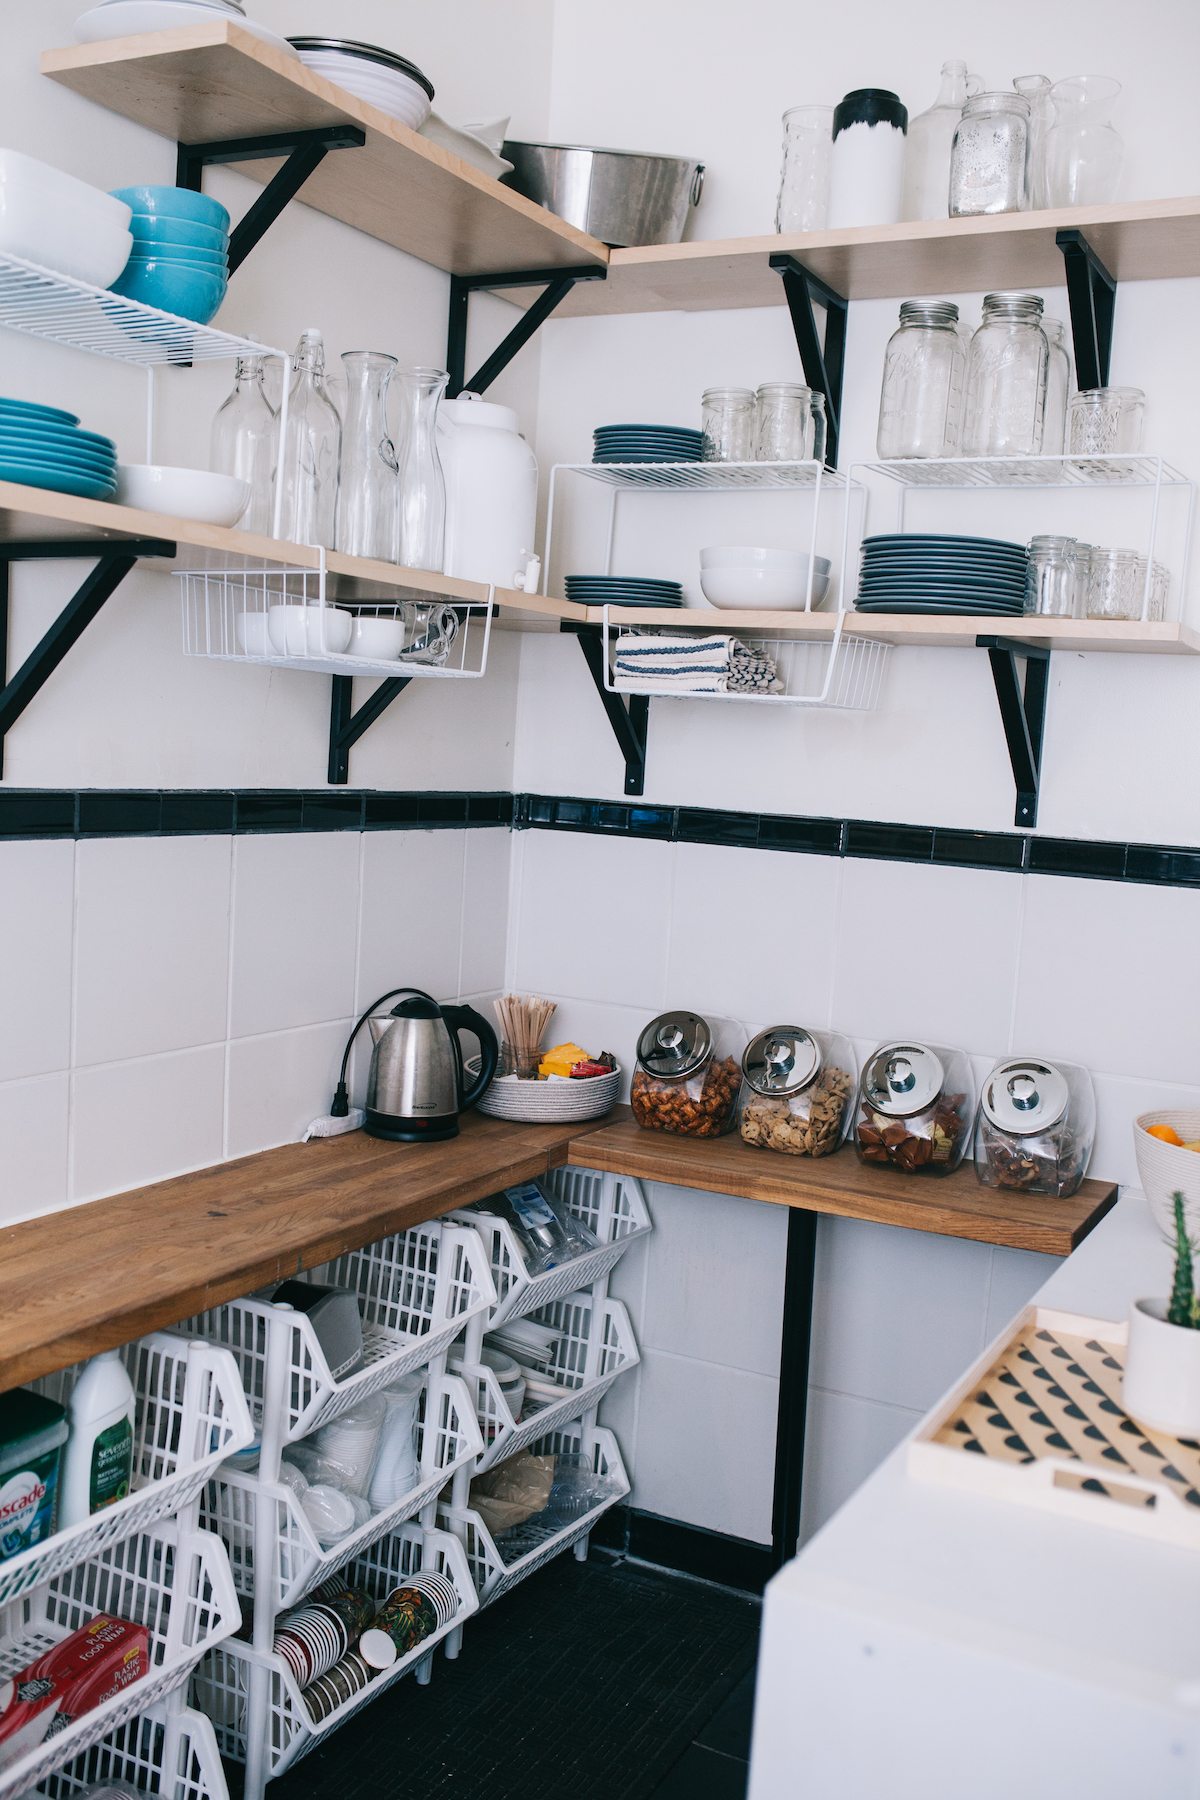
The other game changer was centering the shelves on one wall and using Expanding Shelves and Undershelf Baskets to maximize the space for more tableware and coffee mugs. After moving the microwave back down to where everyone could reach it, I made stations for coffee and tea by grouping all like accessories together to making it simpler to find and use. And, of course, making it visually appropriate by using Wolfum trays and beautifully handmade baskets by Tethermade.
Extra items that go the distance for a makeover in any space include things like the ceramic planters and candles by Norden Goods, beautiful Japanese kitchen towels from The Circular and handmade ceramic splatter mugs by LA designer Chris Earl.
I know there are spaces out there that are in dire need of this kind of repair, so here are a few tips to get started re-organizing:
Make the time and stick to it.
Perhaps invite a friend over to help or to keep you on track.
Start small.
Choose a small area like your bathroom or desk.
If a space is too hard to grasp, try choosing a category instead of an entire room.
By choosing a category instead of a “room” it eliminates the continuous feeling of finding the same items all over the house. For example: If you start in your closet, choose shoes. Then bring all the shoes from the entire house into one room, so that you are truly decluttering all the shoes in the house, not just in your closet.
Take everything out.
This is very important. In order to know you really decluttered and went through every single piece, you actually have to go through every single piece. Do not skip piles of papers, push aside bags of old clothes, or try ignoring a collection of books. They won’t ever go away without you making tough decisions.
Make piles.
Keep, donate, trash, sell. Simple as that. If you have lots of clothes to donate, plenty of organizations around the country are in need of used clothing, so do a little research to find what places speak to you.
Memorabilia or sensitive items are tough.
When it comes to items like photo albums and stuff that holds memories, try and be as practical as possible. For things like photos, find a service that can take actual photos and digitize them for you. For other items that hold meaning, give yourself a limit to how many you should keep, and really think of the reason why you are keeping it. It can get pretty emotional dealing with items that are linked to past, but if they don’t bring a happy emotion nor do they have a place in your home or office, then the best thing to do is to let it go.
Thank you to The Container Store for generously supplying the items needed for this project! As always, all opinions, raves and reviews remain Darling’s own.
Images via Shawn Throckmorton


3 comments
Could someone give a source for that gorgeous wall tapestry in the kitchen?
Brava! Beautiful work. I love seeing spaces transform into something that is both visually pleasing and functional.
Those are awesome makeovers you did. The Darling team must be so happy now! Thank you for the pointers too.
Charmaine Ng | Architecture & Lifestyle Blog
http://charmainenyw.com