This post originally appeared on terra + tint.
Although I have an office, I work 80 percent of the time at home. At the moment, I can excuse this with the fact that our office air conditioning is broken, and it feels like a greenhouse. While it’s good for our plants, it’s not good for me.
At this point, when I am occupying our kitchen table, I have to push everything aside at the end of the day to set the table for our cherished family dinners. It’s not an ideal solution.
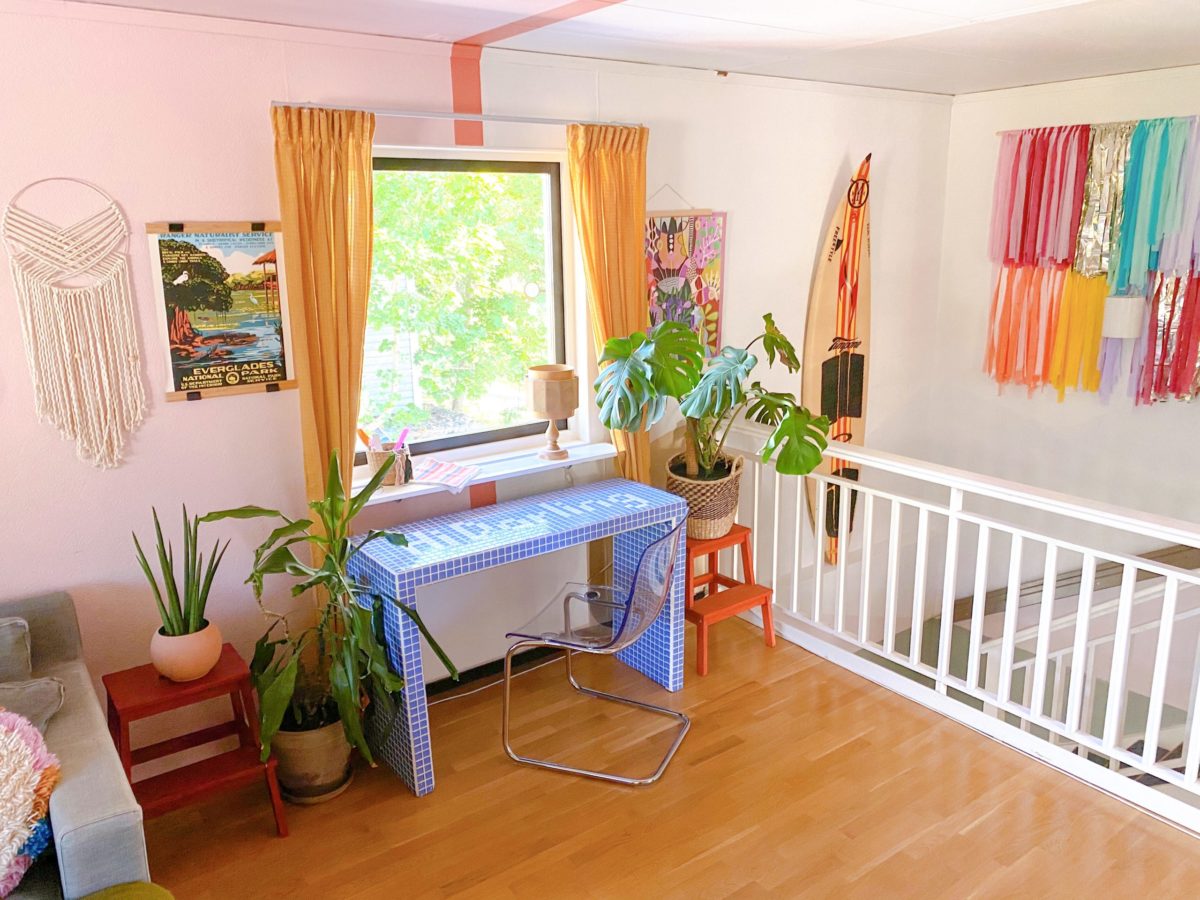
So I decided I needed a slim desk that’s not just useful but also somewhat pretty when not in use. I wanted a statement piece that adds to the existing space, which is colorful but lacks a bit of punch. I don’t do half-measures (if I can help it).
I came up with the idea of building a sky blue tiled desk. I can’t be that hard, I thought, and it wasn’t.
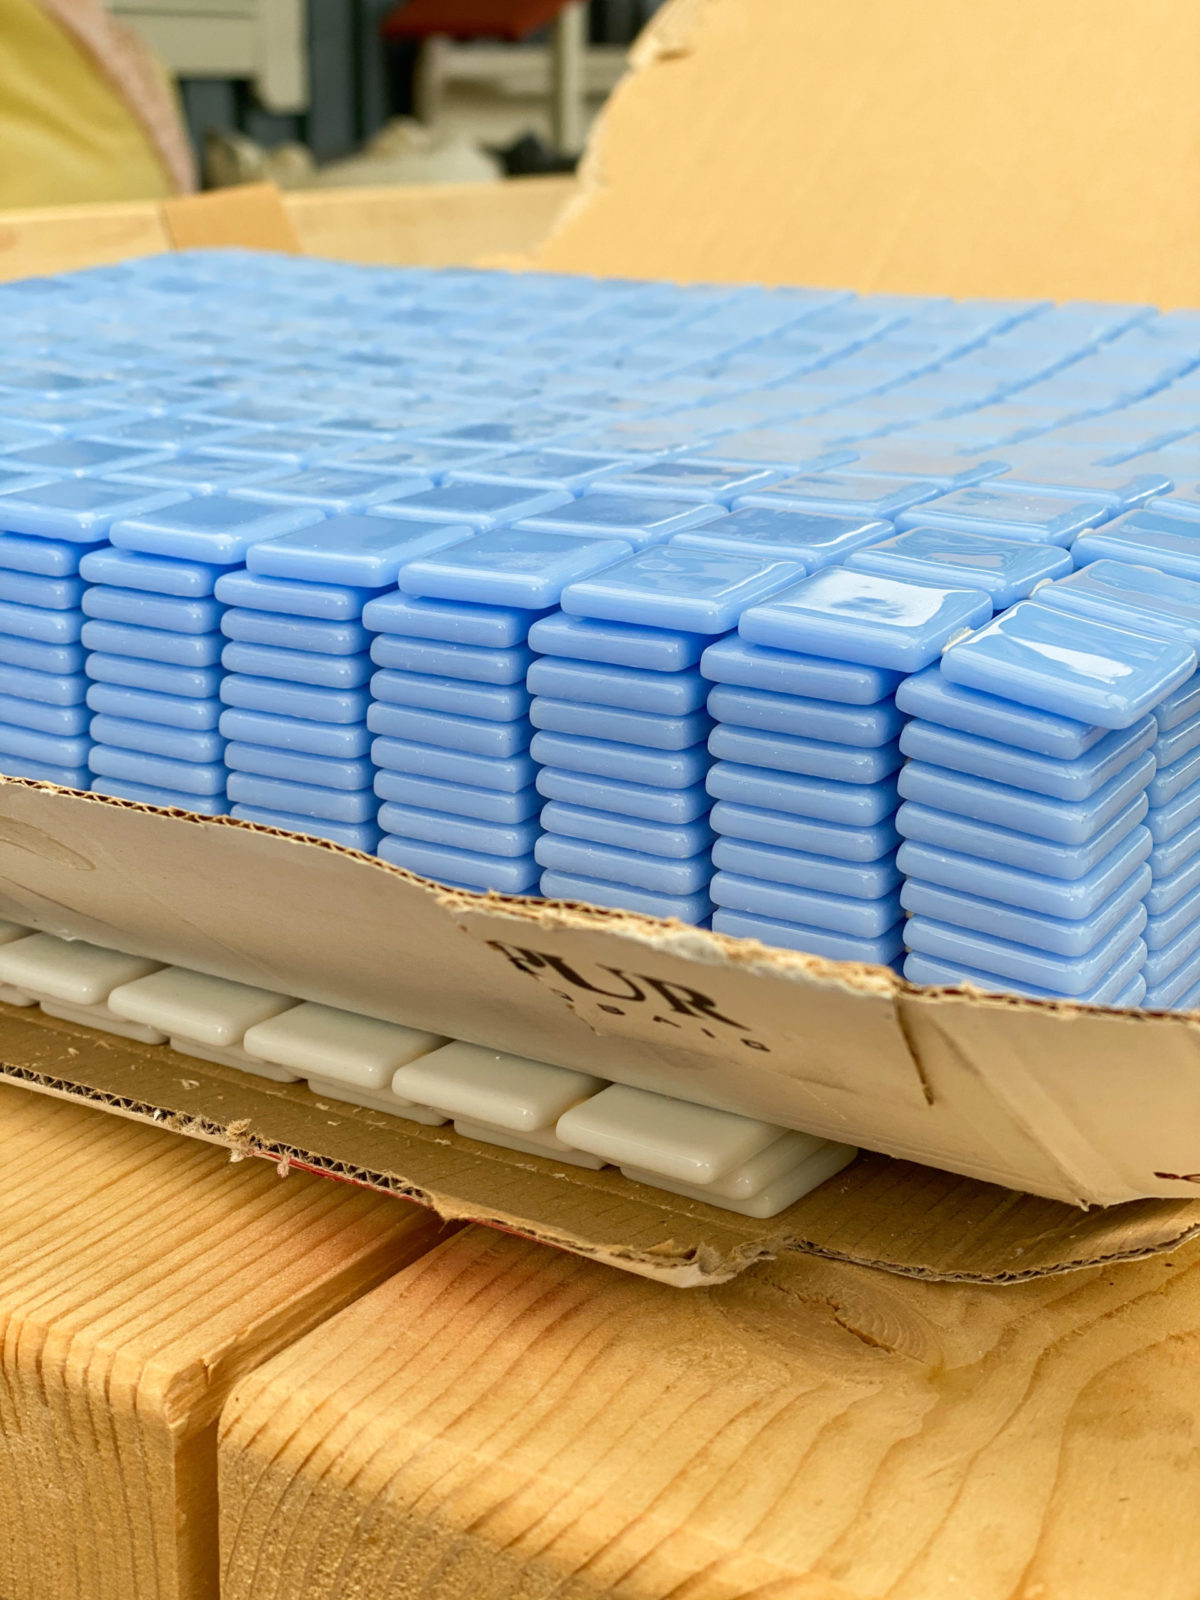
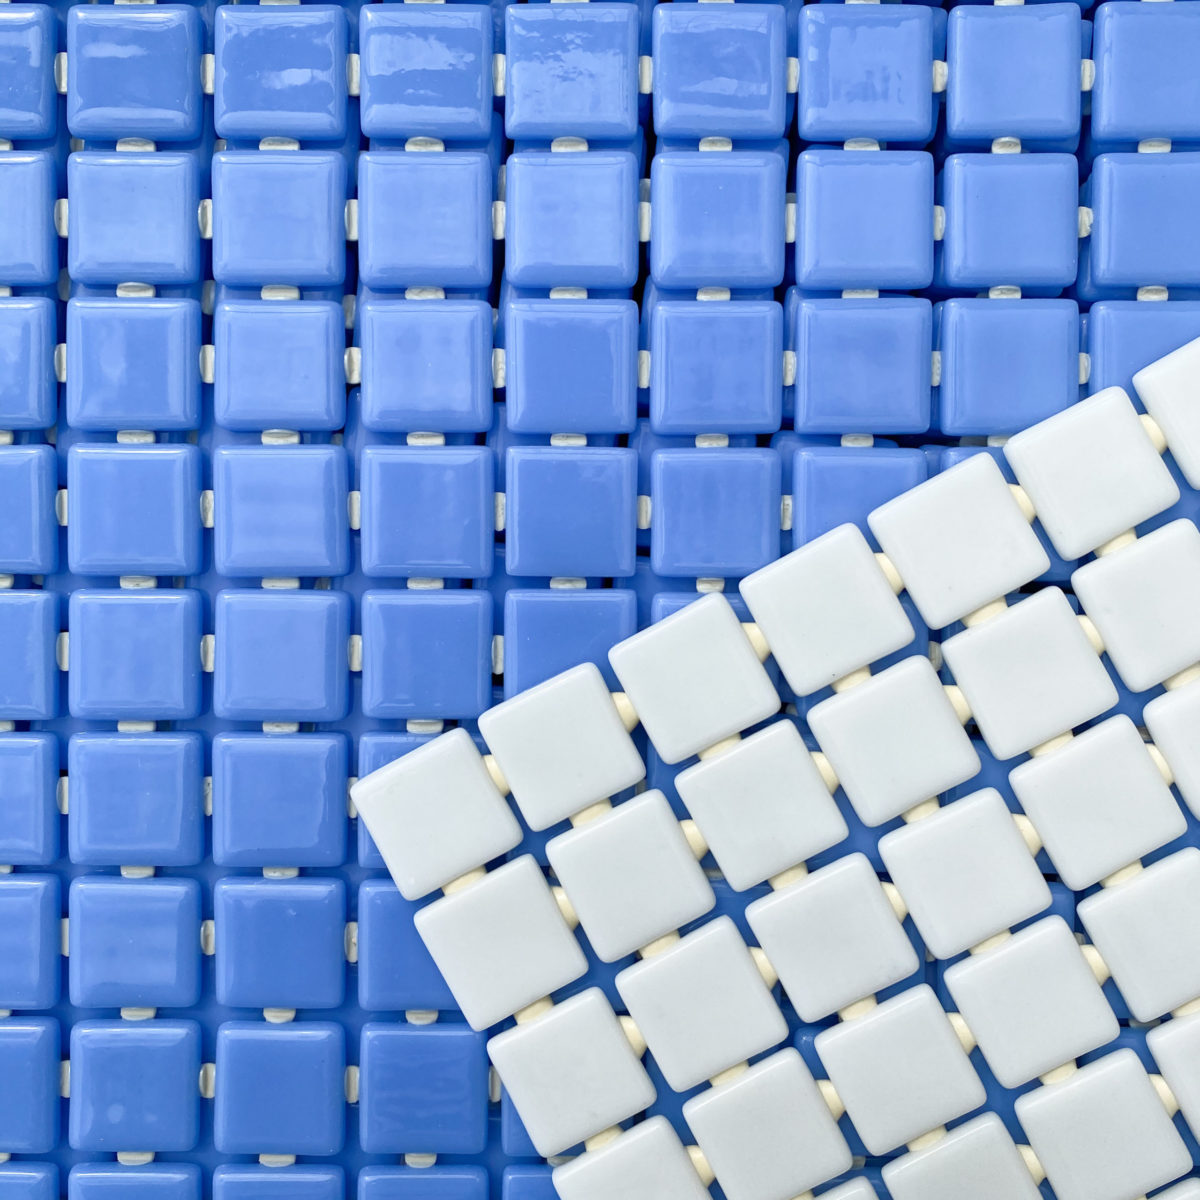
For this project, I partnered with Kakeldax—our local and trusted tile shop that has 11 shops in Sweden (two within 10 minutes of our home) and a wide range of different tiles online as well. Kakeldax provided me with a set of tiles from their Vidrepur Colours collection. I opted for the Sky Blue and White to be able to create some sort of pattern.
Here are the supplies you will need to build the tiled desk:
You will need:
- A Desk
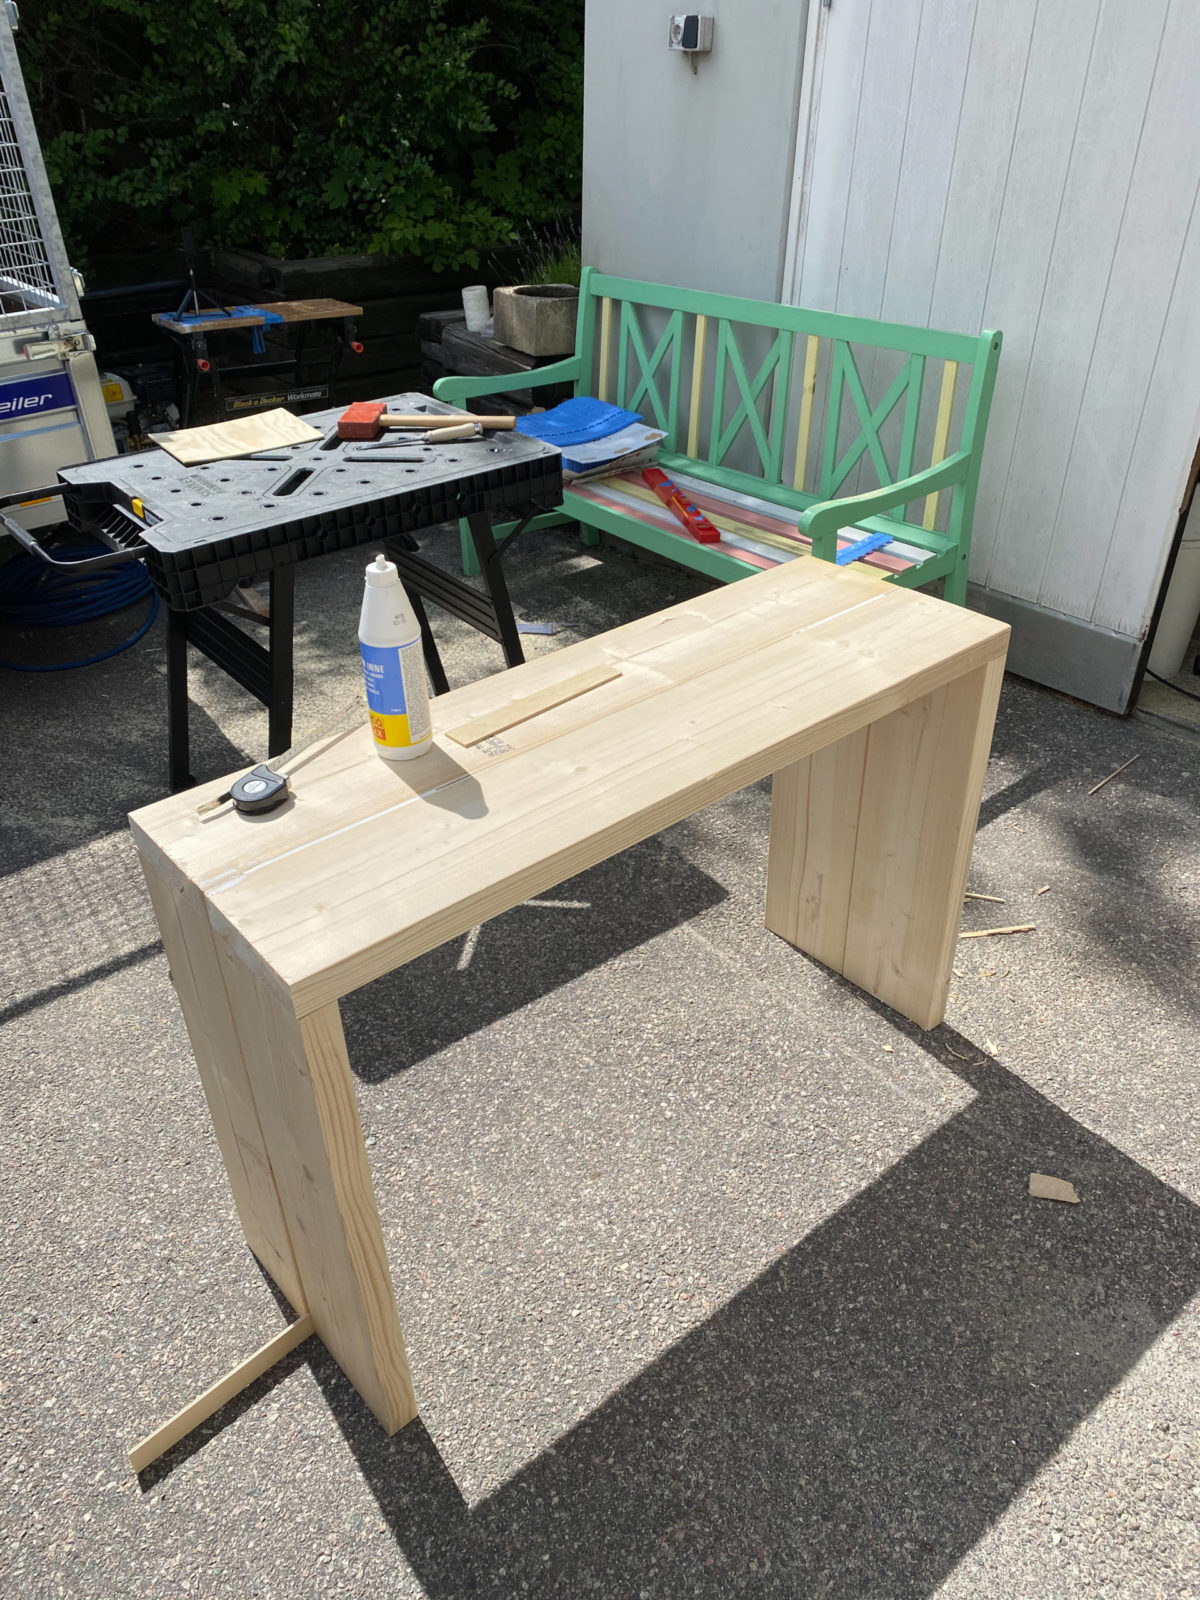
You can build one or use an existing one. This tutorial will focus mainly on the tile work itself. My desk was built out of two planks. - Tiles
I opted for small mosaic tiles as they would be easiest to measure and finish off corners and edges. - Tile Adhesive
I opted for industrial super glue. - Tile Grout
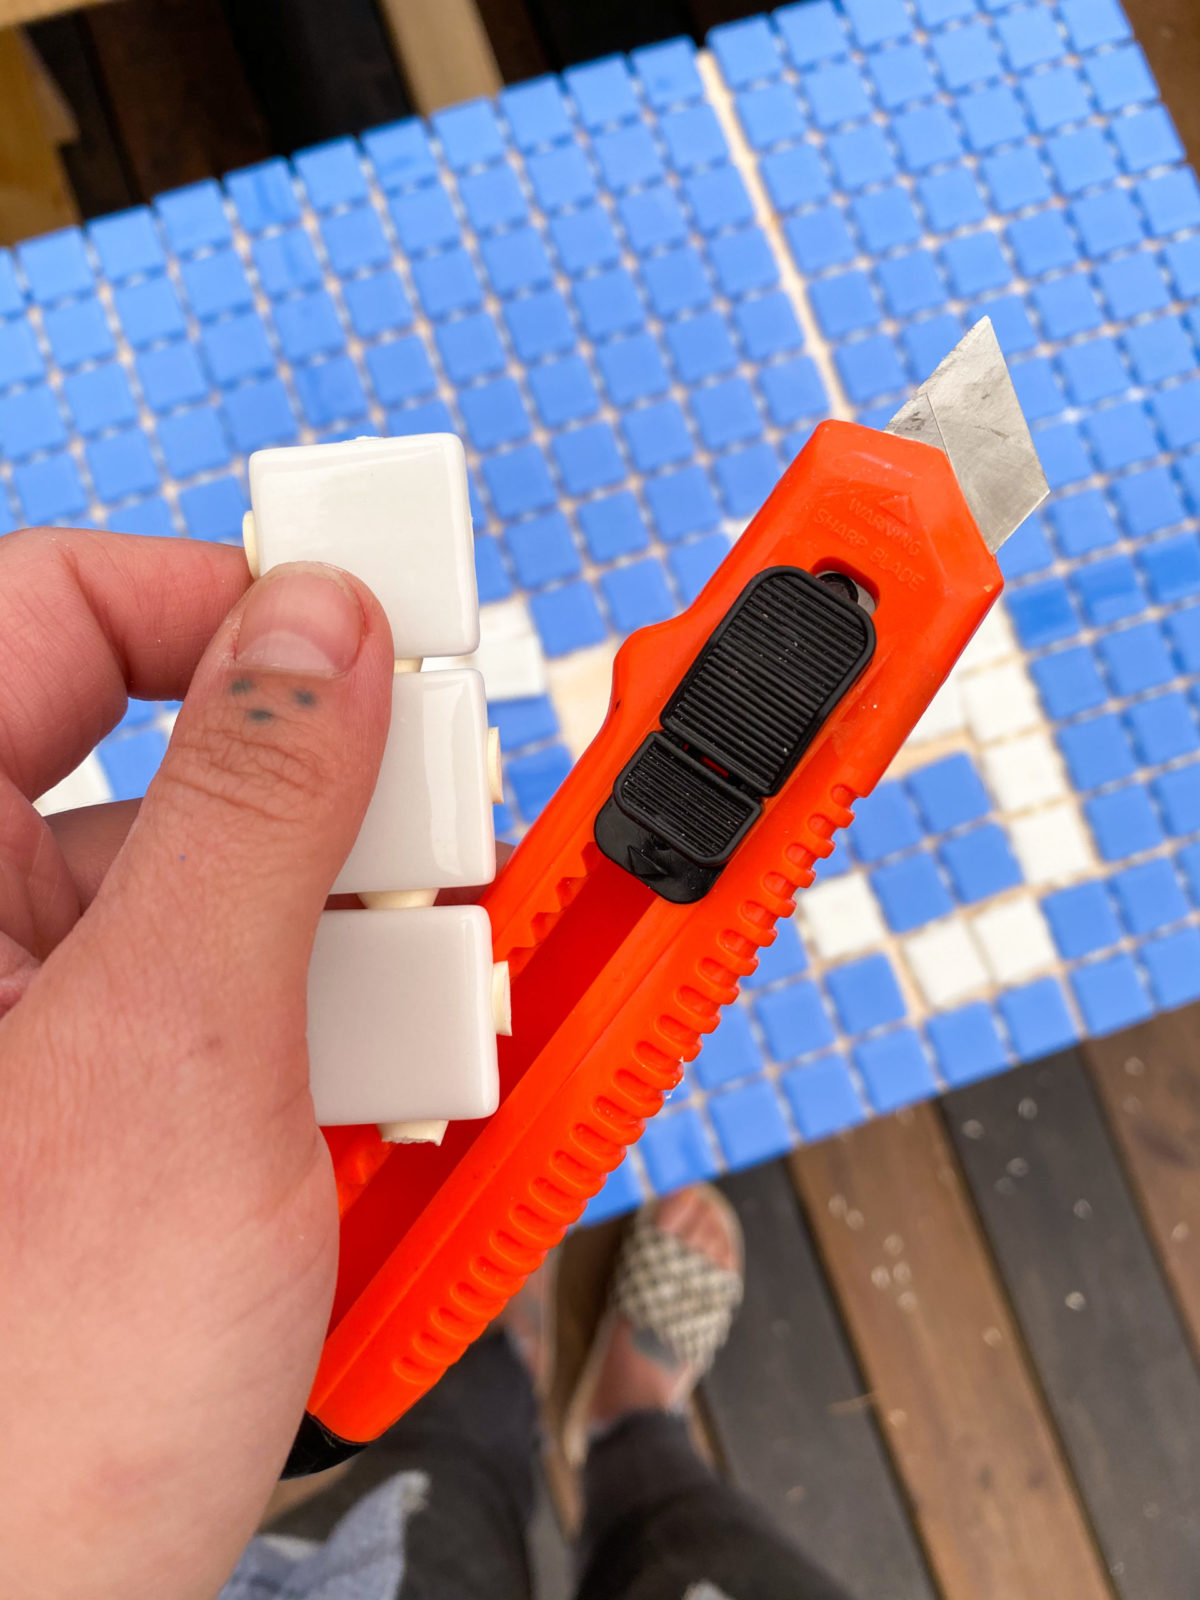
My tiles are blue and white so I choose white cement-based grout. - Carpenter Knife
- Electric Mixer
- Plastic Buckets
- Tile Trowels
- Rubber Grout Floats
- Tile Sponge
- Tile Spacers
This is if you are using tiles that aren’t connected by the net/sheet.
Get your desk ready for tiling.
For me that means actually building the desk out of two planks. This allowed me to be very specific in my measurements and with the space I have available.
The most important thing is really that your desk can canvas as many tiles as close to the edge as possible and not leave bigger gaps. The surface should be somewhat smooth. If you have a stone table/desk or even metal, then that’s awesome!
If you want to add a pattern to your tile job, then now is the time.
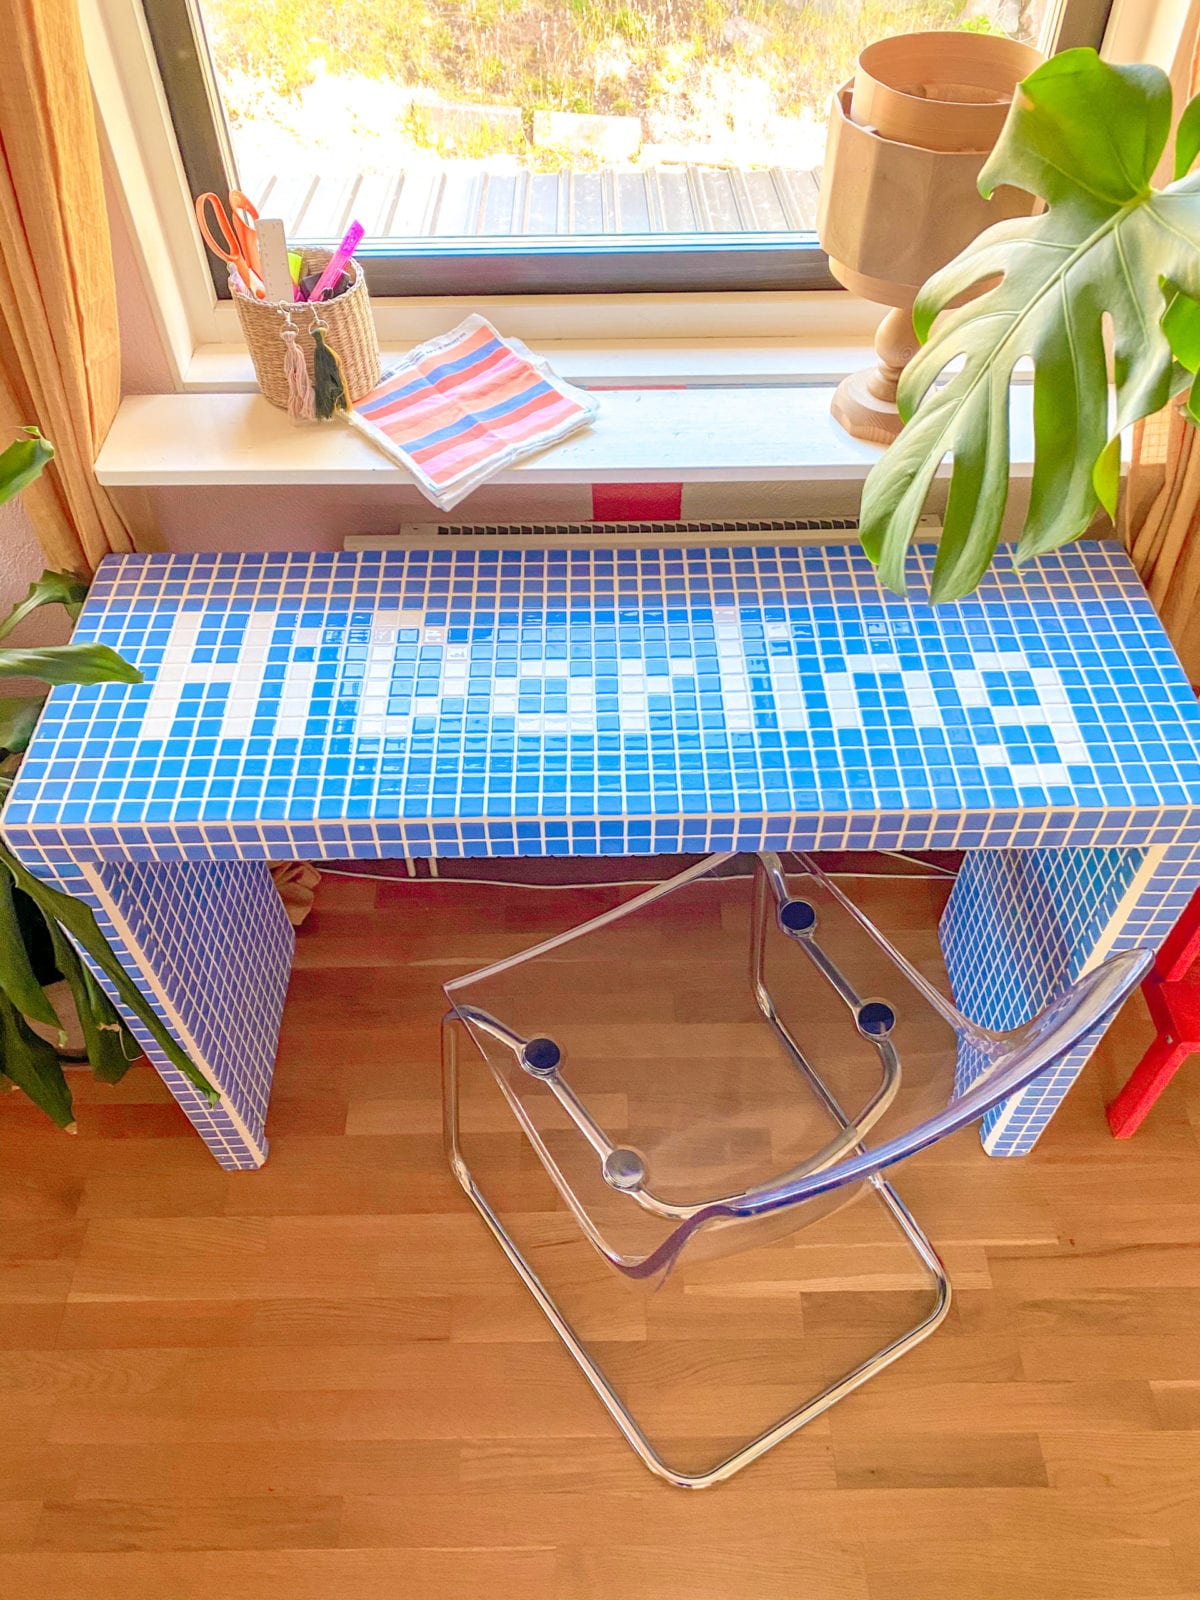
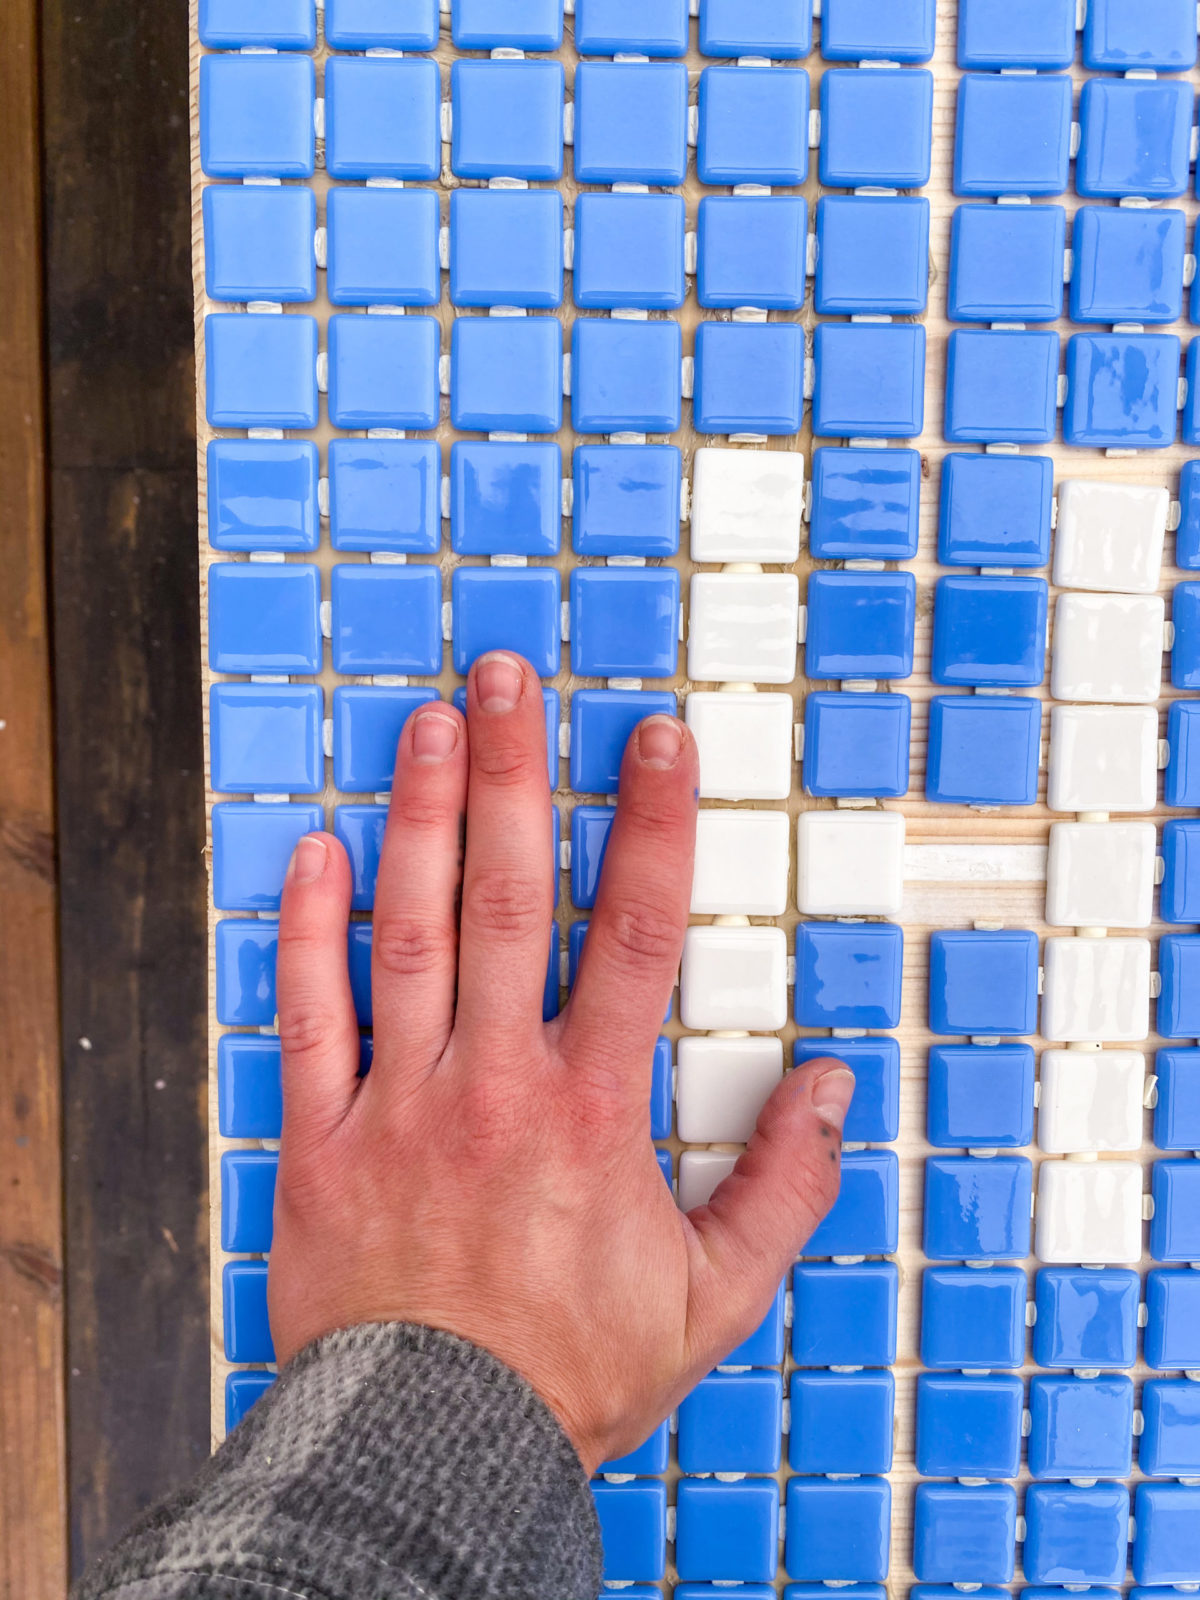
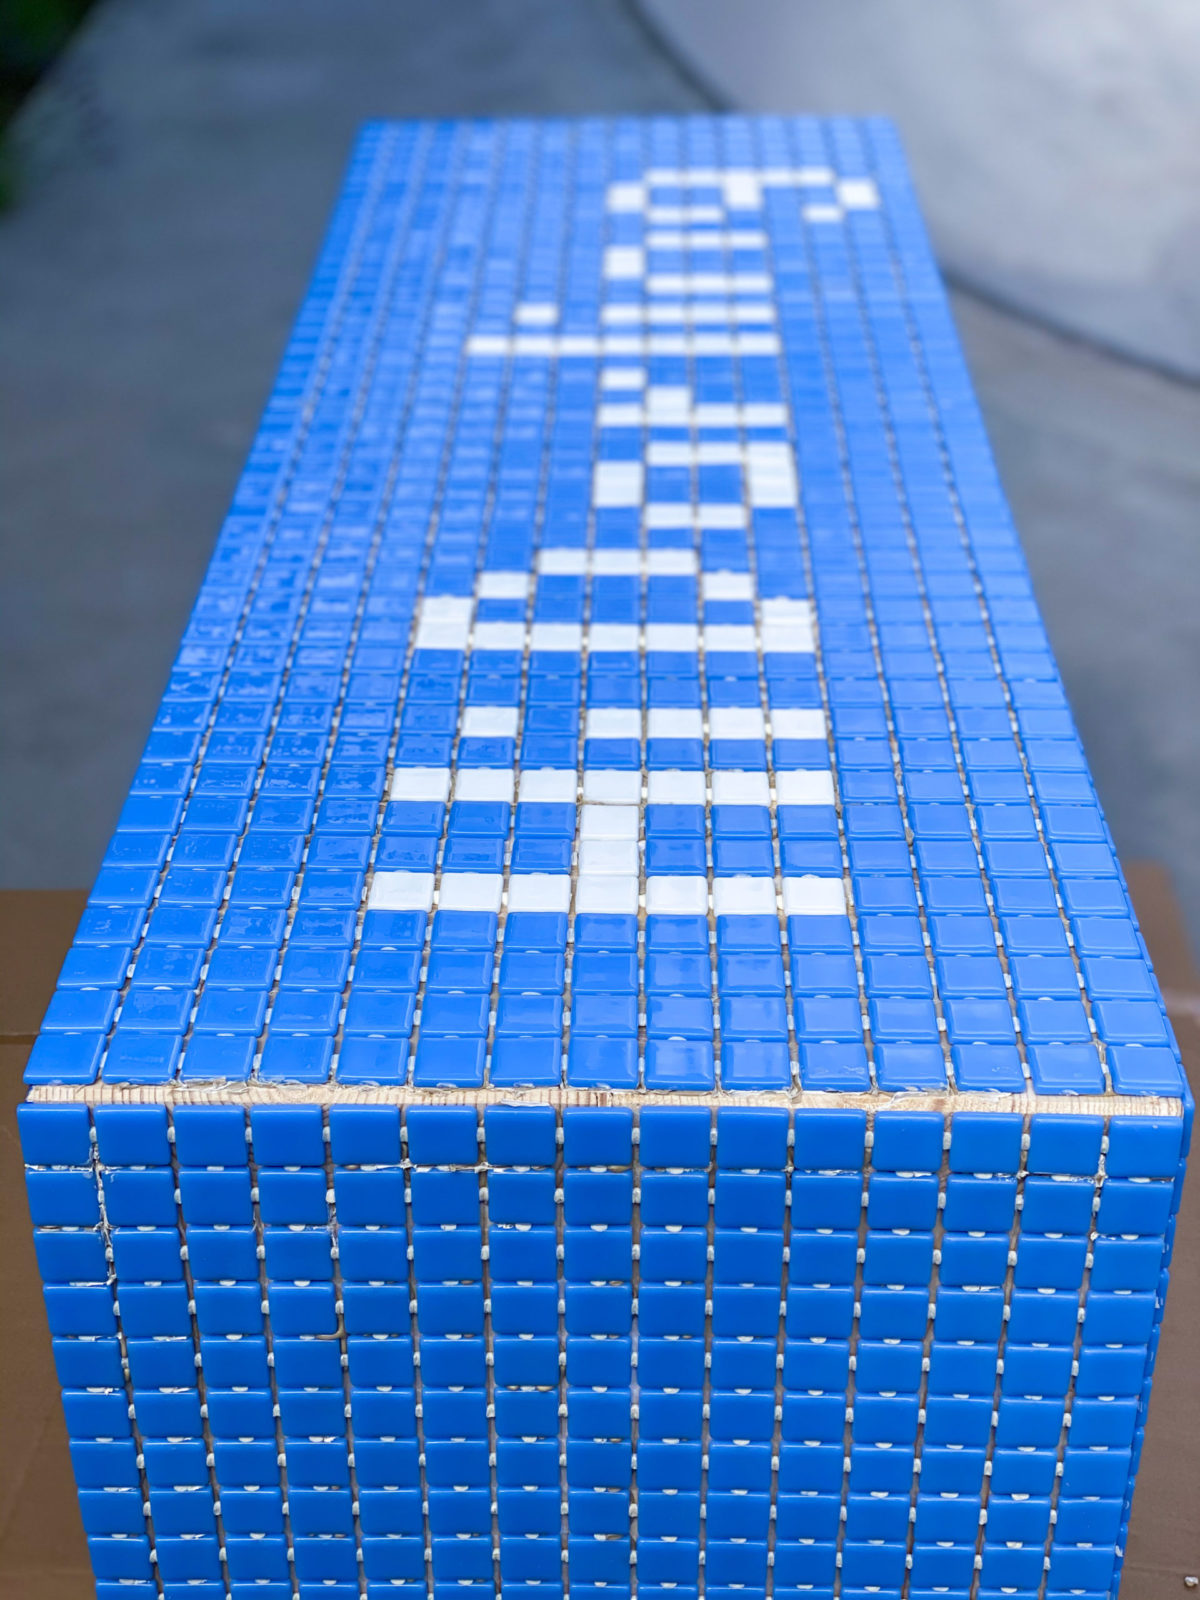
I knew from the get-go that I wanted to “write” on my desk. This is also the reason why I chose the smaller, tiled mosaic version instead of the larger sized tiles.
I started by dividing the tiles of the contrast color (for me, white tiles) with a carpet knife, making sure I also removed the glue from each tile, which held the tile sheet together.
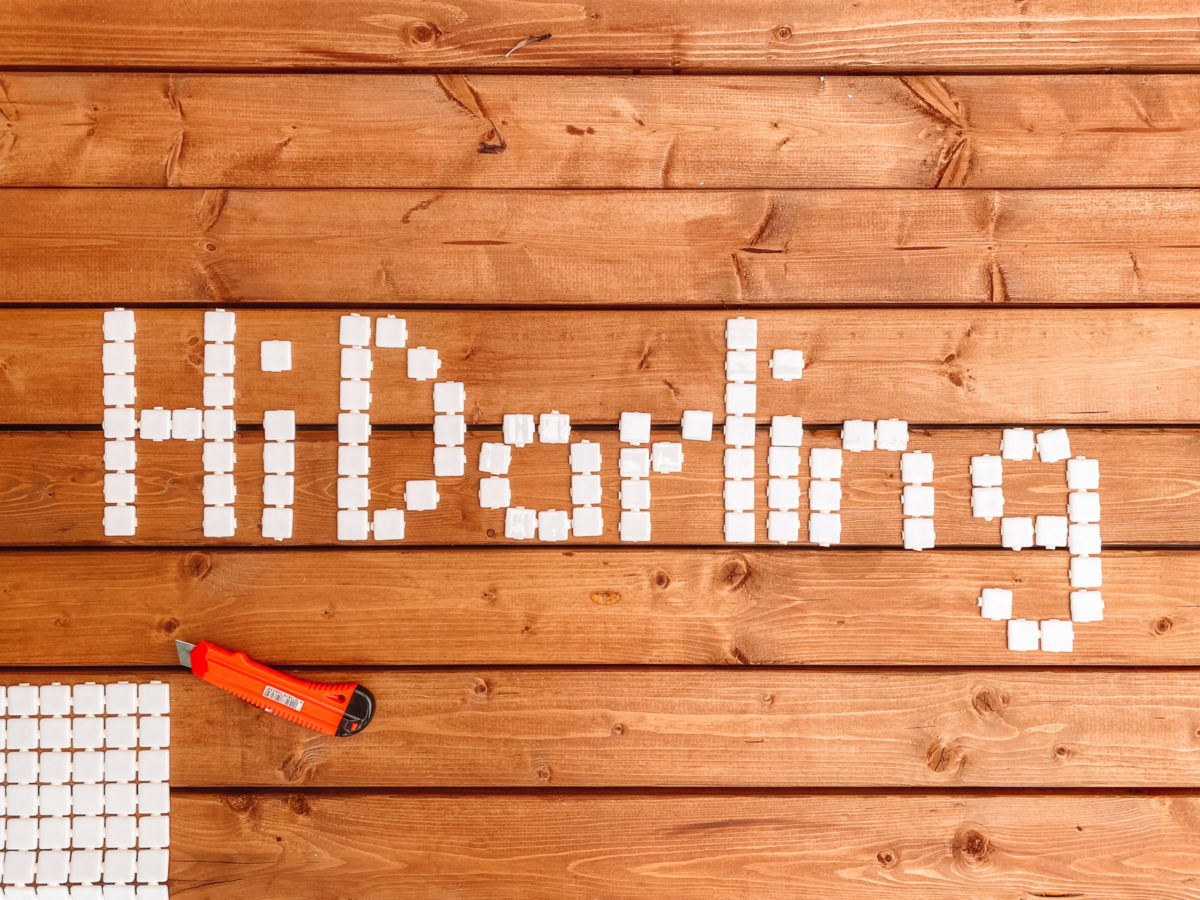

It’s cute right? Calling myself “darling,” every time I go to the desk.
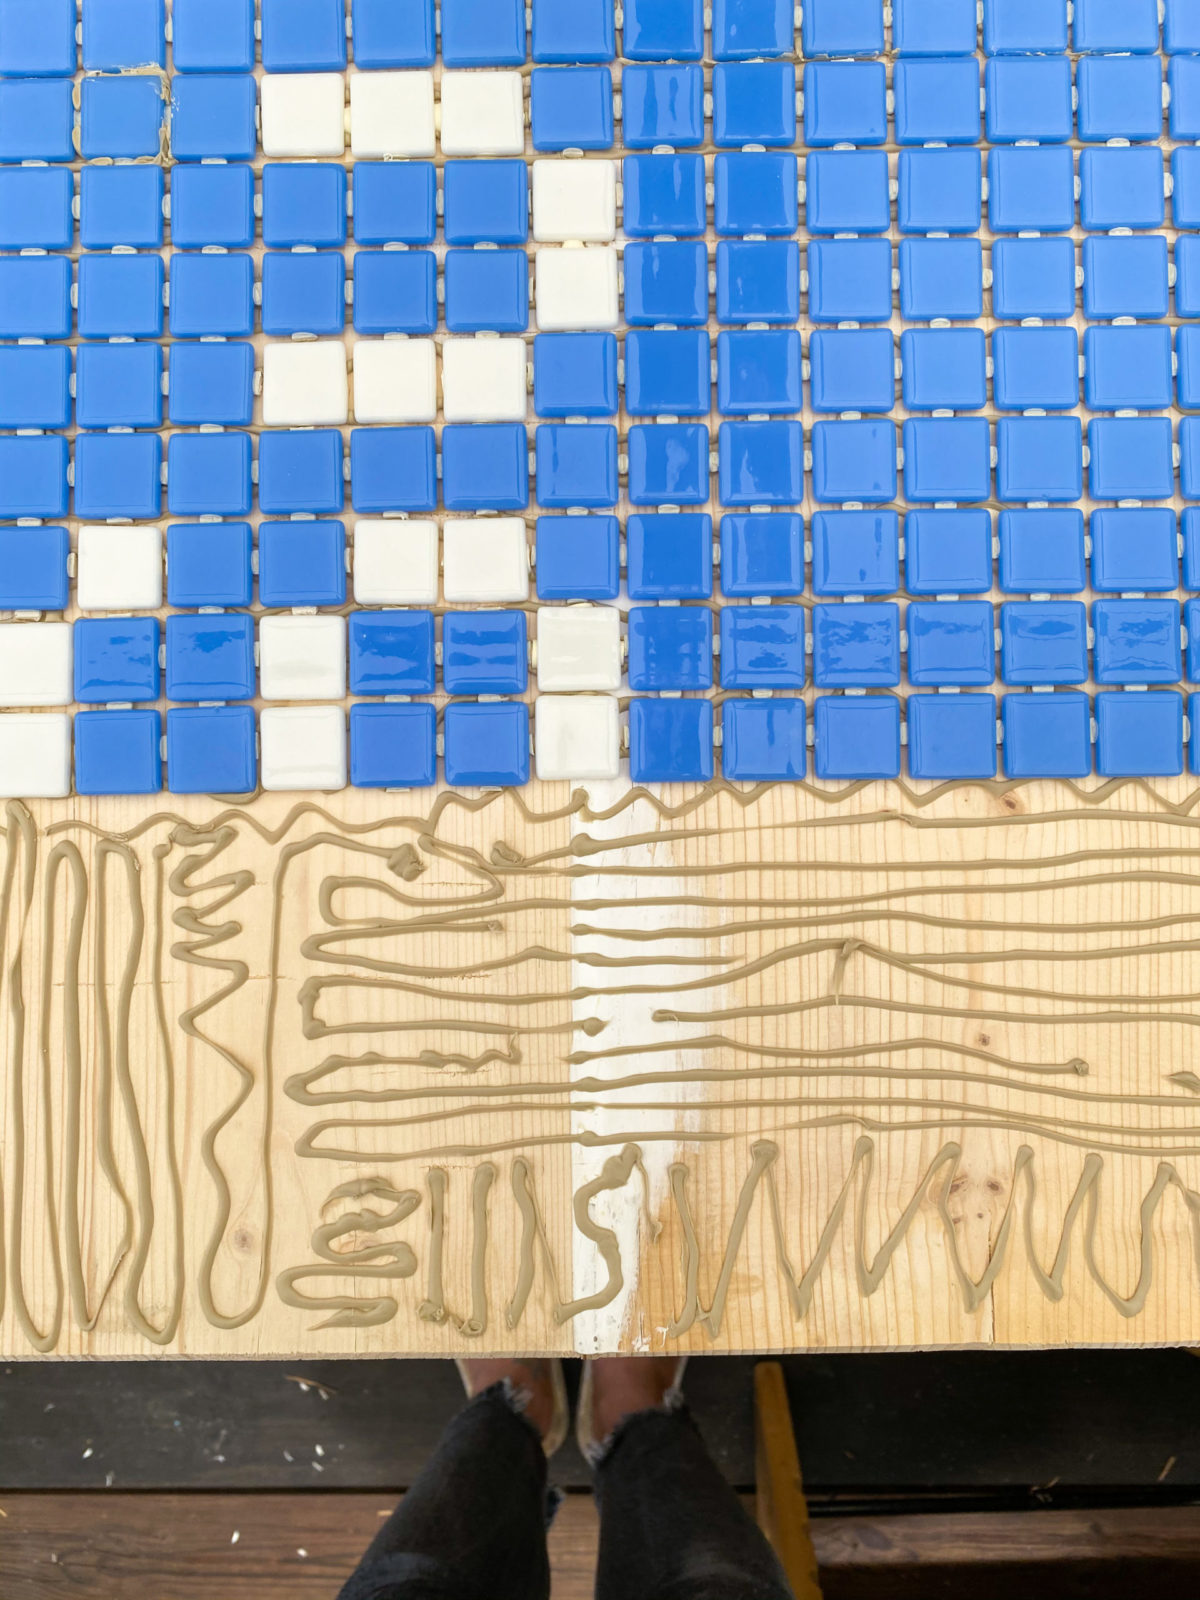
Creating the tile adhesive.
As I mentioned above, I used an industrial super glue to give my tiles a bit of breathing space, but any tile adhesive should do. After all, this is not going to be a high traffic area like a bathroom or kitchen backsplash.
For the tiles to stick as well as possible, the adhesive has to be spread out evenly.
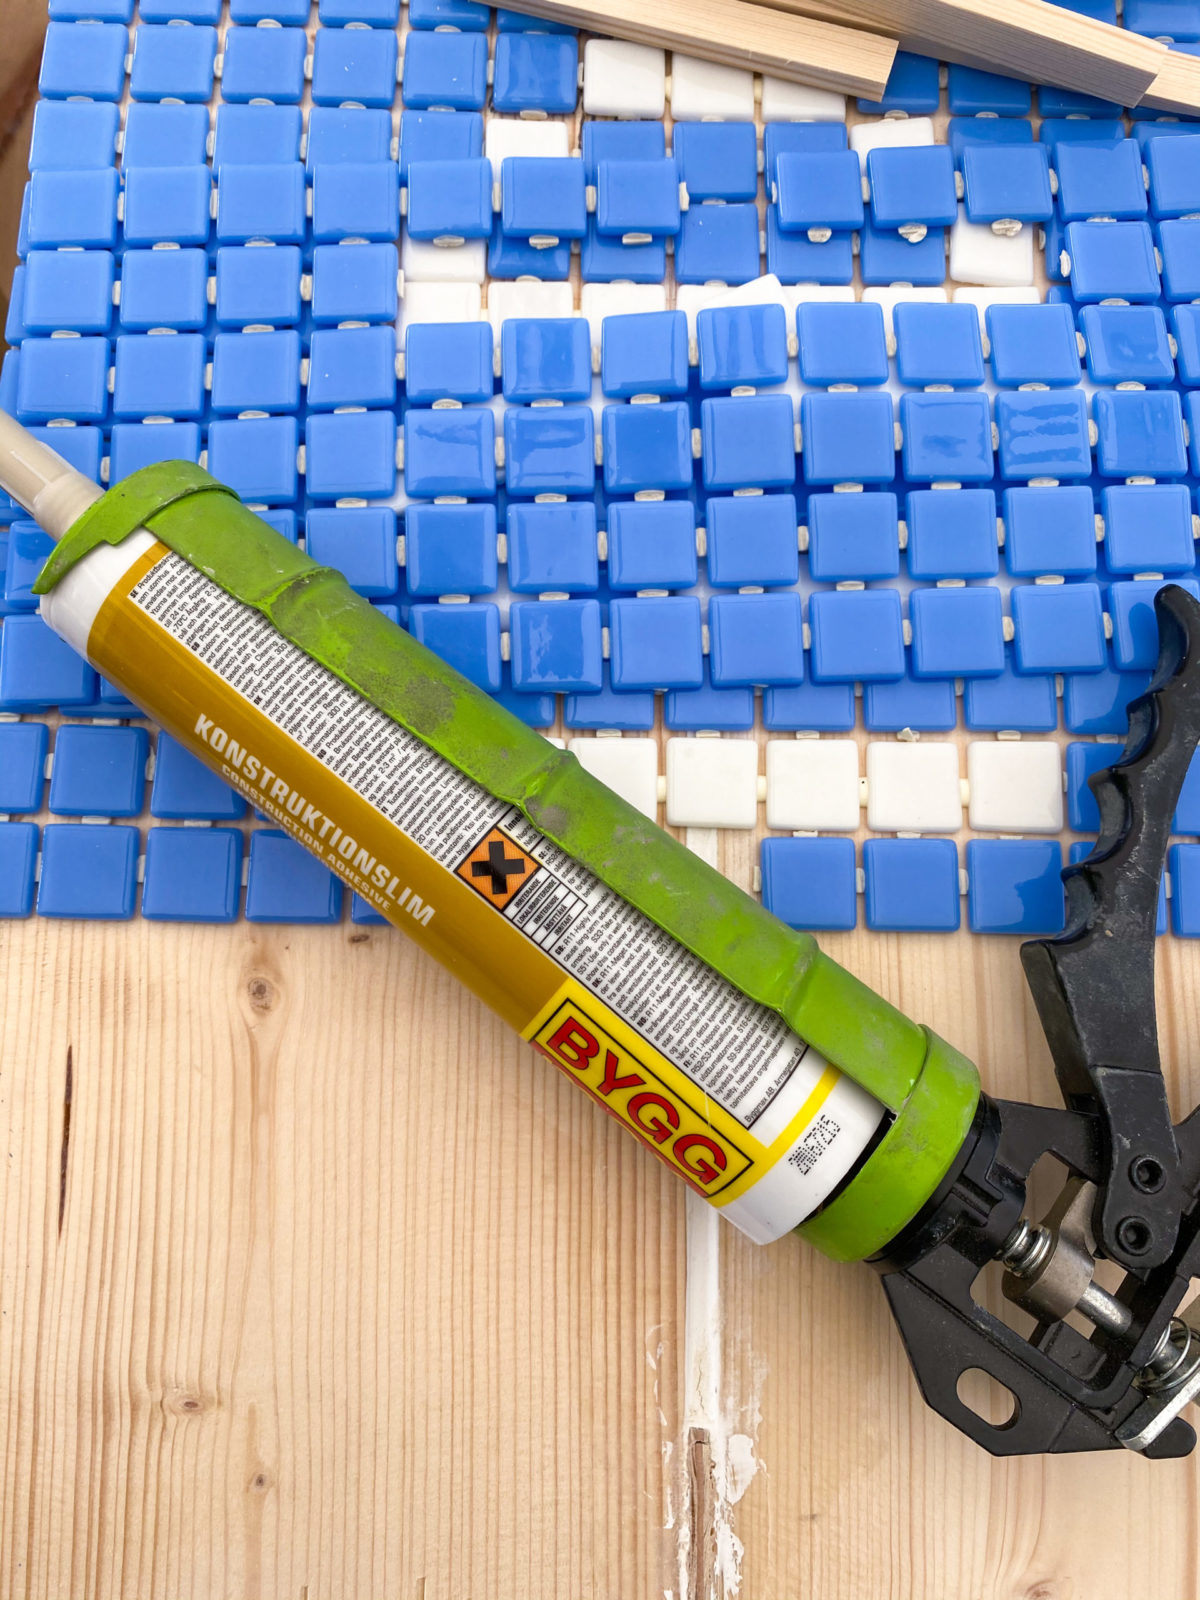
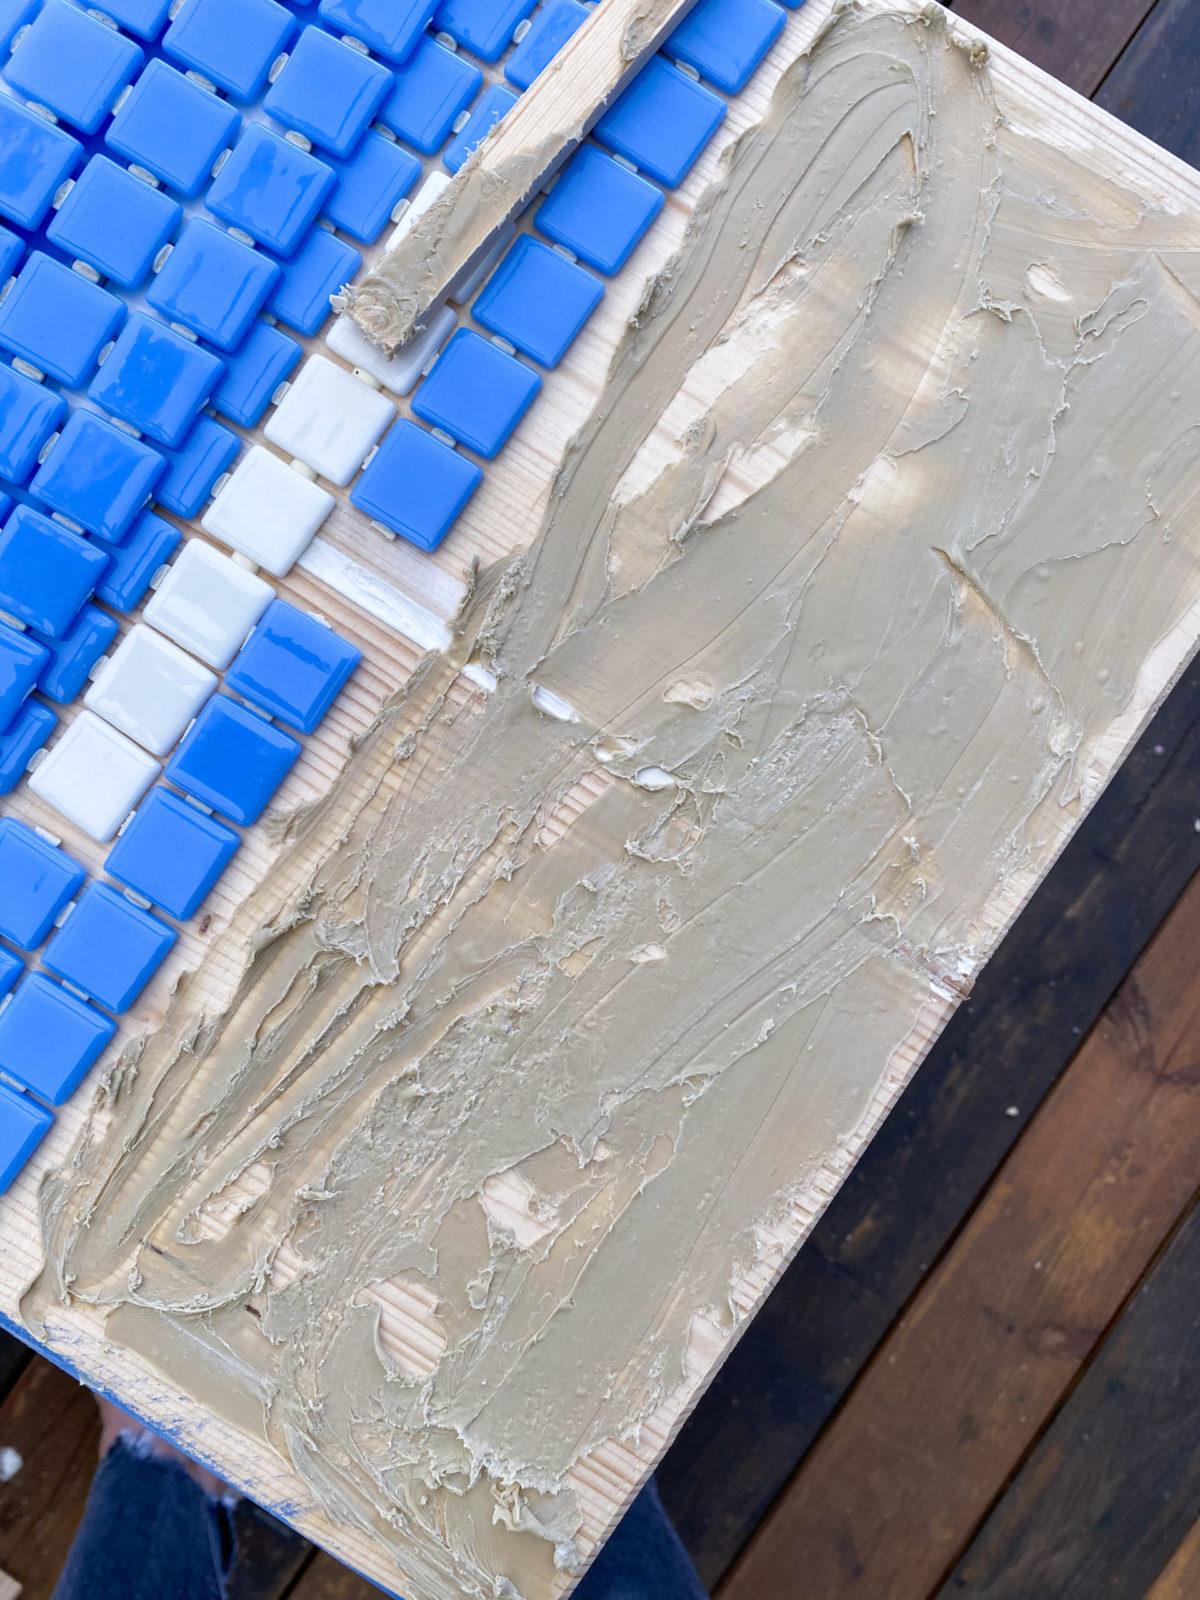
After you apply the adhesive, you have to give the tile or tile sheet a good hard press. Make sure everything stays aligned.
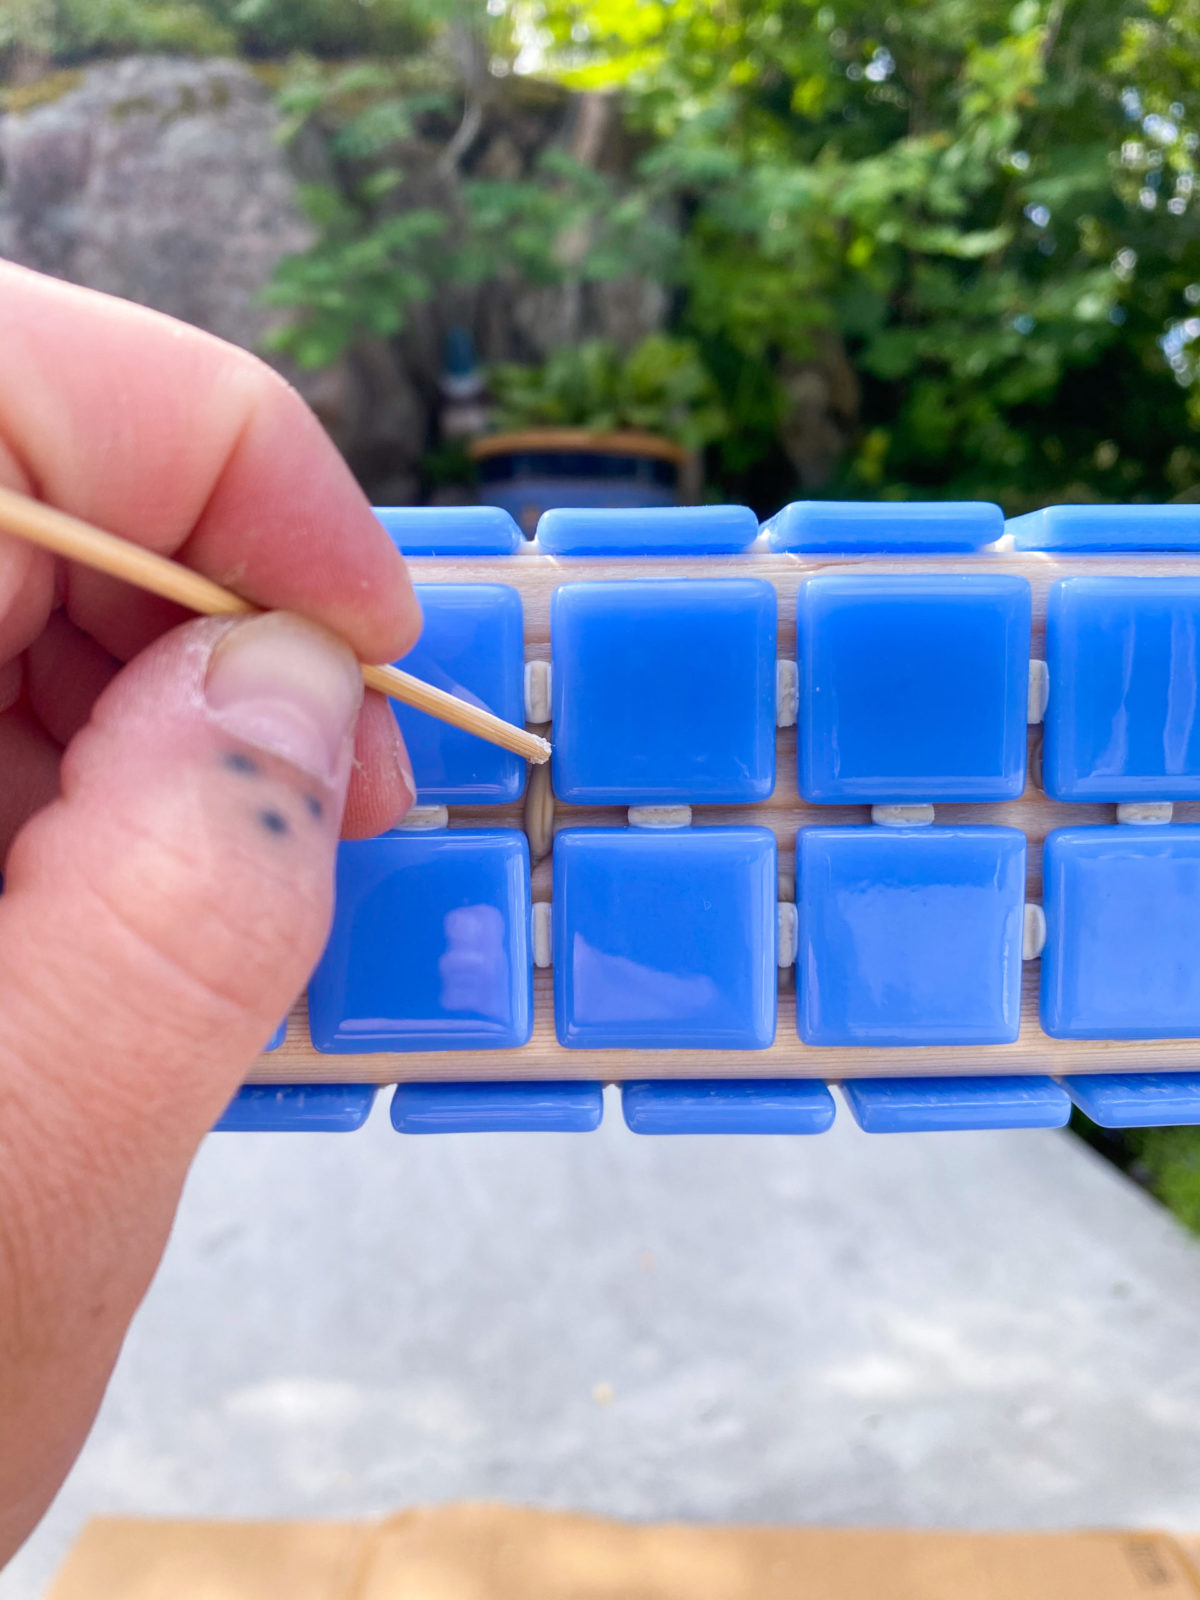
Remove excess adhesive/glue.
If you want your tiles to stick as much as I did, then you are likely also to end up with excess here or there. I used the carpenter knife toothpick to pick those out.
It’s looking mighty good even pre-grout though. What do you think?
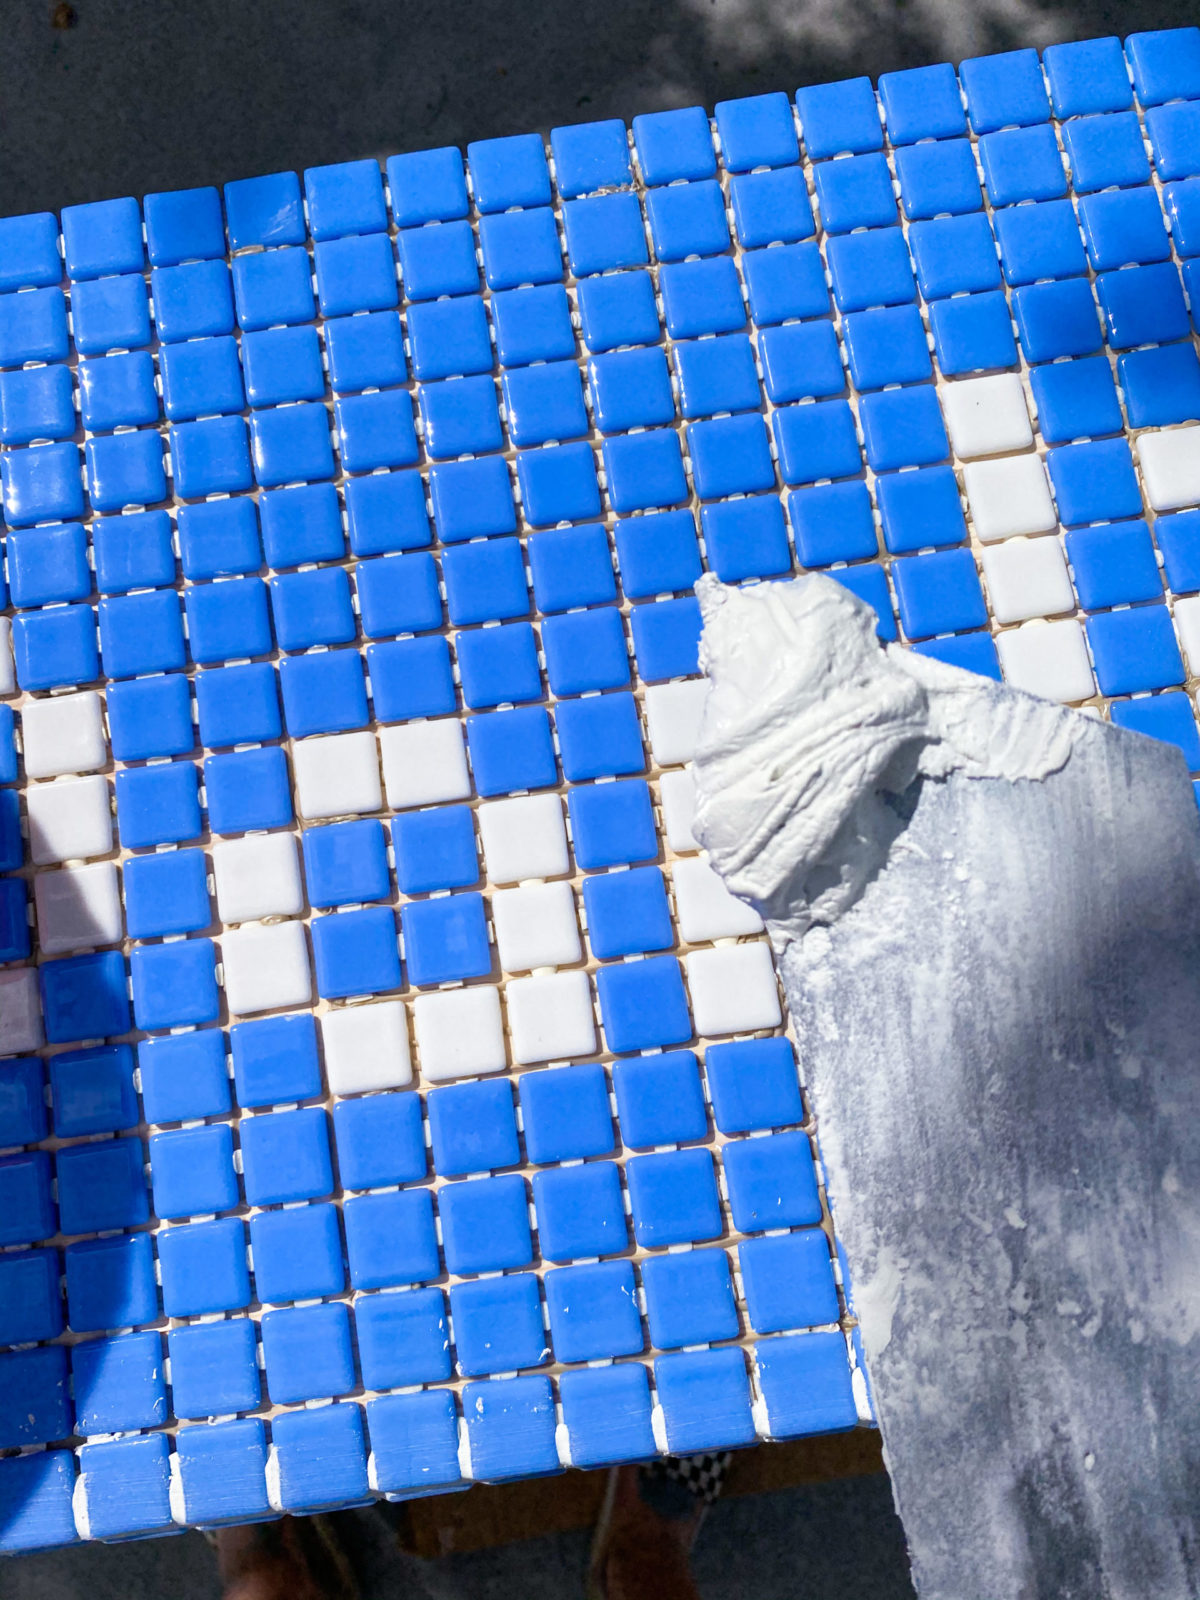
Grout the tiles.
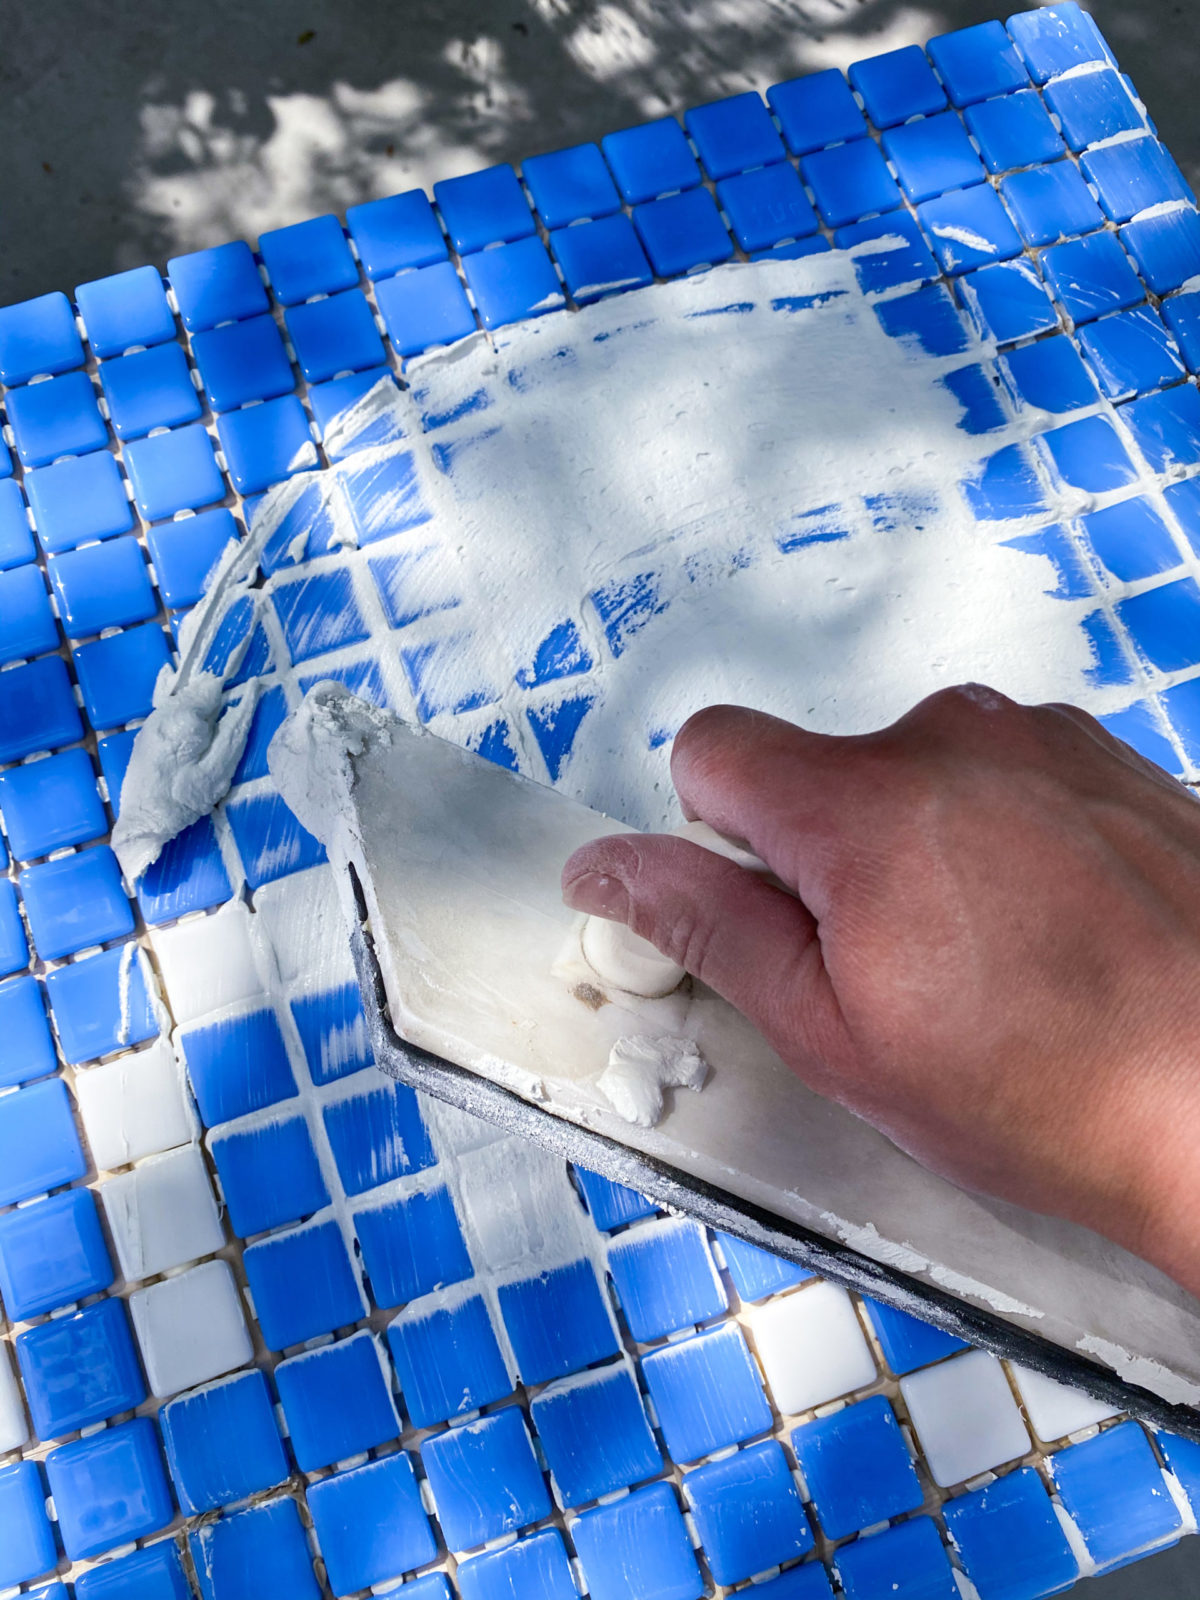
This is by far my favorite part! If you made it this far, then I promise this is the easiest part. When mixing the grout keep the consistency at waffle batter level. You know—not too thick and not too runny. Then, go and spread the grout out with your rubber grout float and really work it into all the gaps between tiles.
Why is this the best part? You can be as messy as you want. Spread the grout all over the tiles to really get every last gap. Most tiles are glazed or are made from glass or ceramic, which allows you (at the next step) to just wash off the excess.
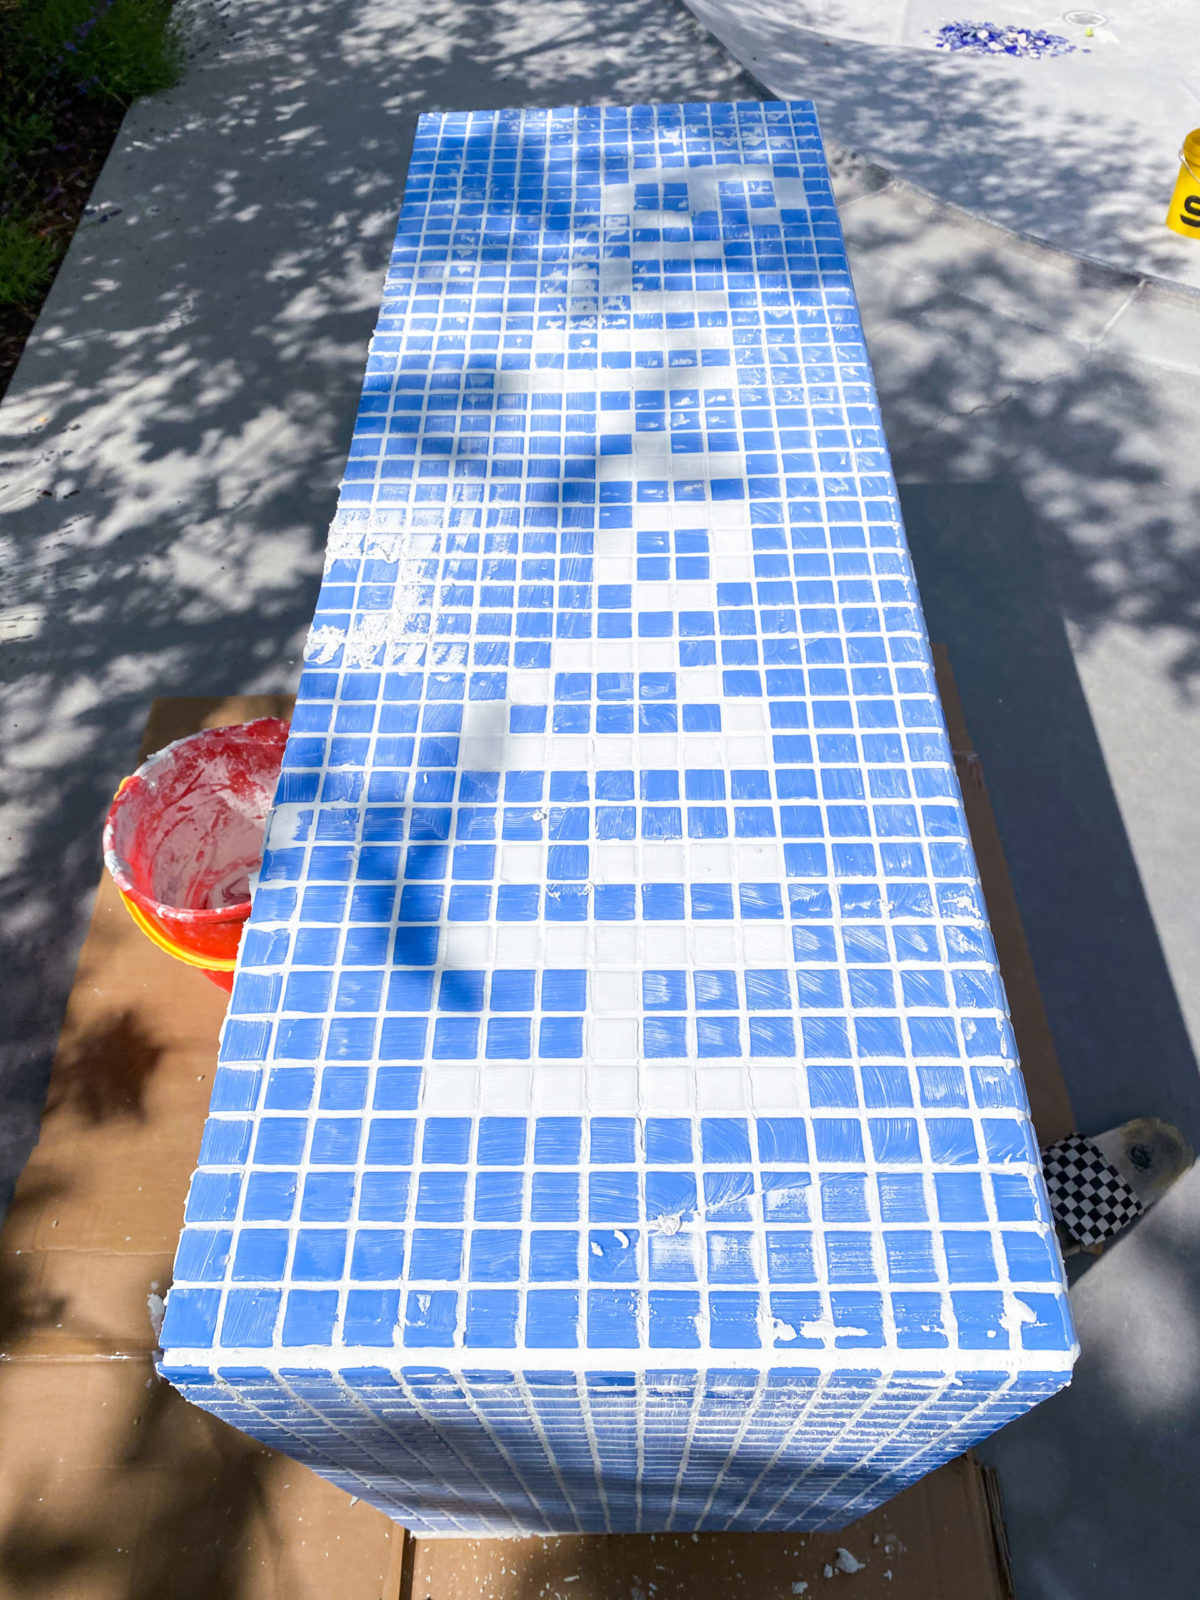
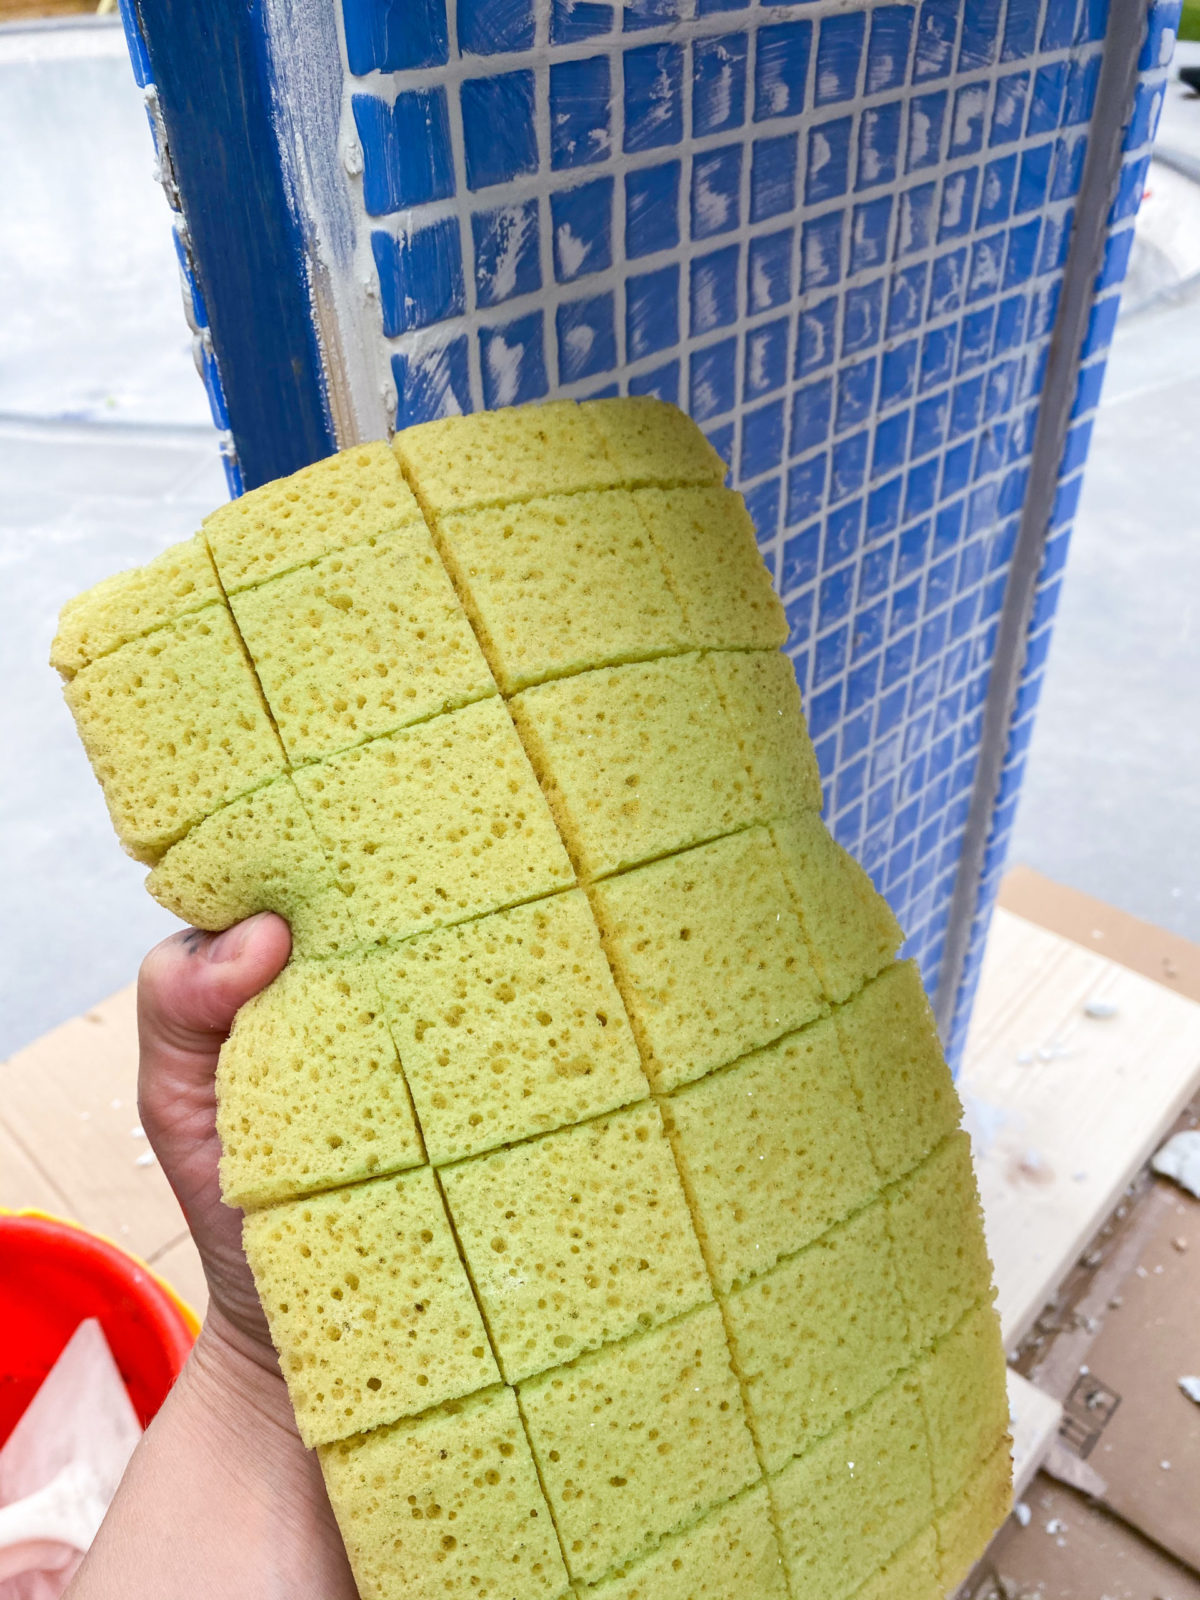
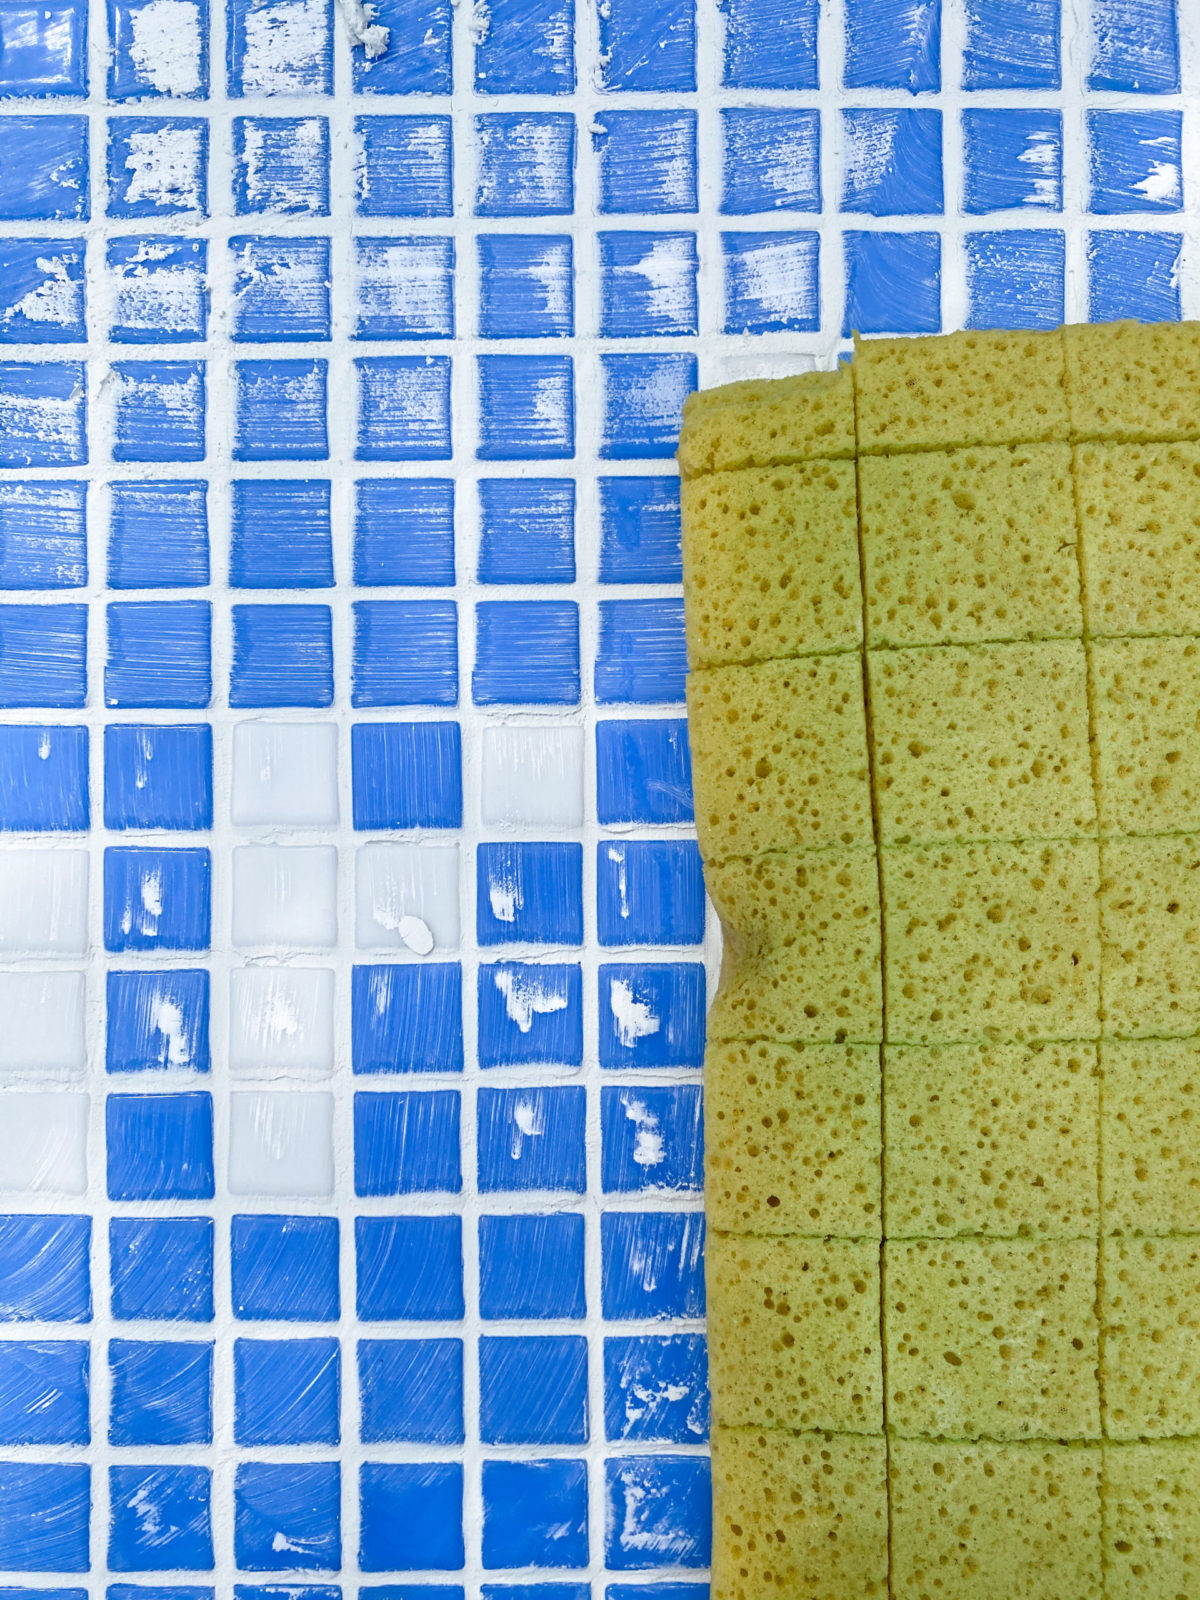
Wash off excess grout.
After you applied your grout all over, you can sit back for 20 to 30 minutes and wait. You deserve it! Don’t rest too long because you aren’t finished yet.
When I said in the previous step that you can work wildly over all the tiles, I did mean that. So no reason to worry, but after about 30 minutes is a good time to gently wash the excess off.
You can use a normal sponge or a tile sponge to remove the excess. It’s important that the sponge is not too wet and that it is almost dry as the grout is still not set fully. (This takes between four to six hours.) If you have big tiles, you can also try avoiding the grout lines all together. After each stroke, make sure that you wash your sponge out with clear water before continuing. Otherwise, you are just spreading grout glaze from left to right.
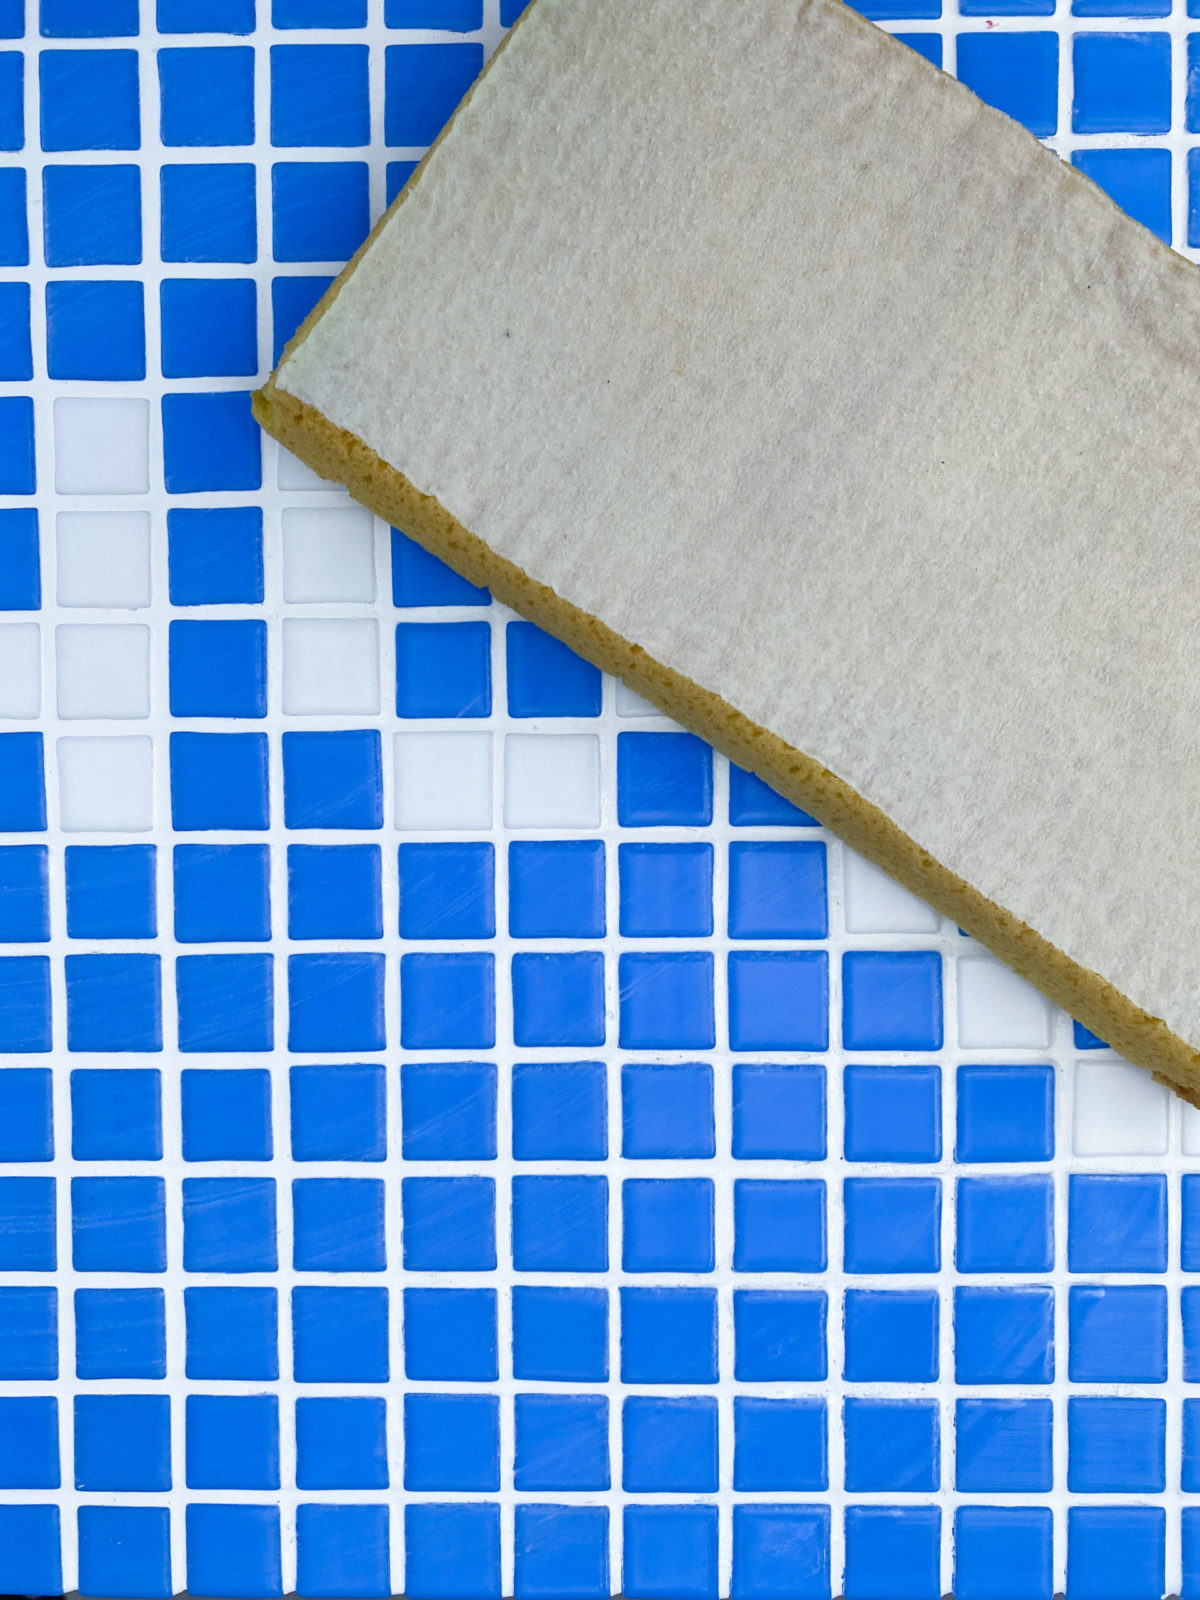
Let it cure.
I am a bit of an impatient person, but I did decide to let it cure overnight before changing up the whole living room.
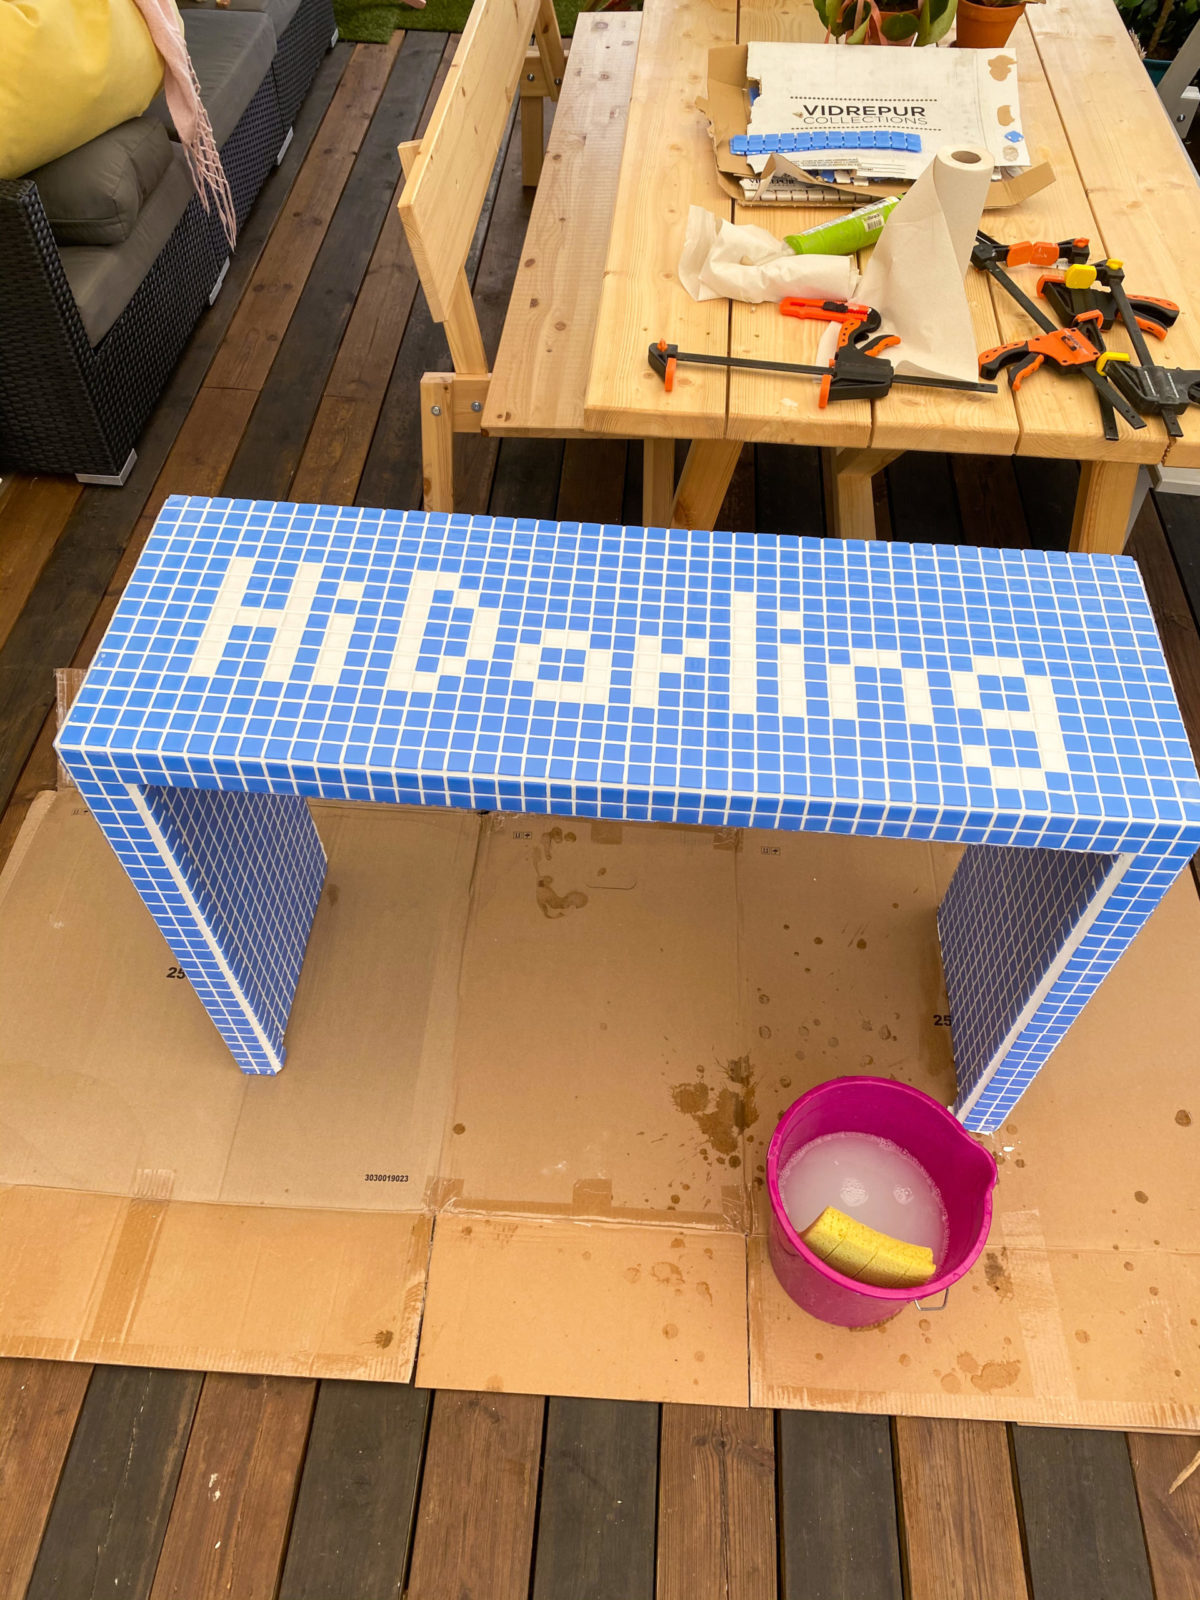
Well thanks guys for sticking along all the way to the end. I sure am enjoying this little workspace of mine in all its glory! I can’t help and love the close ups of this desk and the blue!