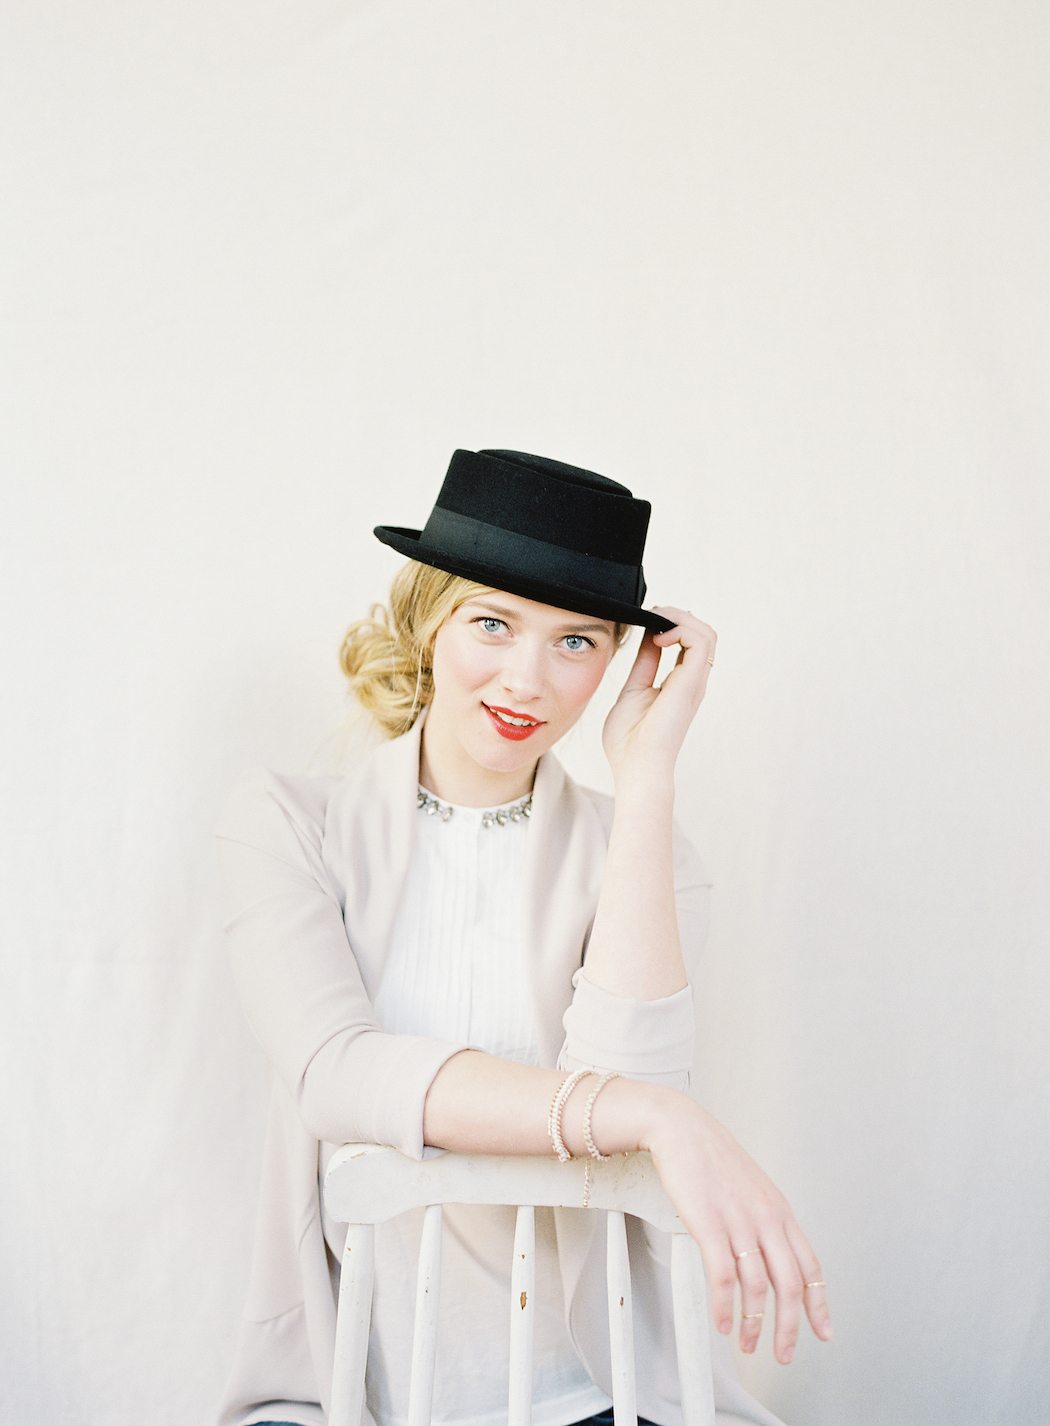
A little can go a long way when it comes to brightening up the hum-drum days of winter. That’s why we’re loving this simple makeup routine; it’s perfect for adding a touch of color while livening up the visage, day or night.
Play around with your favorite shades and products while following these steps below!

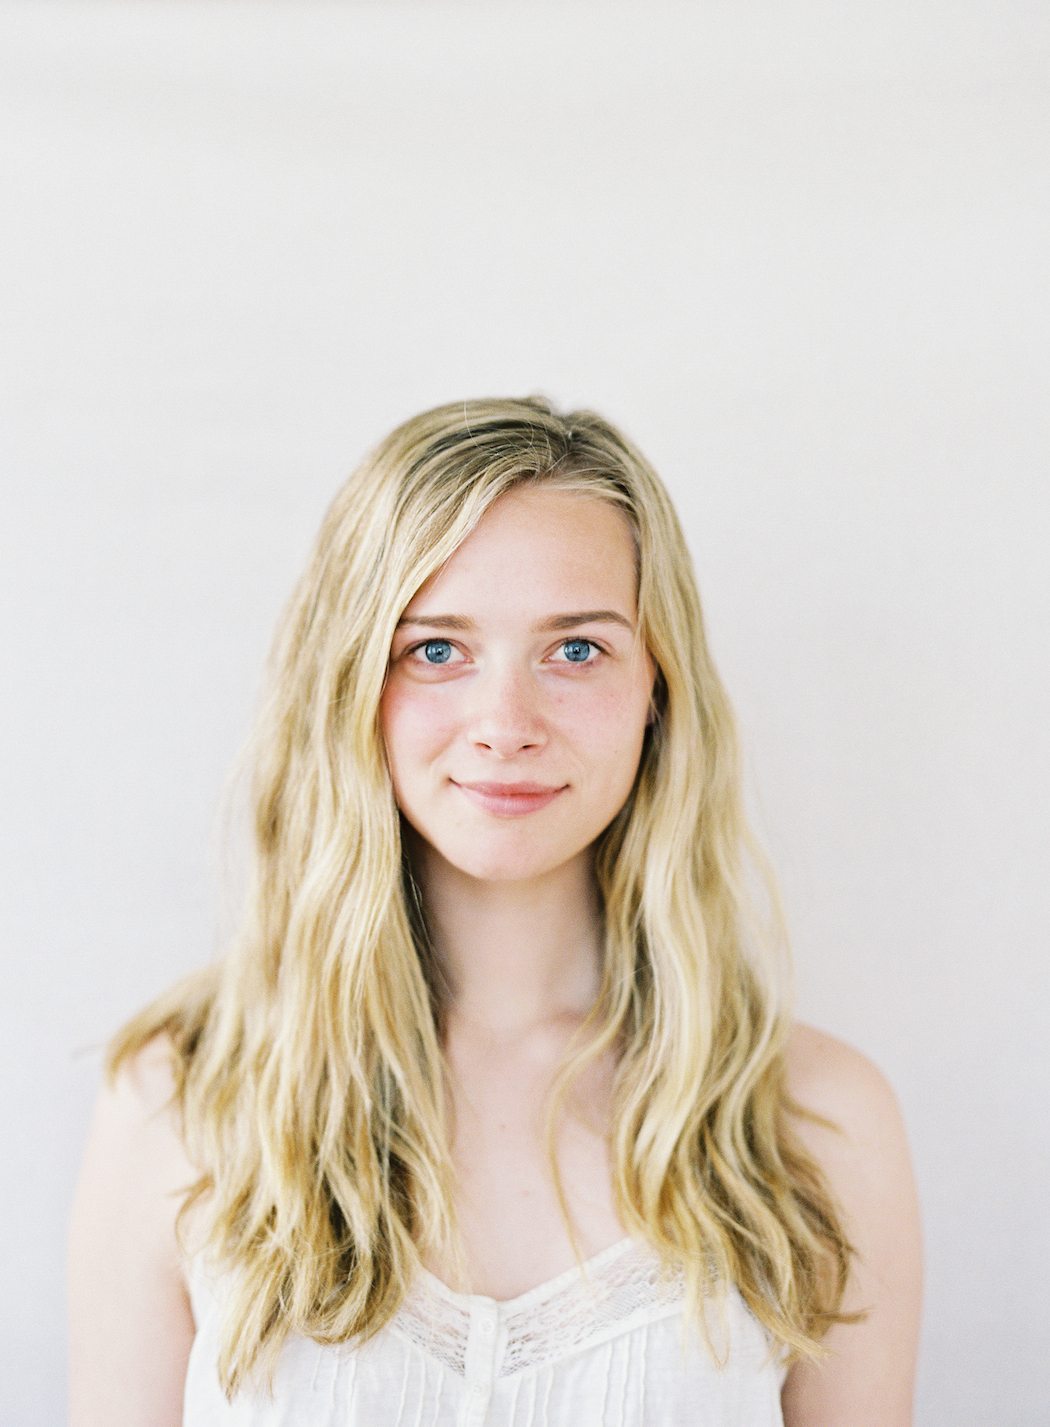
Day Look
MOISTURIZER
One of the most important parts of a dewy, fresh makeup look is hydrated skin! To prep, apply Embryolisse Lait Creme Concentrate. It feels so light, but is very moisturizing.
(Darling also loves the botanically based Goldfaden MD Daily Boost and January Labs Revitalizing Day Cream)
BROWS
Take an angled eyeliner brush (a favorite is by EcoTools) and apply Makeup Forever Aqua Brow in #10. Fill them in, but don’t give too much definition. The more natural-looking the better.
(Darling favs: Jane Iredale PureBrow and Tarte Brow Mousse)
FOUNDATION
Mix together Makeup Forever Face & Body Foundation (Ivory) and Mac Lustre Drops in Pink Rebel. Mix these together to give your foundation a nice glow. Once you do that, apply it to the skin with a Beauty Blender.
Foundation is an obvious step, but what you use makes a difference. MUFE Face & Body Foundation is light coverage foundation that you can build. It’s perfect for a dewy look because it looks so sheer and natural, but it’s also buildable if you want more full-coverage!
(Darling also ravs about Beauty Counter Tint Skin for the same reasons)
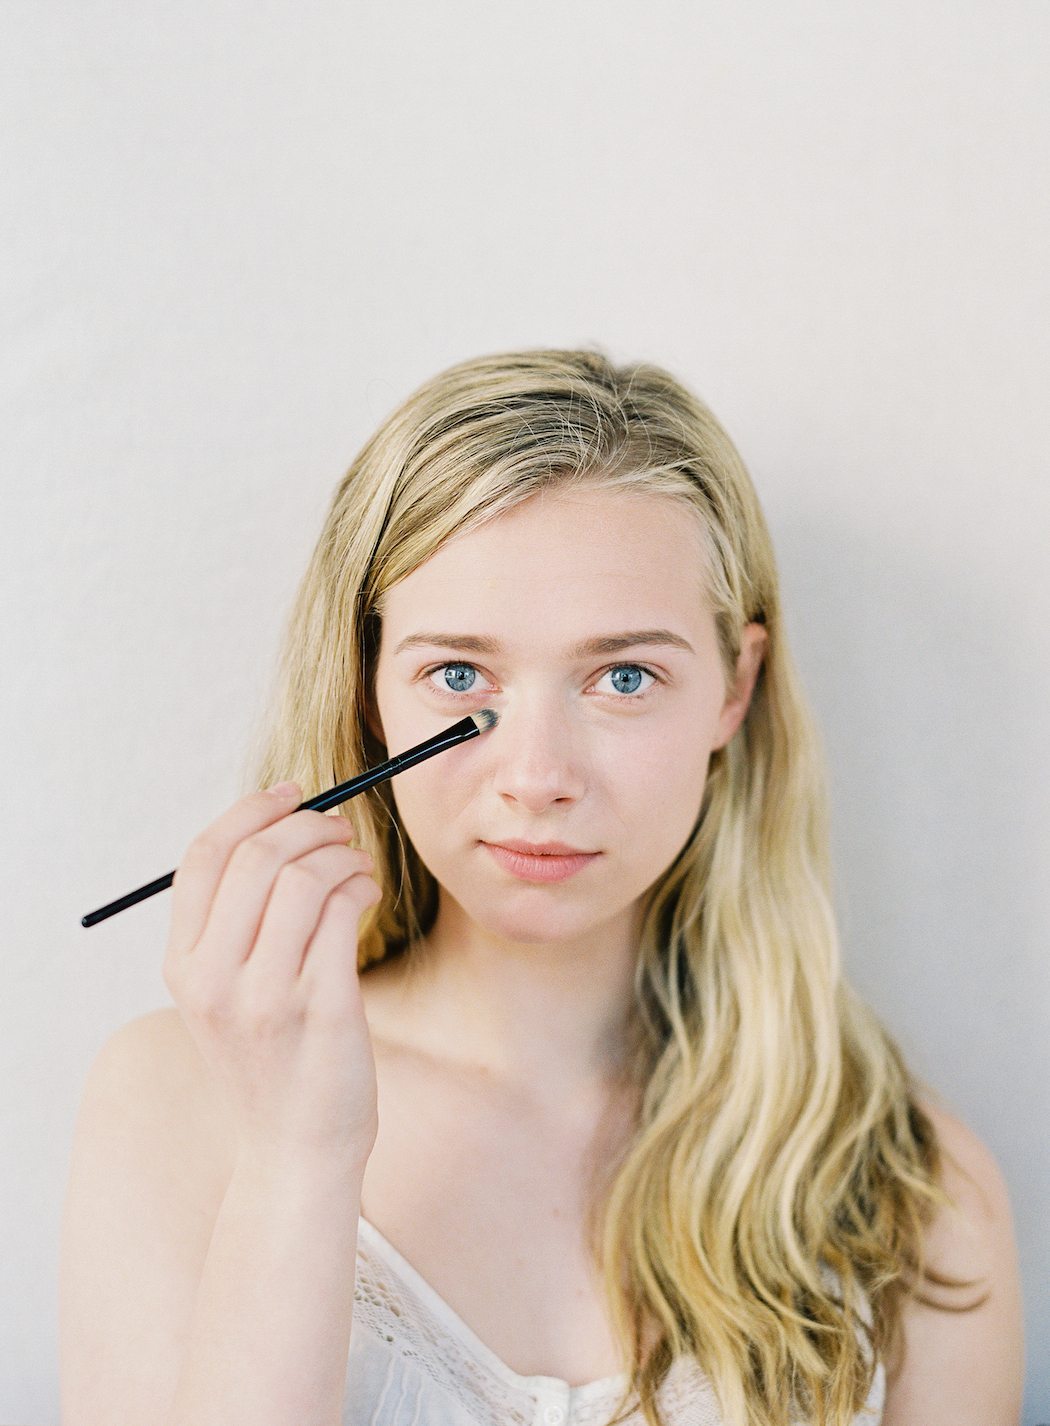
CONCEALER
It’s important to have flawless skin for this look, so you want to cover any blemishes or redness with a concealer that exactly matches your skin tone: not lighter (highlight), not darker (contour.) I used MAC Studio Conceal & Correct Palette in Medium and used the mid-peach color under the eyes (peach cancels out blue or dark under eye circles), and on any other discoloration and/or blemishes on the face.
(Darling also likes Beauty Counter’s Touchup Skin Concealer Pen and Tarte’s CC Undereye Corrector)
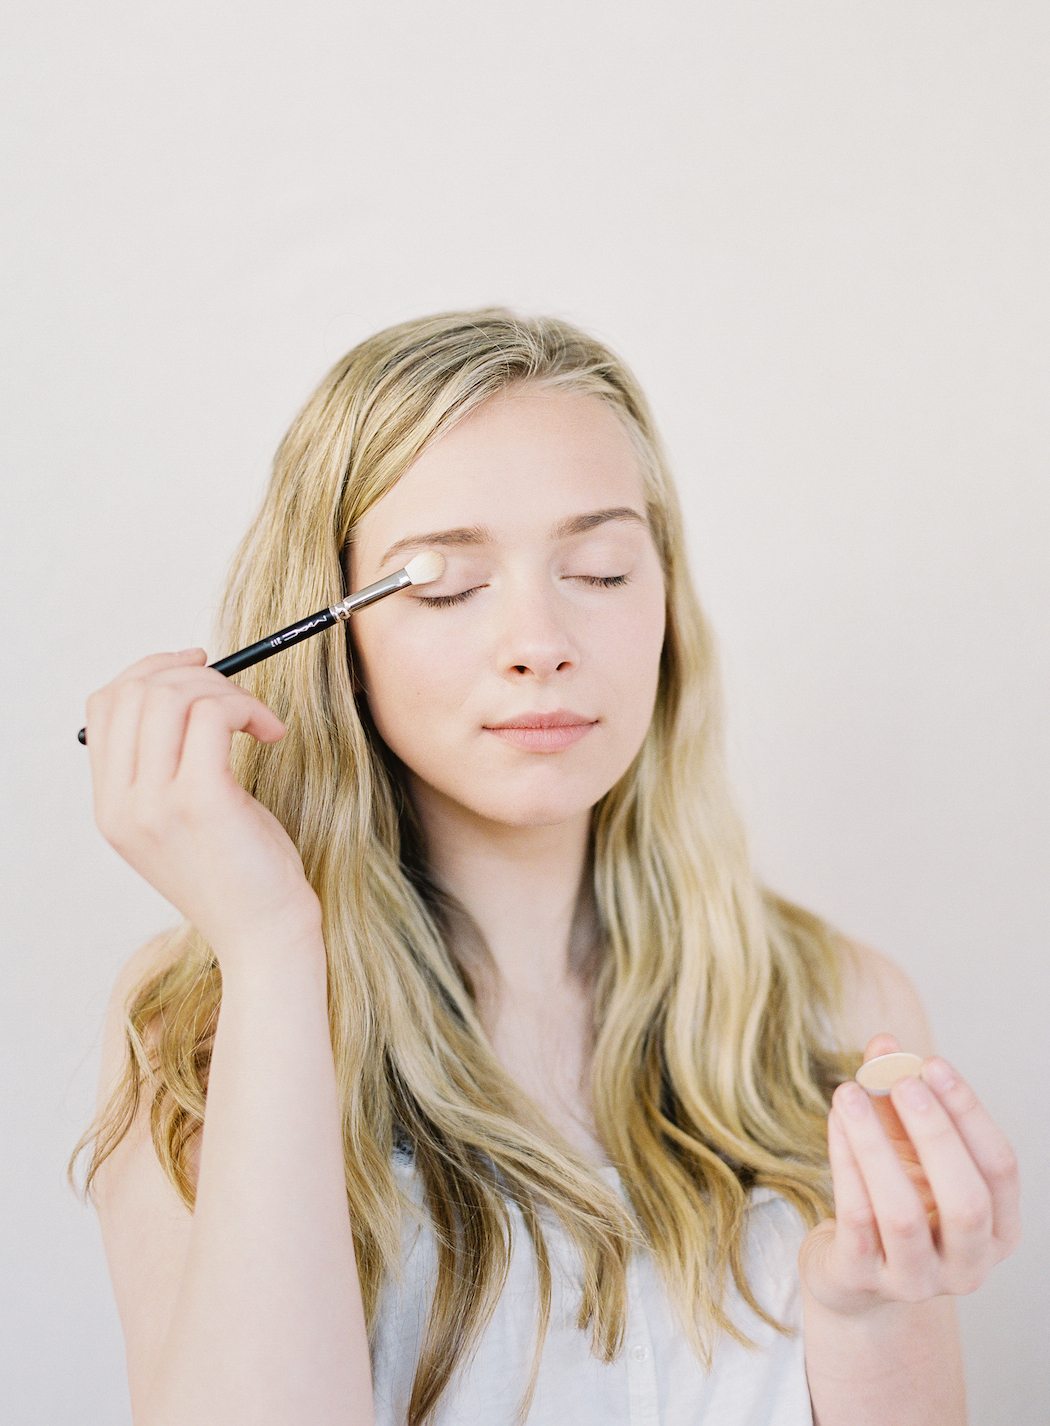
EYES
Apply a subtle, barely-there shimmer shadow all over the lid (MAC Ricepaper). In the crease, use Soft Brown by Mac, just to give the eyes some definition (I used a Mac 217 brush).
(For a natural option, try Josie Maran Argan Eyes or Hourglass Modernist Palette)
HIGHLIGHT
Apply the Balm Mary-Lou Manizer Highlighting Powder to the highest points of the face: right above the cheekbones, right on the brow bone, down the bridge of the nose, the cupid’s bow (above your top lip), and some near the temples, on the forehead. This highlighter looks beautiful on most any skintone, but if you have a much darker complexion, Bobbi Brown’s shimmer brick in Bronze will look amazing on you! (I used the brush that came with the highlighter, but a fan or smaller brush will do.)
(Darling also recommends rms Magic Luminizer and Josie Maran Argan Illuminizer)
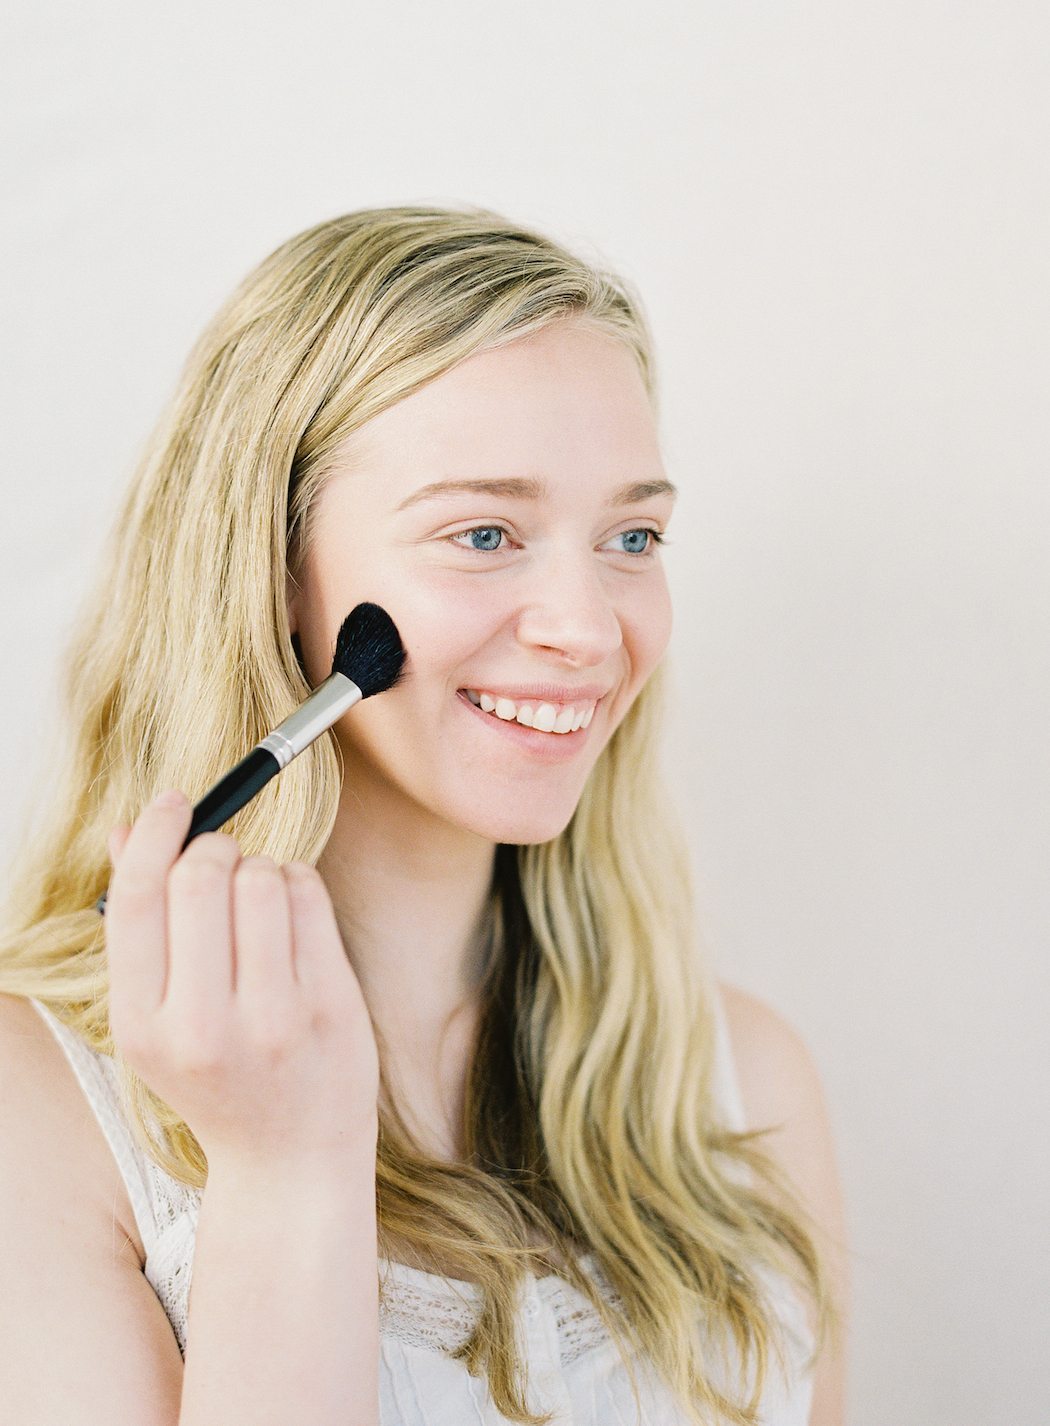
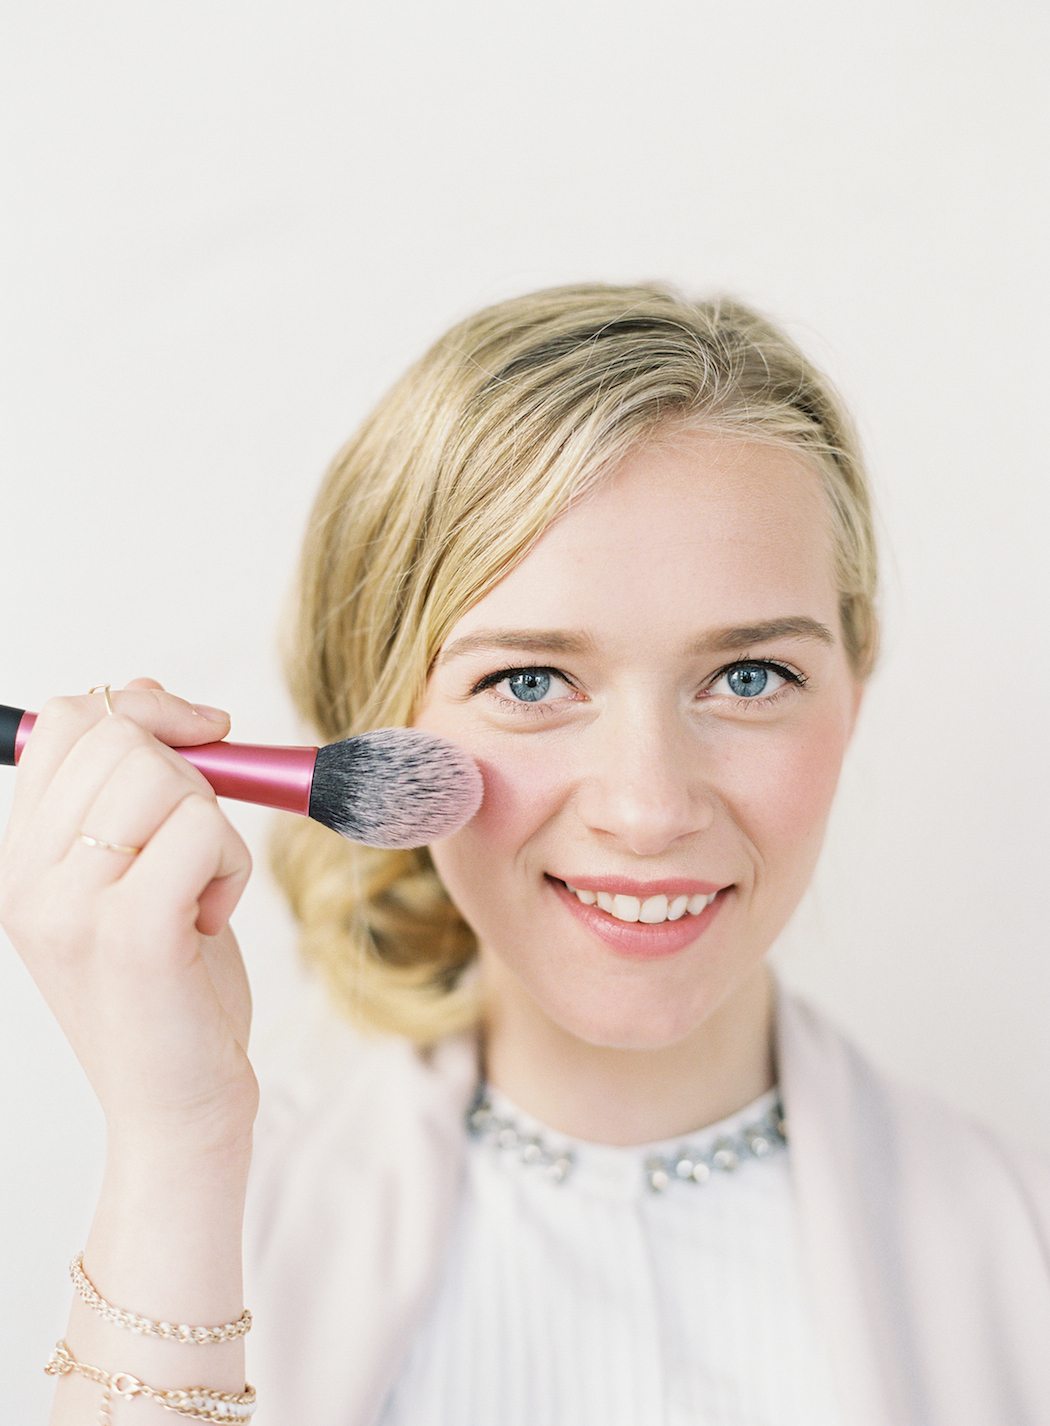
BLUSH
Apply Nars blush in Torrid to the apples of the cheeks. Swirl and brush up, close to the temples. It’s perfectly ok to apply it over the highlight, as the blush will have a shimmery feel, as well. (I used a Real Techniques by Samantha Chapman blush brush.)
(Alima Pure also carries a natural option with their Luminous Shimmer Blush)
BRONZER/CONTOUR
Apply Wet ‘n’ Wild Coloricon Bronzer in Bikini Contest right under the cheekbones, where you feel the hollow of your cheek. Start from your ear and sweep forward, stopping where the end of your eyebrow lines up with your cheek. Blend well so there are no harsh lines. (I used a tapered brush that’s perfect for sitting right in the hollows of the cheeks with a brush by Coastal Scents.)
(Darling favs: Alima’s Mineral Bronzer and Josie Maran’s Argan Bronzer)
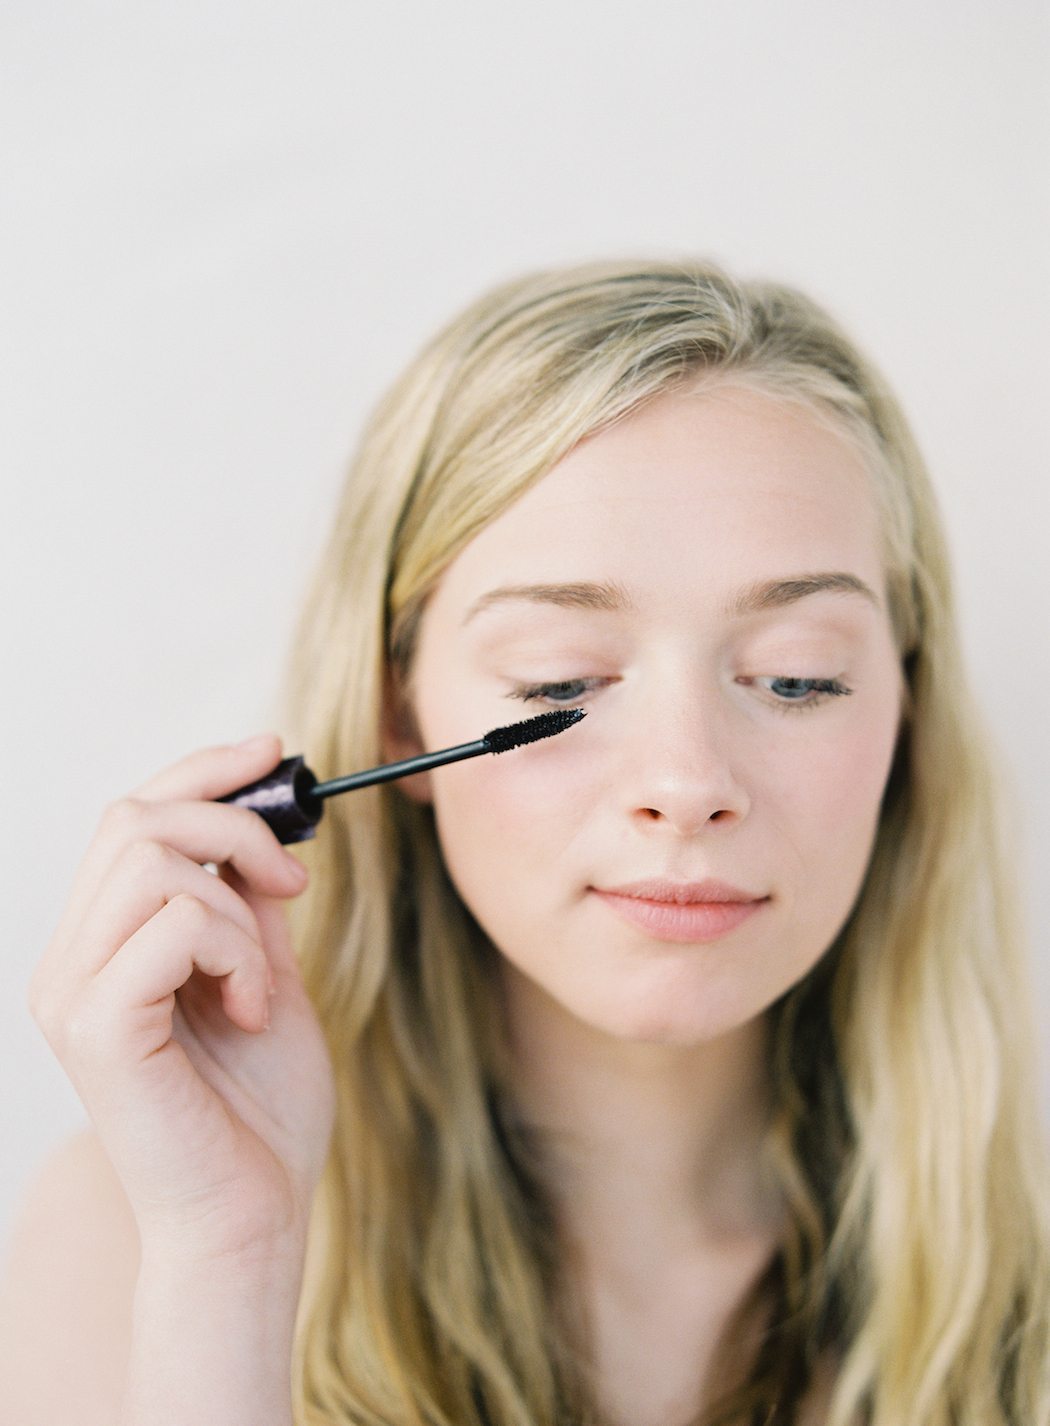
MASCARA
Apply mascara. I used Tarte Lights, Camera, Lashes in Black – love this mascara so much!
(Darling also loves the natural PureLash by Jane Iredale)
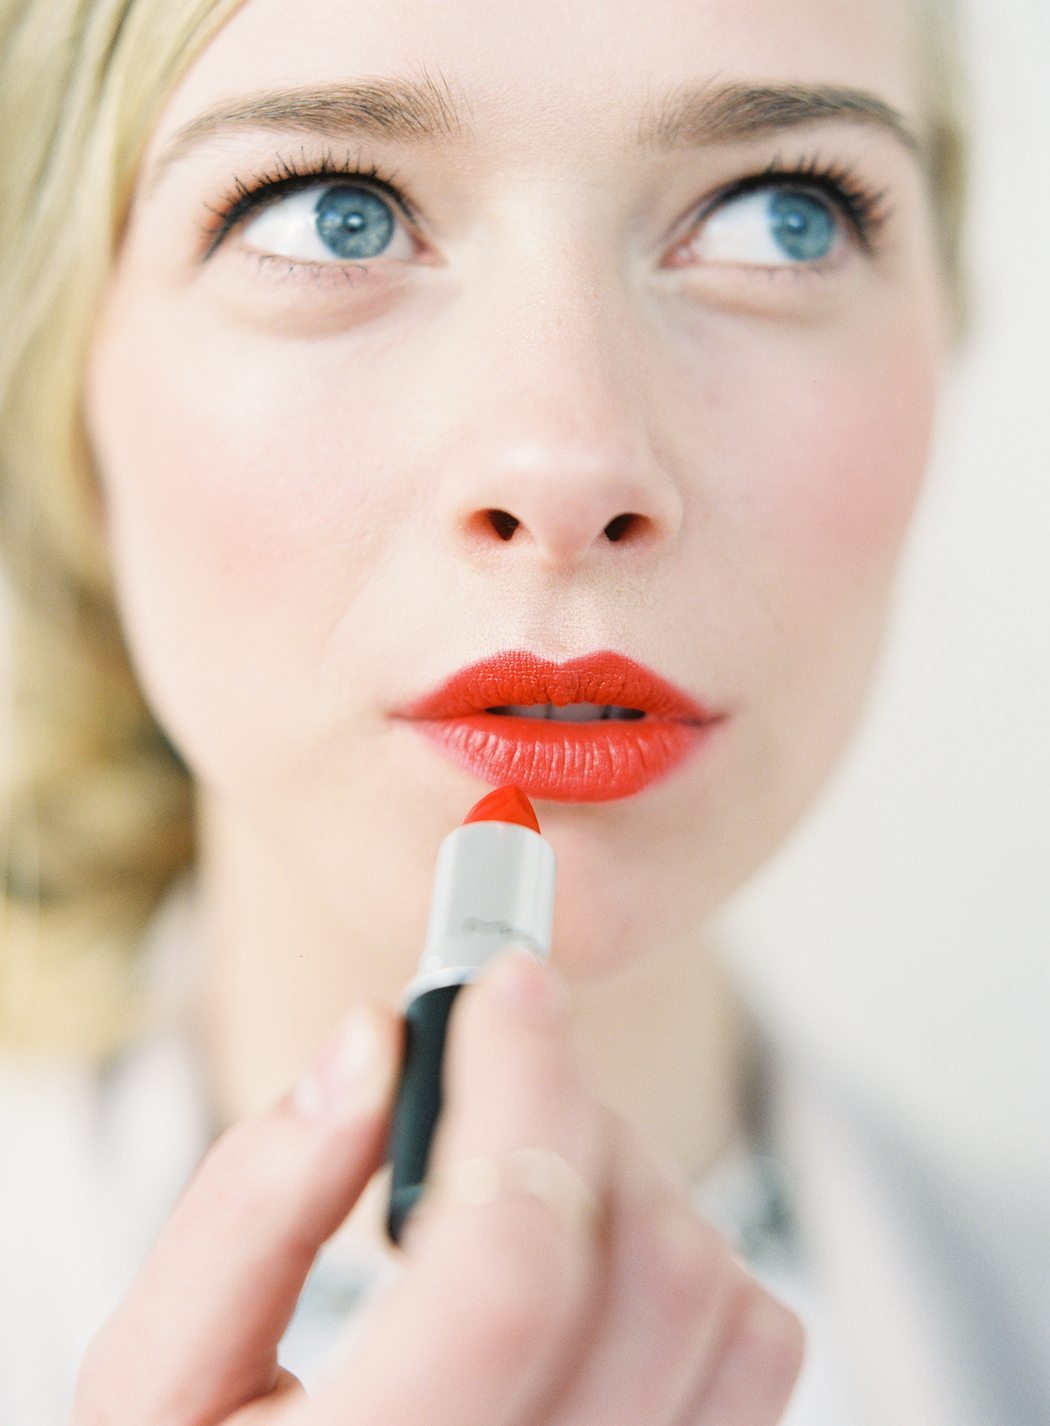
LIPS
Orange is hot this season, in all it’s variations! Mix MAC Vegas Volt (subtle coral) with a little bit of Mac Blankety (nude) and apply it with a lip brush.
(You can also try Hourglass Opaque Liquid Lipstick or BITE Beauty Lip Crayon)
Day-To-Night Look
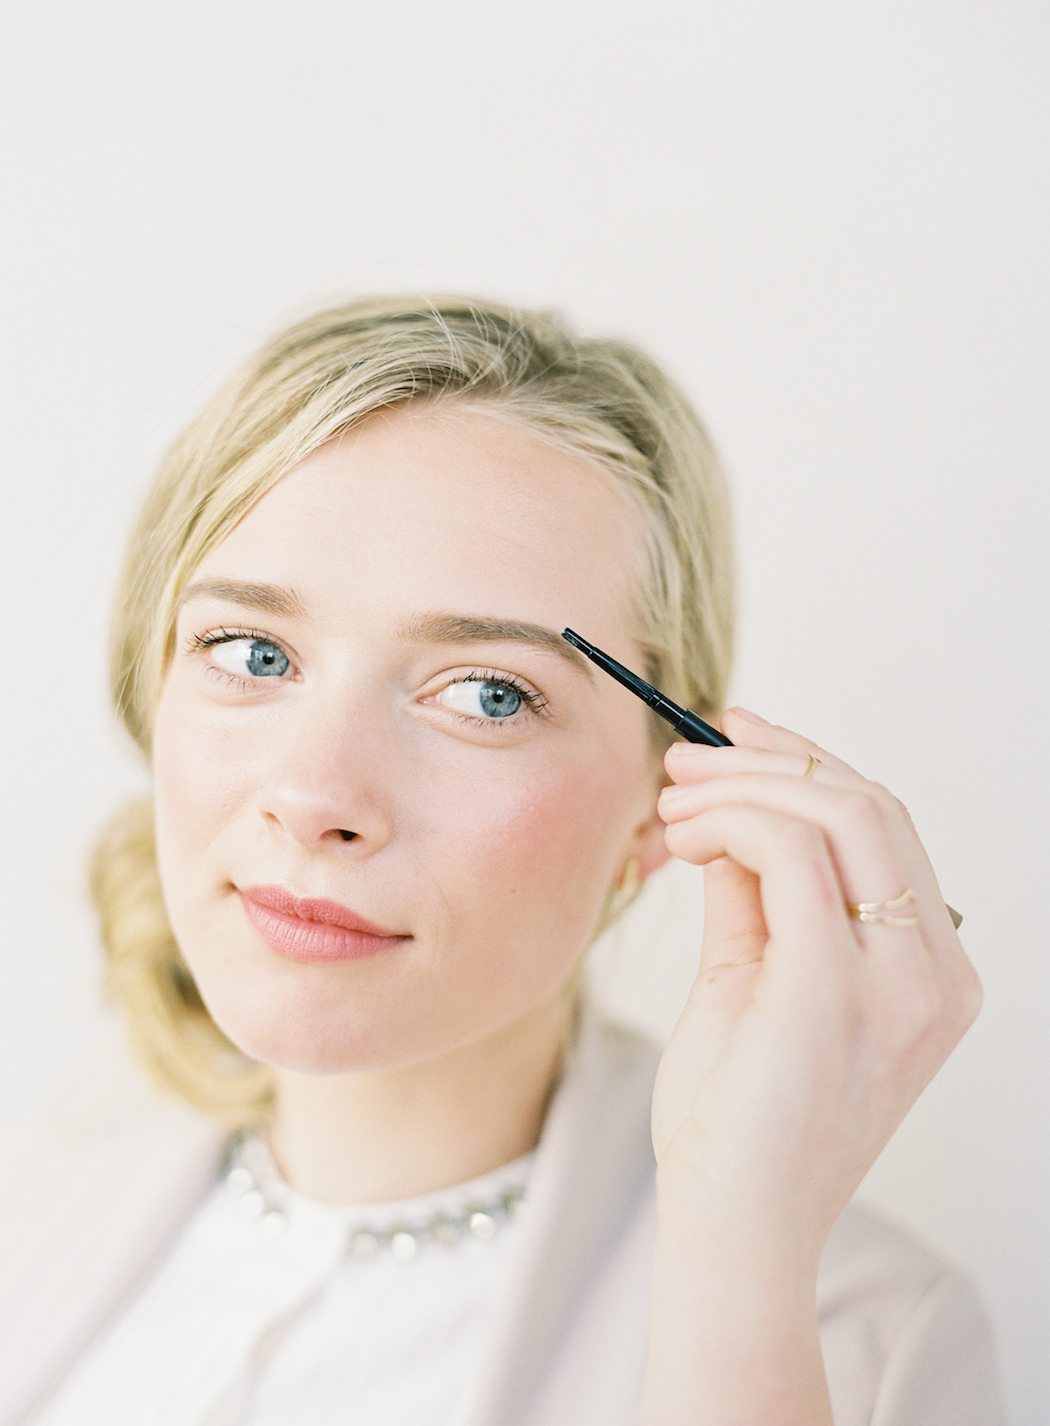
Fill in the brows a bit more, to make them more defined and a bit darker! (I used MAC eyebrow pencil in Fling—a very thin pencil is easier to carry with you in your makeup bag, and apply quickly after work).
Apply CoverGirl Intensity Bombshell Eye Liner in Black (again– easy product to toss in your makeup bag, as it doesn’t take up much space and doesn’t require a brush). Depending on what you’re going for, you can do a fancy winged eyeliner, or a simple straight line, to bring out your eyes a bit more.
(Darling also favs Juice Beauty’s Defining Eyeliner)
BLUSH
Add more blush! Apply the Torrid blush again. If you don’t want to carry a big blush brush, a mini kabuki brush or even your fingers will do. Blend a lot!
LIPS
Last but definitely not least, apply a bright pop of color to finish off the look. (Mac Lady Danger is what I used here).
(Again, try Hourglass Opaque Liquid Lipstick or BITE Beauty Lip Crayon in a bolder color)
How do you brighten up your look in the winter? What are some of your favorite products and tricks?
Images by Scott and Ashlee O’Malley of The O’Malleys


4 comments
Hi Aubrey! As a makeup artist, it’s very hard to come by “all natural” makeup, as even natural brands have plastics in them. I can safely say that almost none of these products I’ve used have parabens, something I try to avoid in makeup. I wish truly all natural makeup was as effective and worked as well as other brands, but the pay off isn’t the same, unfortunately! But I’m right there with you! Josie Maran, Jane Iredale, and Tarte are great options!
I really love your magazine and this article. Perhaps in the future you could only feature non-toxic make-up. Some of the brands you have listed above just doesn’t seem to “fit”. Thanks!
Thanks for your concern, Aubrey! We wanted to be fair to the original products used in the shoot and offer a variety of options and price points for all readers. However, since we are fans of the non-toxic route as well, we were sure to include our favorite natural choices within the article:) The process and technique Jenna mentions is so lovely, we’re sure you’ll have success no matter which products you prefer!
Your skin is INCREDIBLE!! Seriously….I am in complete and utter awe!
http://www.medicaminablog.com