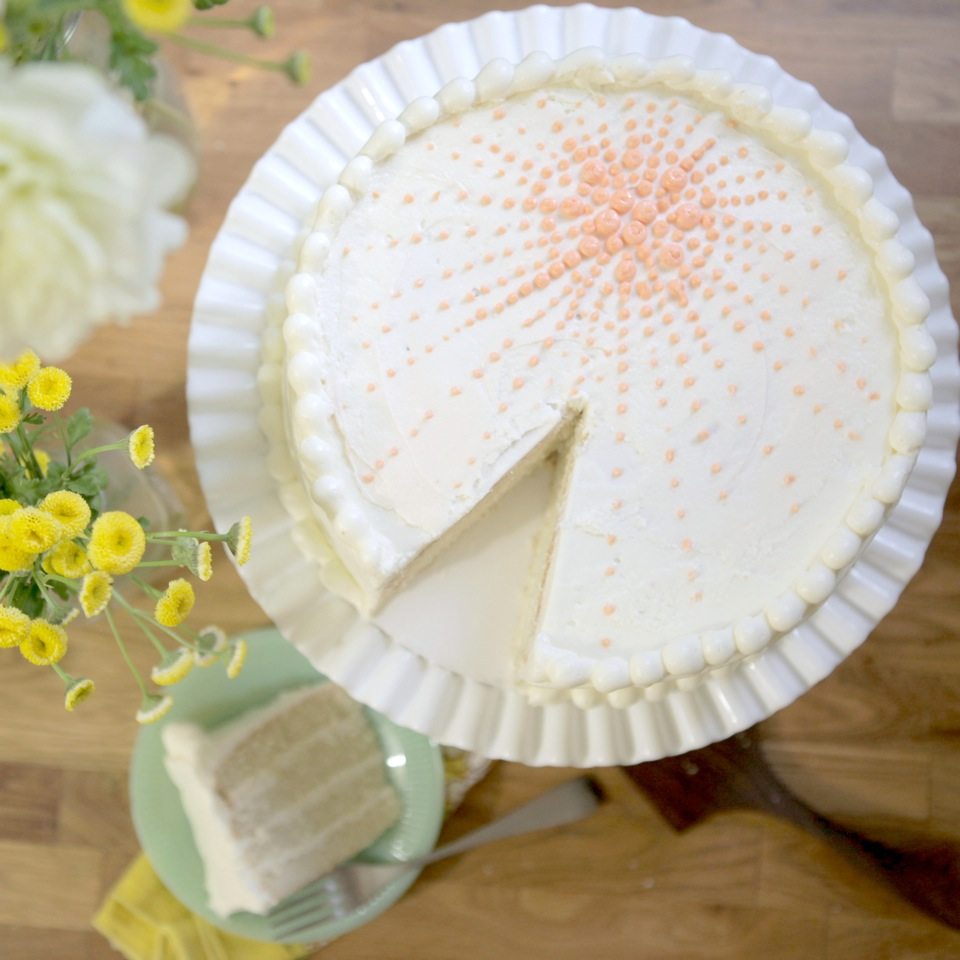
A classic lesson that is needed for any time we want to celebrate a special occasion. Knowing how to properly make and ice a layer cake is something that every budding baker should have in her repertoire. Watch and read on below to learn the secret for building a cake like a pro.
Building A Layer Cake
Directions:
1. Let your cakes cool completely! Otherwise it will be nearly impossible to work with them.
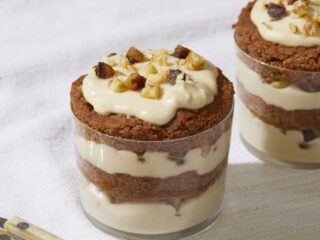
2. Use a long serrated knife to cut any doming that may have occurred on top of the cakes while baking. If you want a four layer cake, cut each cake into two even layers. If you prefer a two layer cake, you can most certainly leave the two cakes intact and move on to the next step.
3. Place whichever layer you choose for the bottom on a plate or cake board in the center of the turntable. Spread a half inch layer of frosting on top, making sure it’s spread evenly all the way out to the edges. Carefully place the next layer on top, making sure that its edges are even with the cake layer below. Repeat this process for the next two layers.
4. Apply a thin layer of frosting all over the whole cake. It is ok for the cake to show through. This is called your crumb coat. It will hold all of the crumbs in and make it easier to apply a smooth final coat.
5. Let the crumb coat set for 30 minutes in the refrigerator or 15 minutes in the freezer.
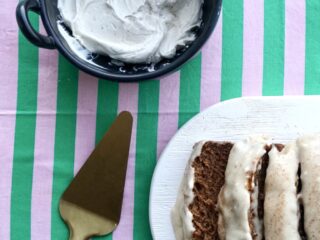
6. Apply your final coat of frosting. Everyone does this differently. I start with the sides and apply a generous amount of frosting with my spatula, roughly smoothing it out every inch or two until the whole cake is covered. I then put a large dollop on the top and spread it out until it reaches the edges. At this point the cake is completely covered with frosting and looking a little bit messy.
7. Use a large offset spatula to smooth the top and sides. Try to move the spatula as little as possible, but really depend on the turntable for most of the movement. I use a small offset spatula to get a nice sharp angle around the top edge of the cake.
8. Pipe a border around the top and bottom to finish it up and decorate however you want. Get creative and have fun!
Simple White Cake
Ingredients:
2 1/2 Cups Cake Flour
4 tsp. Baking Powder
1 Cup Butter (At room temperature)
1 1/2 Cup Sugar
1 tsp. Kosher or Sea Salt
2 Tbs. Vanilla Extract
5 Egg Whites
1 Cup Whole Milk
Directions:
1. Preheat your oven to 350F.
2. Whisk the cake flour and baking powder together in a small bowl and set aside.
3. Beat the butter and sugar together on medium speed for about 30 seconds. You want the mixture to look light, but not too fluffy. Add the vanilla extract and salt. Mix to combine.
4. With the mixer on low speed, slowly pour the egg whites into the bowl with the butter and sugar. Once everything is incorporated, turn the mixer up to medium speed and beat for about 1 minute and 30 seconds. If you are using a hand mixer add the egg whites in three batches and beat on low between each addition. Turn the mixer up to high speed and beat for 1 minute and 30 seconds.
5. Add the flour mixture in three batches. Mix between each addition. Once the flour is incorporated you will mix on medium speed (high speed if using a hand mixer) for 30 more seconds.
6. Add the milk and beat for about 10 seconds. The batter will look smooth and fluffy.
7. Divide the batter into two 9″ cake pans that have been greased and lined with parchment paper. Bake for 30-35 minutes (time will vary depending on oven and altitude.) the cake is done when a toothpick comes out clean when you poke the center of the cake. You can also tell a cake is done when it springs back when you gently touch the top.
Rosewater Buttercream
Ingredients:
2 Cups Unsalted Butter
4 Cups Confectioners Sugar
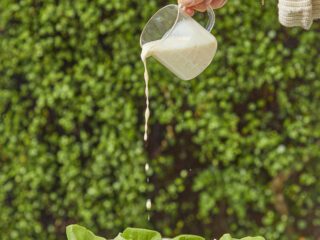
2 Tbsp. Heavy Cream
1 tsp. Rosewater
1 tsp. Vanilla Extract
1. Beat the butter and sugar until smooth.
2. Add the cream, Rosewater and vanilla.
3. Beat until light and fluffy.
Video and recipes brought to you by Whisk + Whittle


1 comment
Very helpful, and very lovely!
Thank you so much for this!